'03 digital climate panel bulbs
#1
 01-21-2015, 05:18 PM


Hi All,
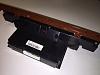
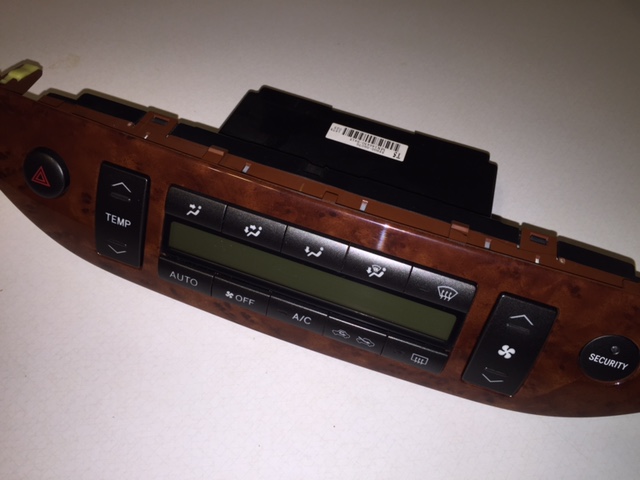
New to the forum and looking for a little help. I have just bought a 2003 Camry XLE. High miles (225,000) but in very good condition. It has a digital climate control panel which has a few buttons with inop back lighting. I have removed the panel and before I pull it apart to replace the bulbs I'm wondering if anyone else has done this and, if so, are you able to offer any advice? The last thing I want to do is open it up and have it fall apart into a hundred pieces that I cannot reassemble!
Just so you know what type of panel I'm talking about here are a couple of pics:

Thanks in advance.
New to the forum and looking for a little help. I have just bought a 2003 Camry XLE. High miles (225,000) but in very good condition. It has a digital climate control panel which has a few buttons with inop back lighting. I have removed the panel and before I pull it apart to replace the bulbs I'm wondering if anyone else has done this and, if so, are you able to offer any advice? The last thing I want to do is open it up and have it fall apart into a hundred pieces that I cannot reassemble!
Just so you know what type of panel I'm talking about here are a couple of pics:
Thanks in advance.
#2
01-21-2015, 08:11 PM
Ok, so I figured it out. For anyone who might need to do this:
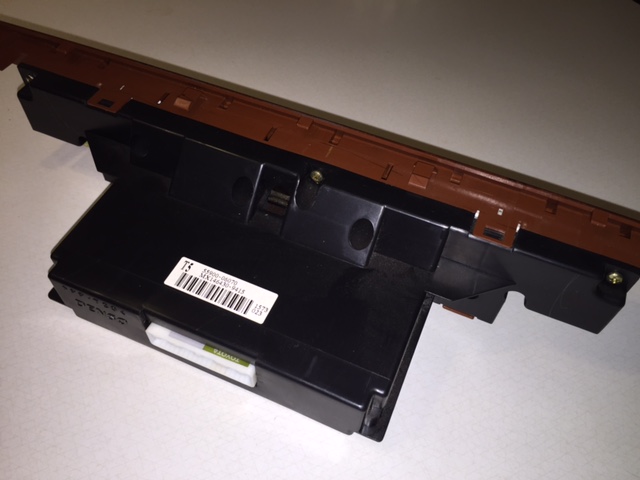
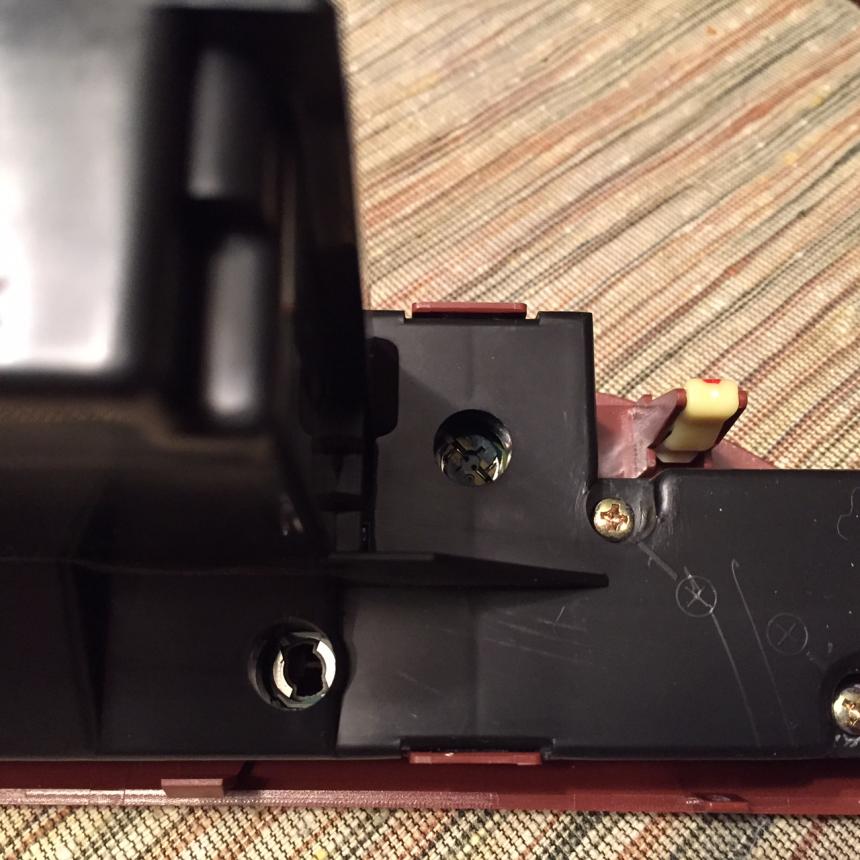
There is no need to dismantle the unit. The bulbs are accessible from the rear, five of them. Use a screw driver to give a counter clockwise quarter turn (or actually a bit less than a quarter). Now the tricky bit is pulling the bulb out of the recessed hole. I used a small screwdriver to ease the bulb partially out, then used forceps to extract it.
This photo shows two bulb positions, one with the bulb installed, the other is removed:

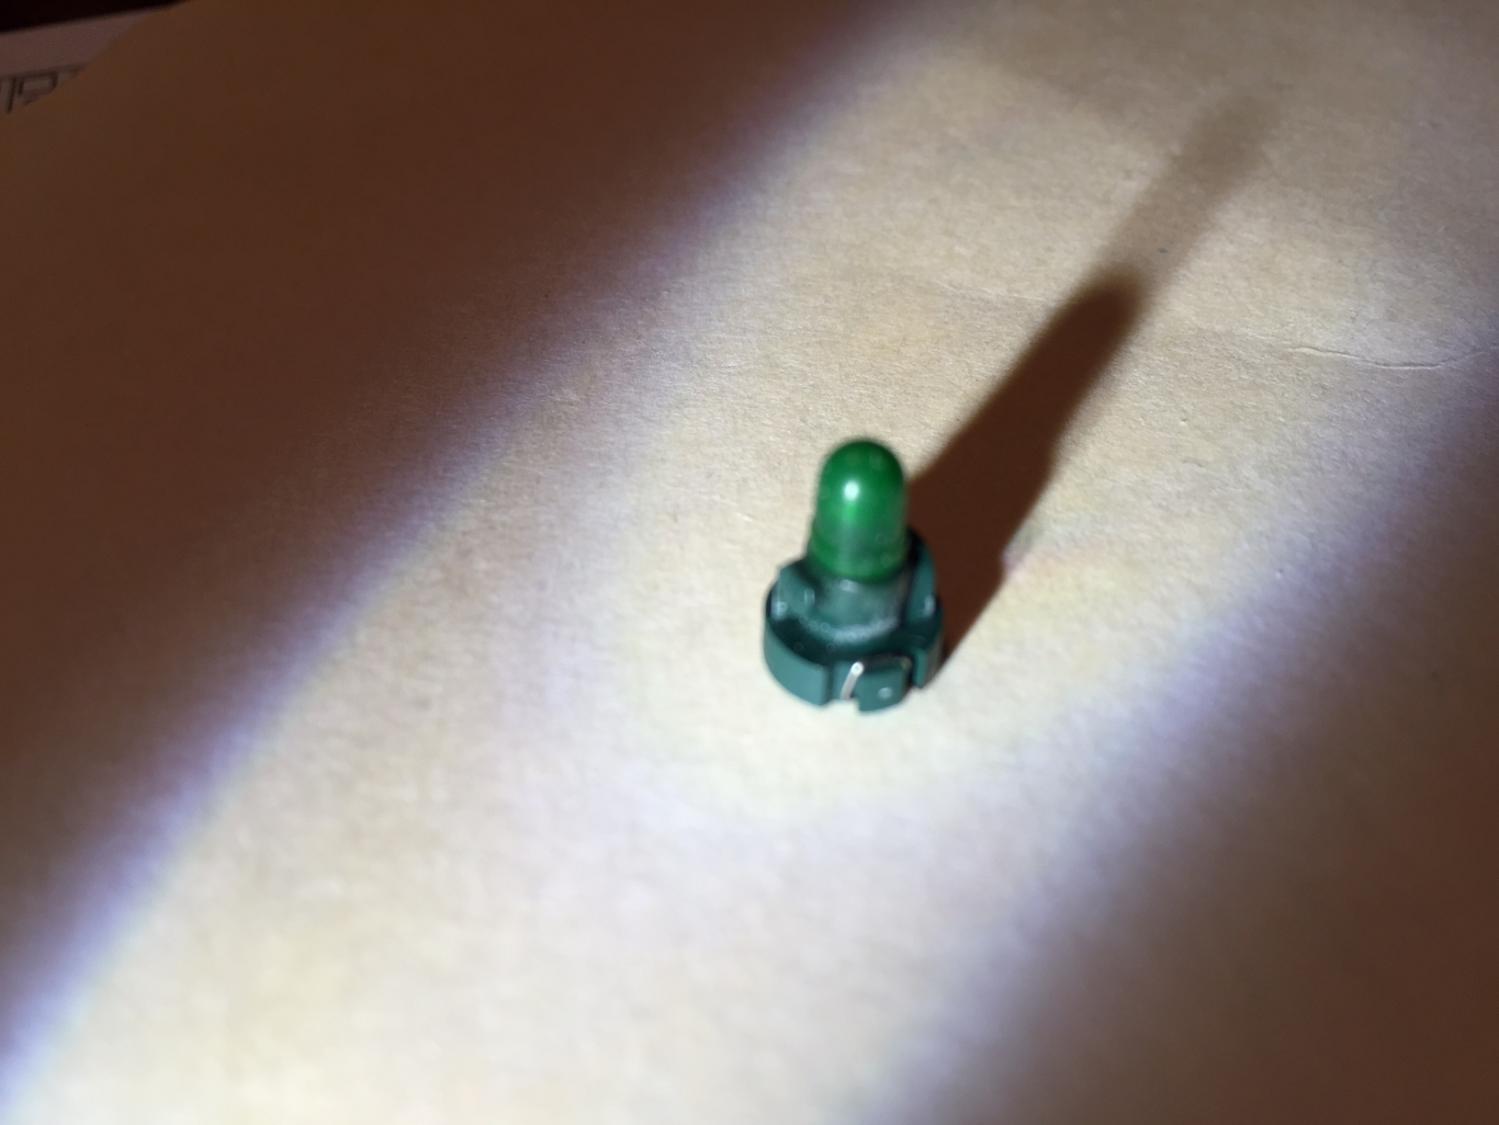
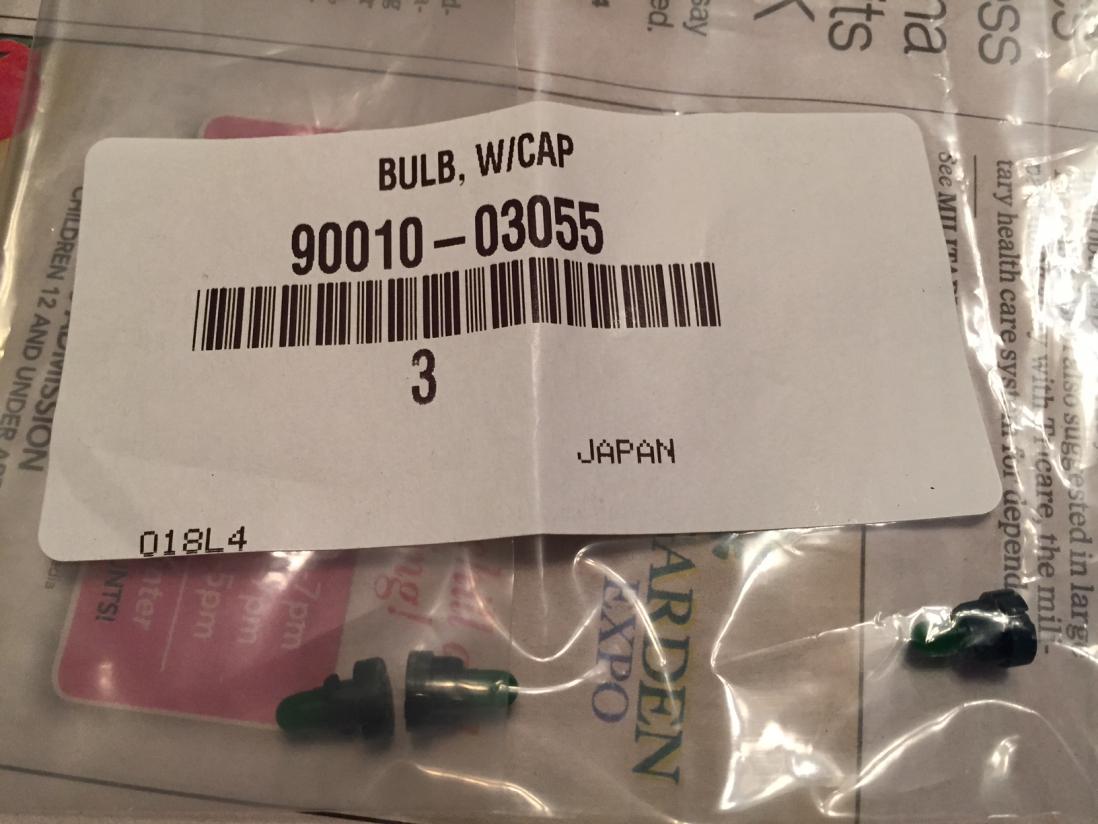
This photo is a picture of the bulb:
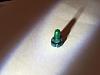
I pulled each bulb out in turn and checked them with a multi-meter. Three were burned out. Now to just find those bulbs somewhere...
There is no need to dismantle the unit. The bulbs are accessible from the rear, five of them. Use a screw driver to give a counter clockwise quarter turn (or actually a bit less than a quarter). Now the tricky bit is pulling the bulb out of the recessed hole. I used a small screwdriver to ease the bulb partially out, then used forceps to extract it.
This photo shows two bulb positions, one with the bulb installed, the other is removed:
This photo is a picture of the bulb:
I pulled each bulb out in turn and checked them with a multi-meter. Three were burned out. Now to just find those bulbs somewhere...
#3
01-30-2015, 08:27 PM
Update:
So I replaced the bulbs as described above but it didn't fix the entire problem. It turns out the bottom row of bulbs were also all burned out, and the only way to access them is to remove the back cover.
Fortunately the back cover is just that, a cover, and it comes off easily by removing 5 phillips head screws, and carefully lifting four snap tabs which then release the cover.
Once the cover is removed the lower row of three bulbs is easily accessible. All three of my bulbs were out.
in the middle of the PCB are three larger bulbs which illuminate the LCD display. Whilst I had it all apart I removed and checked these with an ohmmeter. They were all good.
Here are the pics.
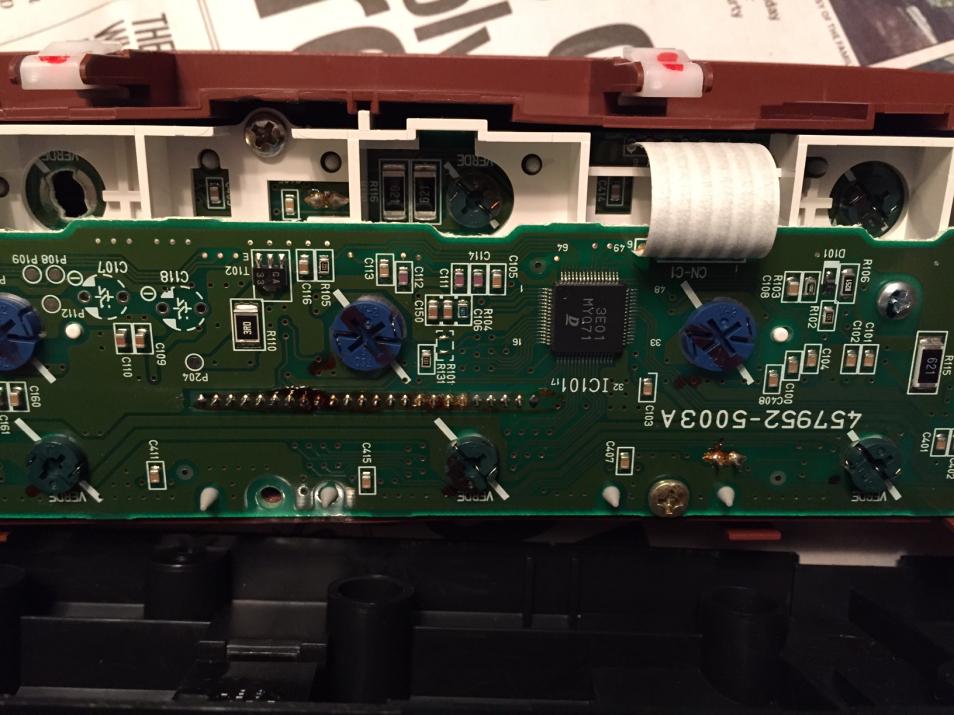
Cover removed:

One of the three bad bulbs removed. The row of larger bulbs in the middle are the LCD back light bulbs (different part number):

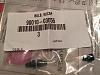
These are the smaller bulbs, available from Toyotapart.com for $2.66 ea. The local dealership charges over $5.00 ea.
So I replaced the bulbs as described above but it didn't fix the entire problem. It turns out the bottom row of bulbs were also all burned out, and the only way to access them is to remove the back cover.
Fortunately the back cover is just that, a cover, and it comes off easily by removing 5 phillips head screws, and carefully lifting four snap tabs which then release the cover.
Once the cover is removed the lower row of three bulbs is easily accessible. All three of my bulbs were out.
in the middle of the PCB are three larger bulbs which illuminate the LCD display. Whilst I had it all apart I removed and checked these with an ohmmeter. They were all good.
Here are the pics.
Cover removed:

One of the three bad bulbs removed. The row of larger bulbs in the middle are the LCD back light bulbs (different part number):
These are the smaller bulbs, available from Toyotapart.com for $2.66 ea. The local dealership charges over $5.00 ea.
Last edited by biplanepilot; 01-30-2015 at 08:32 PM.

#5
01-30-2015, 09:48 PM
No worries... glad to share. I hope this helps someone else perform this simple fix.
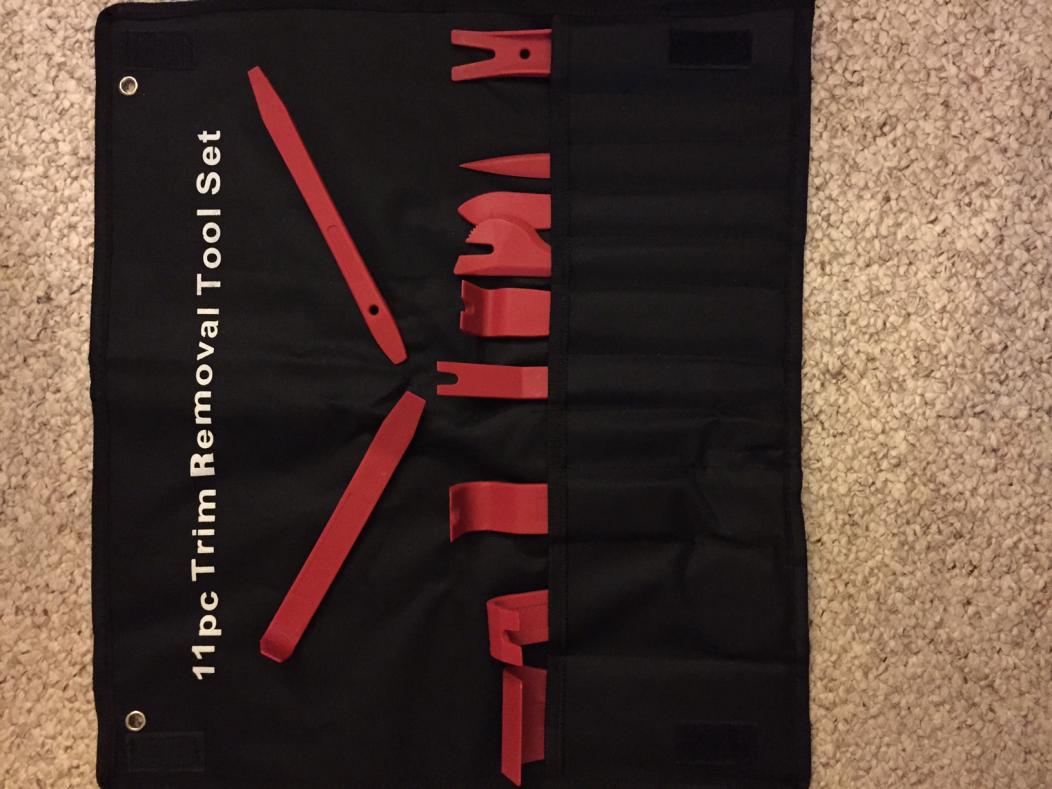
One thing I didn't mention was how to remove the heater panel in the first place. I used this kit (avail from amazon) to gently pry the panel out of the dash. Dead simple, but requires the right tools in order not to cause any cosmetic damage.

One thing I didn't mention was how to remove the heater panel in the first place. I used this kit (avail from amazon) to gently pry the panel out of the dash. Dead simple, but requires the right tools in order not to cause any cosmetic damage.
#7
05-05-2020, 04:14 AM

Ok, so I figured it out. For anyone who might need to do this:
There is no need to dismantle the unit. The bulbs are accessible from the rear, five of them. Use a screw driver to give a counter clockwise quarter turn (or actually a bit less than a quarter). Now the tricky bit is pulling the bulb out of the recessed hole. I used a small screwdriver to ease the bulb partially out, then used forceps to extract it.
This photo shows two bulb positions, one with the bulb installed, the other is removed:
Attachment 3257
This photo is a picture of the bulb:
Attachment 3258
I pulled each bulb out in turn and checked them with a multi-meter. Three were burned out. Now to just find those bulbs somewhere...

Thread
Thread Starter
Forum
Replies
Last Post