Toyota Camry 1997-2001: How to Replace Catalytic Converter
Are you getting bad fuel economy, and does it smell like rotten eggs when you zip around town? Sounds like your catalytic converter is down and out, so here is some information on how to replace it on your Toyota Camry.
This article applies to the 4th generation Toyota Camry (1997-2001).
A catalytic converter is an instrumental part of the exhaust system on your vehicle. It changes the harmful gases that flow from the engine's exhaust into water vapor and carbon dioxide. Although emissions laws vary according from state to state, most people can agree to some extent that they care about the air they breath. When a converter is damaged, it shows symptoms such as bad smells coming from your exhaust or poor acceleration. Most importantly, it fails to break down any of the toxic fumes exiting your engine. In order to repair a converter, you'll have to replace it, which can be done by using the following instructions.

Materials Needed
- 14mm deep socket
- 12mm deep socket
- Jack and jack stands
- Electronic temperature gauge
- Welder
- Penetrating oil
- Diagnostic checker
- 3/8" ratchet
- 3/8" extension
Step 1 – Ensure it is the catalytic converter
It doesn't hurt to double check that the issue is your catalytic converter. Keep the car in park and bring the throttle up to around 2,500 RPM. Proceed to check the temperature, which should range from 600 to 700 degrees Fahrenheit. If it is too low, the converter needs to be replaced. You may need to get the car up on jack stands to reach the cat.

(Related Article: How to Jack Up Your Car - CamryForums.com)
Step 2 – Prepare the bolts for removal
Every bolt on the exhaust is exposed to high levels of heat, and may sometimes rust on to their threaded locations. Take some penetrating oil and spray each bolt.

Step 3 – Remove the exhaust catalytic converter
- Use a deep 14mm socket to remove the two upper bolts on the front exhaust pipe.
- Remove the two 14mm bolts on the rear pipe.
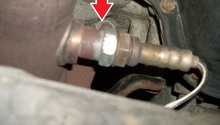
- Remove the two 14mm bolts from the upper back-side of the exhaust pipe. (Refer to Figure 3.)

Figure 3. This shows all the mounting locations on the catalytic converter pipe. 
Figure 4. Remove the 14mm bolts on the front pipe. 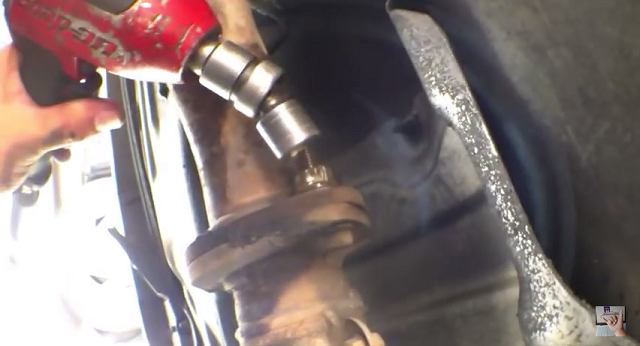
Figure 5. Remove the 14mm rear converter bolts. 
Figure 6. Remove the 12mm bracket bolt.
At this point, the lower portion of the exhaust should be free of the manifold. Remove the entire assembly from underneath the vehicle. If the converter you are replacing is from the top section, you also have to remove the manifold.
Step 4 – Remove the manifold catalytic converter (optional)
For California smog vehicles, Toyota implemented two catalytic converters: one under the chassis and one on the exhaust manifold. To access the one on the exhaust manifold, you'll have to do the following.
- Loosen the 12mm bolts holding the manifold heat shield.
- Remove the heat shield.
- Loosen and remove the alternator.
- Remove the 12mm bolts mounting the manifold to the engine.

Figure 7. Remove the heat shield. 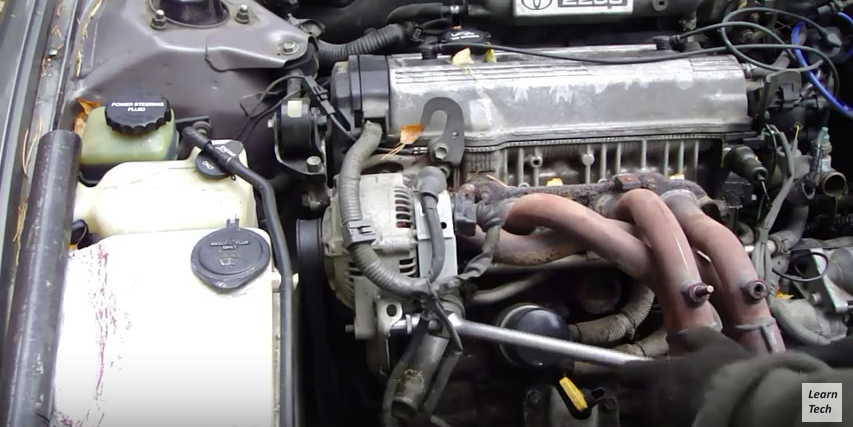
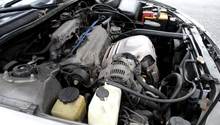
Figure 8. Remove the alternator. 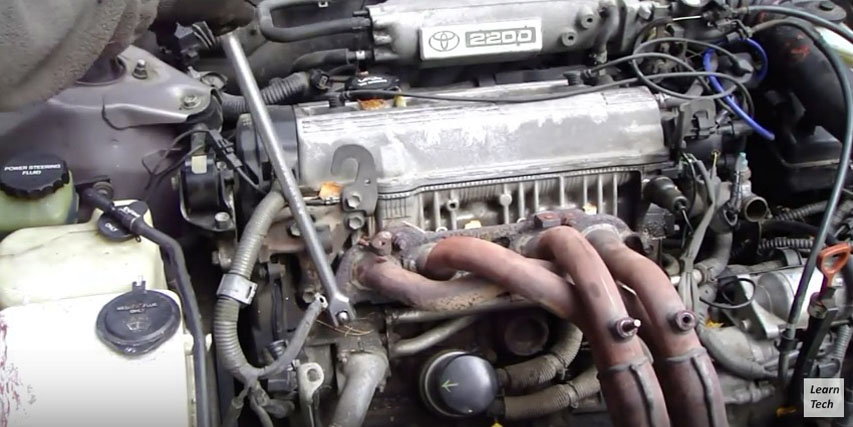
Figure 9. Remove the 12mm manifold bolts.
- Loosen the 12mm bolts from the down pipe.
- Remove the manifold.

Figure 10. Remove the manifold support bracket. 
Figure 11. Remove the lower manifold bolts. 
Figure 12. Remove the manifold.
Featured Video: How to Replace Exhaust Manifold
Step 5 – Weld the catalytic converter
You have two options here, and depending on your skill set, each one can cost relatively the same. You can weld a new catalytic converter from its piping assembly, or just use a complete replacement pipe– at which case you can skip this step and move onto Step 6.
- Measure the old converter.
- Cut it off.
- Attach the new converter.
- Weld it in place.
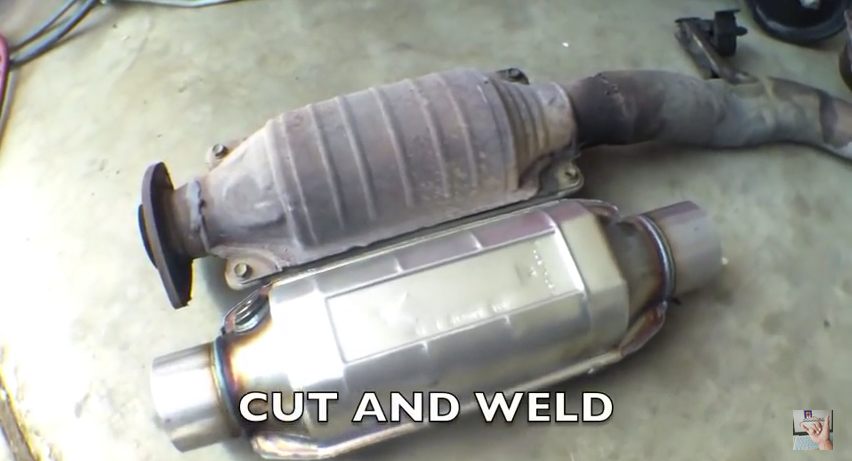
Figure 13. Weld the new converter in place. 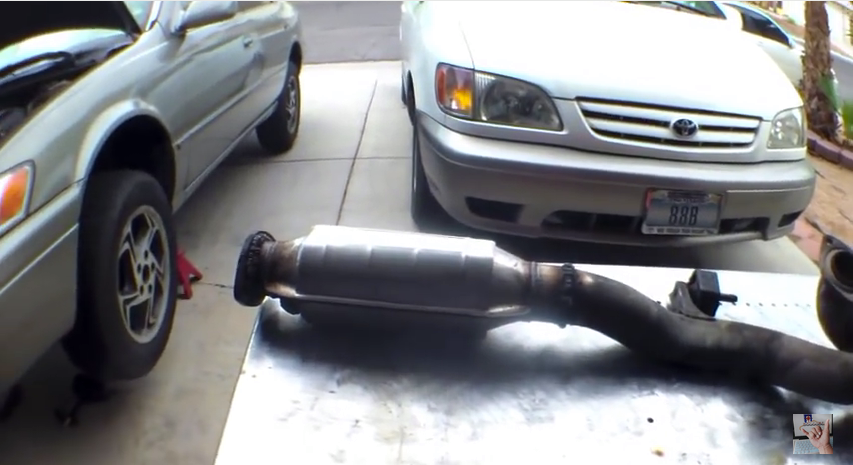
Figure 14. New converter welded in place.
Step 6 – Install the new converter
- Align the converter bracket for the exhaust pipe still hanging on the car.
- Lightly thread a bolt through it.
- Install the 12mm bracket bolt for the exhaust hanger.
- Install all of the 14mm exhaust bolts.
- Lower the car and you are finished!
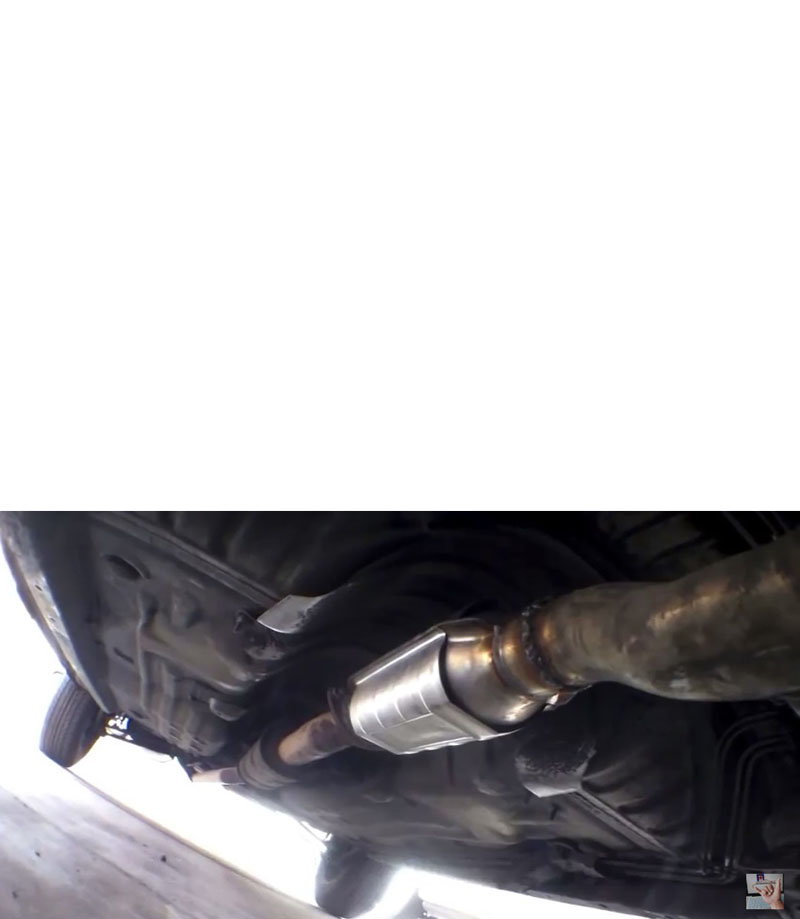
Figure 15. Catalytic converter installed. 
Figure 16. New manifold catalytic converter assembly.
Unlike the lower catalytic converter, where you can weld on a new converter, you can not do so on the manifold. You will have to purchase the complete replacement assembly.
- Mount the new converter onto the exhaust pipe and re-install its hardware.
- Re-install the alternator and drive belt.
Featured Video: How to Replace Catalytic Converter
Related Discussions
- Does Camry 99 Have Two Catalytic converters? - CamryForums.com
- Removing Catalytic Converter - CamryForums.com
- Catalytic Converter - CamryForums.com
- Catalytic Converter Readiness - CamryForums.com