Toyota Camry 1997-2001: How to Replace Heater Core
Replacing the heater core in your Toyota Camry can be an expensive trip to the mechanic. If you are mildly handy however, it is something you can do at home in about one hour and with a few basic tools. Here’s how!
This article applies to the 4th Generation Toyota Camry (1997-2001).
Is the heater in your Toyota Camry no longer blowing out hot air? Chances are the heater core in your car has gone out and needs replacing. This happens over time, so it’s not entirely unheard of. What is a bit surprising to most drivers is how much the cost is to have it done at a mechanic (hundreds of dollars). So if you’re a bit handy and have about an hour to spare, you can perform this replacement yourself by following these simple steps.

Materials Needed
- Radiator fluid
- Flat head and Phillips screwdriver
- Pliers
- Catch pan
- Shop rags
Step 1 – Remove the air intake tube
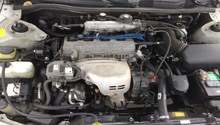
Open the hood an use a pair of pliers to loosen the hose clamps on each end of the intake tube. Then slide the tube off and out. By taking the air intake tube out, you will have more space to operate.

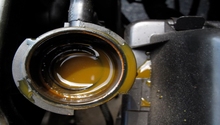
Step 2 – Drain the radiator
Make sure the engine has completely cooled down or you will run the risk of burning yourself. Once the engine has cooled, place a catch pan underneath the radiator cap, remove the radiator plug, and then let the fluid drain to a complete stop.

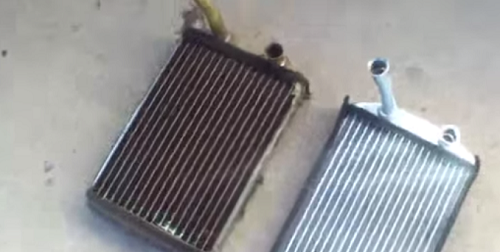
Step 3 – Remove the heater core
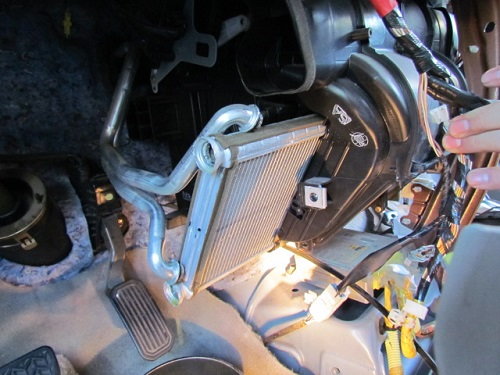
To access the heater core, lift up the carpet to the right of the gas pedal, and then slide the side panel off of the center console. You will see two pipes leading into the engine bay through the firewall, which are secured in place by brackets and screws. Proceed to unscrew and pull off the heater core pipes.
Once the pipes are detached from the firewall, you will see O-rings that are used to secure the pipes to the heater core. Remove the O-rings to pull off the pipes, and then remove the heater core from the vehicle.

Step 4 – Install new heater core and bleed system
Slide the new heater core into place, making sure the new O-rings and pipes are attached. Screw the pipe brackets back into place, replace side panel, and lay the carpet back into its proper place. Slide the piping through the firewall and into the engine bay. Then, close the radiator plug and begin refilling the radiator with new coolant using a funnel; stop pouring in the coolant when the fluid reaches the fill line in the coolant overflow tank.
Make your way to the driver's seat, start the engine, and switch on the heat to its max setting. Remove the radiator cap. Then wait until the engine fan turns on and there are no more bubbles coming out of the radiator's filler hole; you are bleeding the cooling system, which should take about 30 minutes. Screw on the radiator cap once you are sure there are no more bubbles.
Step 5 – Test drive your car
Take your Camry out for a short drive and observe the temperature gauges in your instrument cluster. Make sure the needle is leveled near the center. Once you stop your car, re-check the engine bay and the floor underneath the radiator to make sure there are no leaks.

Featured Video: How to Replace Heater Core
Related Discussion
- DIY: 1997 Toyota Camry Heater - CamryForums.com