Toyota Camry 1997-2001: How to Replace Oil Pump
Replacing your oil pump is a challenge, but you'll be happy with a job well done and lots of money left over.
This article applies to the 4th generation Toyota Camry (1997-2001).
Is it time to change your oil pump? This can be a difficult project to undertake, but it can be done if you have the right tools, the time, and a lot of patience. There are a lot of parts that you have to pull and remove just to get to the oil pump, but once you are in there, it's not so bad. Many times, the pump is just fine and it's just the gaskets or the seals that are bad. Those cost a few bucks and are relatively easy to replace. These pumps are built like a tank, and they really should last longer than the car. A professional is likely not going to take the time to open up the pump and replace those things. He's likely just going to have you pay for a new pump and replace the whole thing. This is not going to be a cheap job by any stretch of the imagination. If it's worth the cost savings to you, give yourself a day to devote to this task. If you don't feel up to it or you think it is going to get too tough, by all means take it to a pro to do the job before you start digging in, because you won't want to have to pay for a tow on top of the repair.

Materials Needed
- 3/8 or 1/2 ratchet and metric socket set
- Open and boxed-end metric wrenches
- Hydraulic floor jack
- Jack stands
- Catch pan for fluids
- Torque wrench
- Shop rags
- Special tools: pulley kit, stud removal tool, and camshaft adjuster tool
Step 1 – Jack up front end and disconnect battery
Use the floor jack to raise the front end and place on jack stands. Make sure to use the correct locations for placement of the jack and jack stands. Chock the rear wheels in the front and rear of the tires. Lift the hood and remove the negative (black) battery terminal. Always disconnect the battery when you are working in the engine compartment.
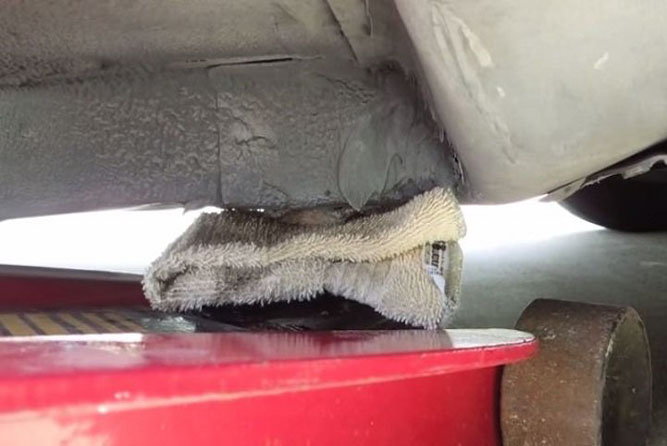
Figure 1. Lift your Camry at the approved locations. Use soft rags on the metal pads to product the undercoating. 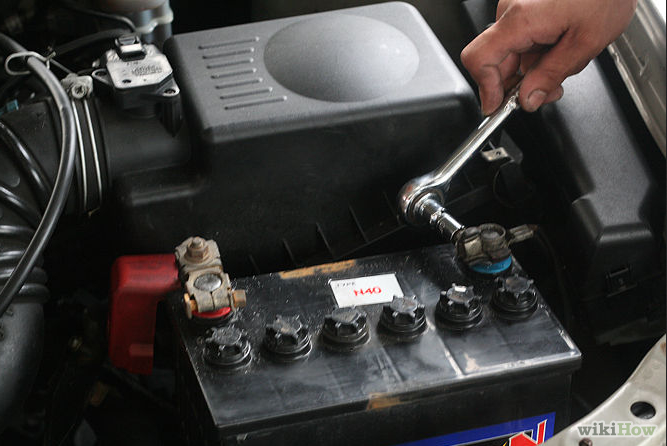
Figure 2. Always disconnect the negative battery terminal before working under the hood.
Pro Tip
Never work under a car without jack stands. The floor jack alone can slip or roll and cause serious injury.
(Related Article: How to Jack Up Your Car - CamryForums.com)
Step 2 – Remove the torque strut and alternator belt
The torque strut is also known as the dog bone because of its shape and size. This is bolted on with a 14mm bolt.
Removing the alternator belt is a long process. The bracket that holds the alternator in place can be swung up and out of the way without completely removing it. The pivot bolt is on the right-hand side. Loosen the pivot bolt enough, but don't completely remove it. There is a nut below and to the left of this pivot bolt that needs to be removed. Once the nut is removed, the bracket can then be swung up and out of the way. This will open up some room to loosen the belt tensioner bolts, which sit at 90 degrees to one another. Once these are loosened, the tensioner can be adjusted to create slack in the belt for removal. An optional step is to remove the fuse box assembly that is mounted with two 10mm bolts, which will give you more room for those tensioner bolts.

Figure 3. Use a 14mm socket or wrench to remove the dog bone. 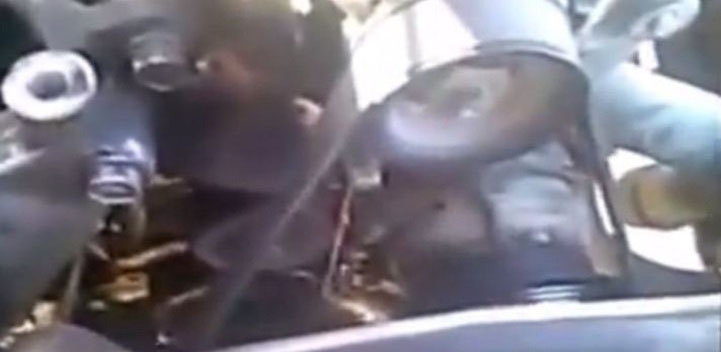
Figure 4. Remove the alternator belt.
Pro Tip
As you already have the belt removed, you should replace it with a new one if you haven't replaced it in a while.
Step 3 – Remove the power steering belt
Use a 12mm socket to turn the power steering belt tensioner. When you create enough slack in the belt, it should come off rather easily. As with the alternator belt, since you already have this belt off, you might as well go ahead and replace it with a new one.

Step 4 – Remove crankshaft pulley
The bolt on the crankshaft pulley is the most difficult part of this job. It is a real pain to remove, and you won't likely be able to do it using brute force. It would also really stink to sheer this bolt or round out the head. The easiest way to do this is to use the bump start method:
- Use a breaker bar or a very long handled wrench and put it on that bolt.
- Wedge the handle on something that won't move, such as a part of the frame or onto the floor.
- Be doubly certain that the wrench will not budge.
- Reconnect the negative battery terminal.
- Get into the car and put the emergency brake on.
- Step on the brake pedal as hard as possible.
- Turn the ignition to the "on" position without turning the engine over; just until you hear the starter engage without actually starting the car. This would be very bad indeed.
- After you hear the starter click, remove the key and check the bolt. It should be plenty loosened now. If not, repeat the bump start method and recheck.
- Once that bolt is loosened, remove it and the crankshaft pulley using a special pulley removal tool.

Step 5 – Remove the belt guide under the crankshaft pulley
Once the belt guide is removed, you will need to make some marks on the timing belt, crankshaft, and camshaft. These must be lined up properly upon re-installation, or your car will not start. Mark the timing belt on the bottom where it is lined up with the crankshaft and again on the top where it is lined up on the camshaft.
Step 6 – Remove the timing belt
Put a breaker bar onto the timing belt tensioner to release the tension, create some slack, and pull the timing belt right off. Make sure that your marks are visible on the belt and that the front of the belt is clearly marked, so you do not put it back on backwards. If you are replacing the timing belt (which, again, you should), line the two belts up together and transfer the marks from the old belt to the new belt.
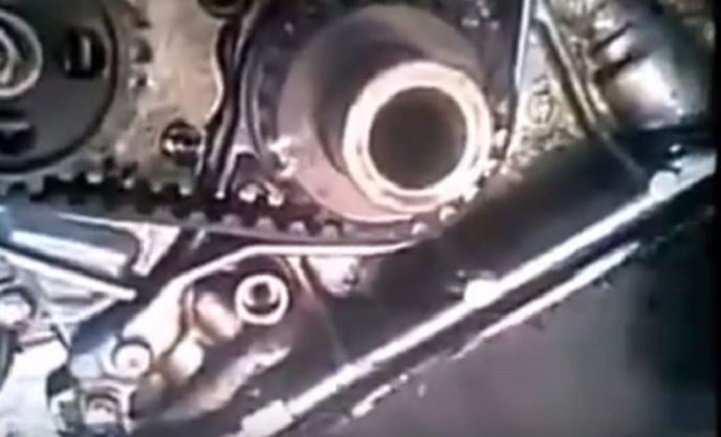
Step 7 – Remove the idler
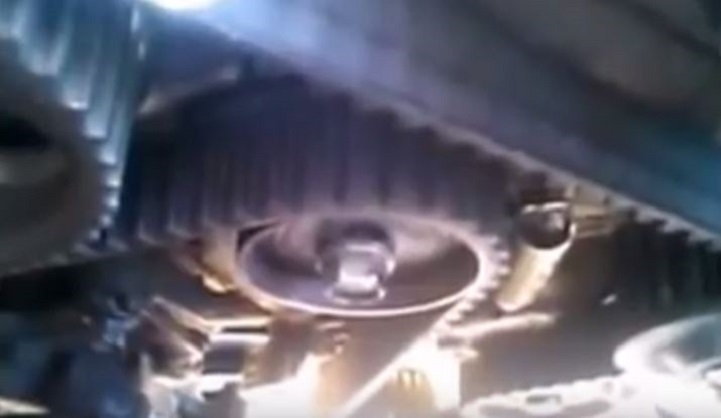
The idler is the smooth rounded pulley and must be removed to get to the oil pump. Use a wrench on the bolt in the center to remove the idler.

Step 8 – Remove the oil pump bolts and crankshaft sprocket
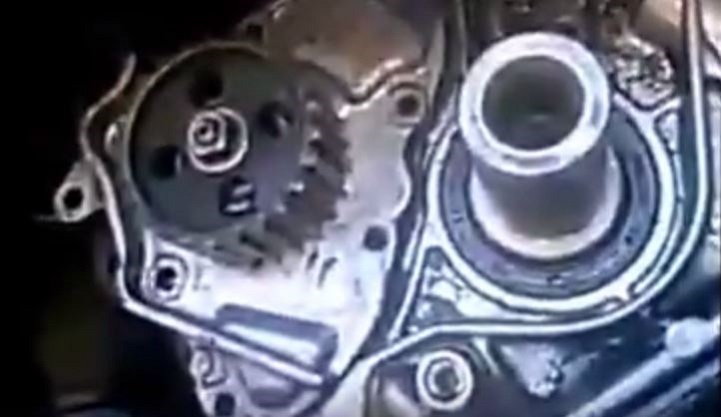
The oil pump is mounted with several 10mm bolts. Remove these bolts, and make sure you keep them in proper order as their sizes vary. Once these bolts are removed, you will have to then remove the crankshaft sprocket. The crankshaft sprocket is on the right. The use of a special adjuster tool will remove this safely without damaging the sprockets.
Step 9 – Change the oil pump seals (or replace entire pump)
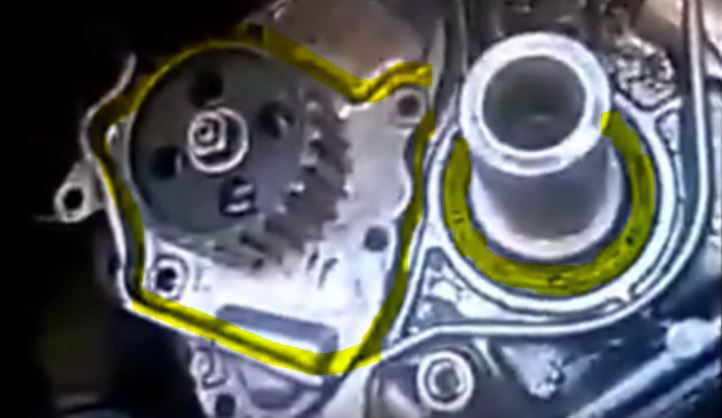
With the crankshaft sprocket removed, you can now change the oil pump seals. If you are going to just replace the entire oil pump, the camshaft sprocket (on the left) will also have to be removed using the adjuster tool to protect those sprockets. Again, the most likely source for oil pressure loss and oil leaks are a result of these seals being work, cracked, or broken. Use a soft plastic putty knife to remove them and scrape away the old seal residue before inserting the new seals.
Step 10 – Button her back up and torque to specifications
Once the seals are replaced, put her back together in reverse order:
- Replace the crankshaft sprocket.
- Replace all the oil pump bolts to their original position.
- Replace the idler.
- Install the new timing belt, be sure to line up the marks correctly, and then replace the belt guide.
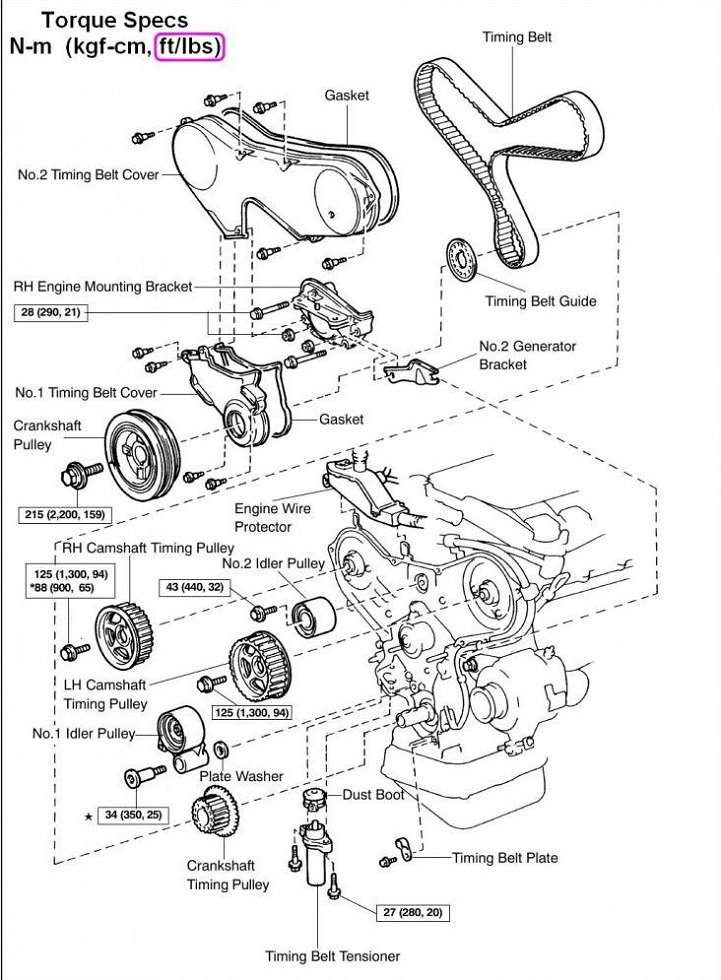
- Replace the crankshaft pulley and make sure to tighten it to specs, which is approximately twice the toque of your wheel's lugs.
- Install the new power steering and alternator belts.
- Re-install the dog bone.
- Re-install the negative battery terminal (if you haven't done so already) and start her up.
- Drop the car and take it for a test drive, closely watching the oil pressure light.
Featured Video: Toyota Camry Oil Pump Replacement
Related Discussions
- Oil Pump Seals - CamryForums.com
- Low Oil Pressure After Timing Belt Change - CamryForums.com
- Oil Pump Leak, What Seals? - CamryForums.com
- Timing Belt and Oil Seals Job - CamryForums.com