Toyota Camry 1997-2001: How to Replace Valve Cover Gasket
Step-by-step instructions for fixing the leak that may be occurring around your valve cover. Not much time and even less expense, save both by doing it yourself.
This article applies to the Toyota Camry (1997-2001).
For some reason, this particular Toyota Camry engine is known for valve cover leaks. Fixing the problem is not difficult and it will take you less than an hour to complete. Doing it yourself will only cost you the price of a new valve cover gasket, and maybe some cleaning solutions as well as silicone gel. Contrast that with what your mechanic will charge you, and you'll be glad that you continued with this article.

Materials Needed
- 30mm socket
- Pliers to pull off some hoses (if necessary)
- Screwdriver or like device in case it is necessary to pry up the valve cover
- Torque wrench for replacing the lock nuts
- Brake cleaner and Q-tips
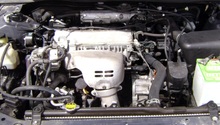
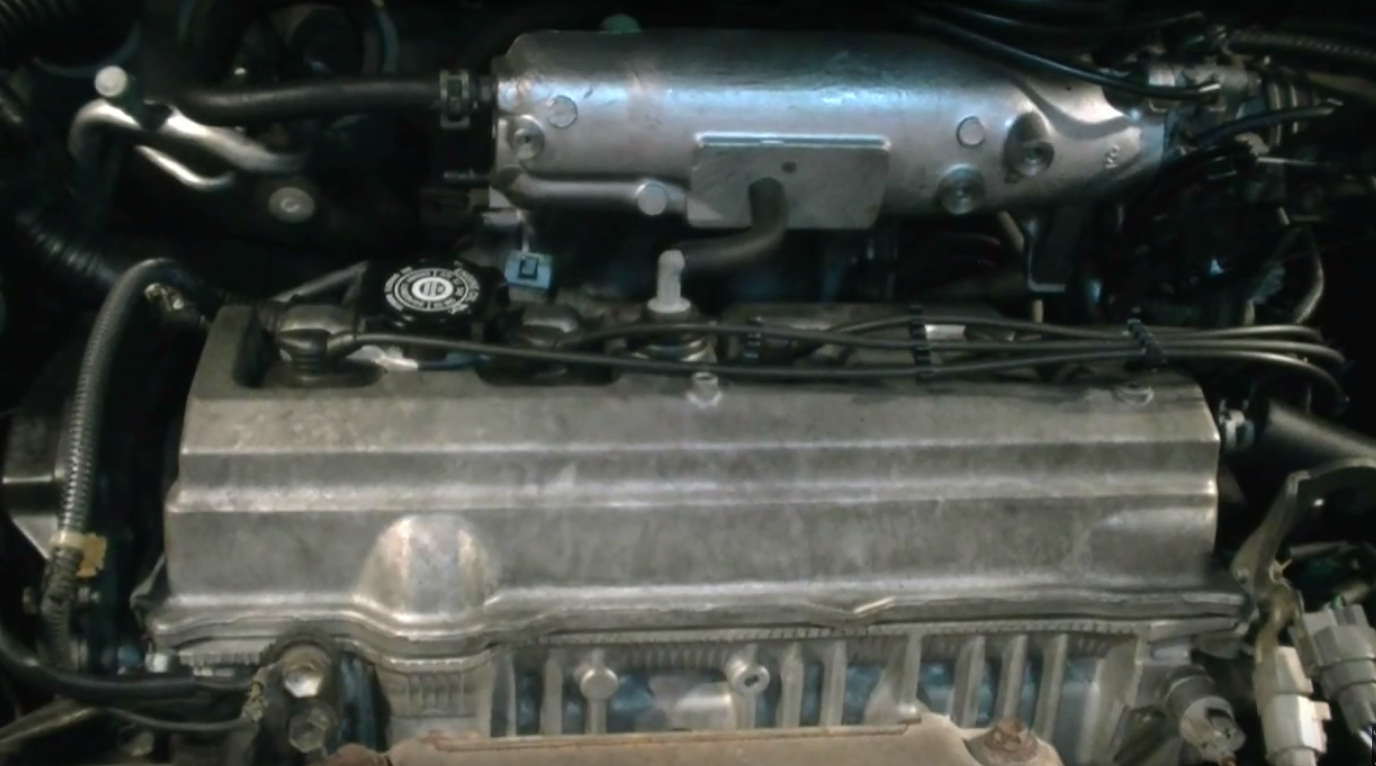
Alright, it's time to get started. We are about to get familiar with the metal valve cover, as seen below.
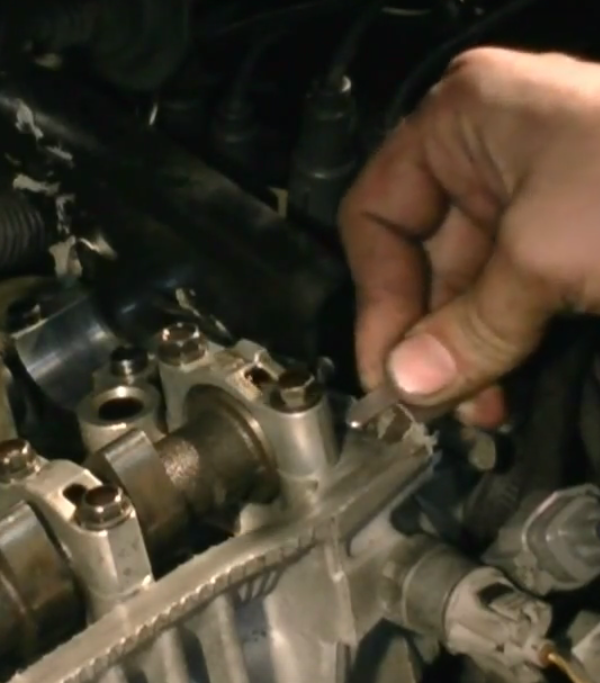
Step 1 – Remove the spark plug wires, PCV valve tube, and vacuum hose
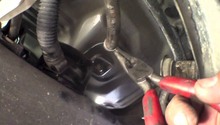
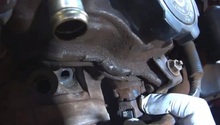
We want to remove as much stuff in the way of the valve cover as possible. In this case, these items all require removal. Pull the plug wires off by hand. The PCV valve, located in the center of the valve cover, should twist and pop out. These tend to be fragile after many miles of service, so be as gentle as possible. The vacuum hose on the driver's side of the motor has a clamp on it, so get out your pliers and slip it off; the hose should then come free.
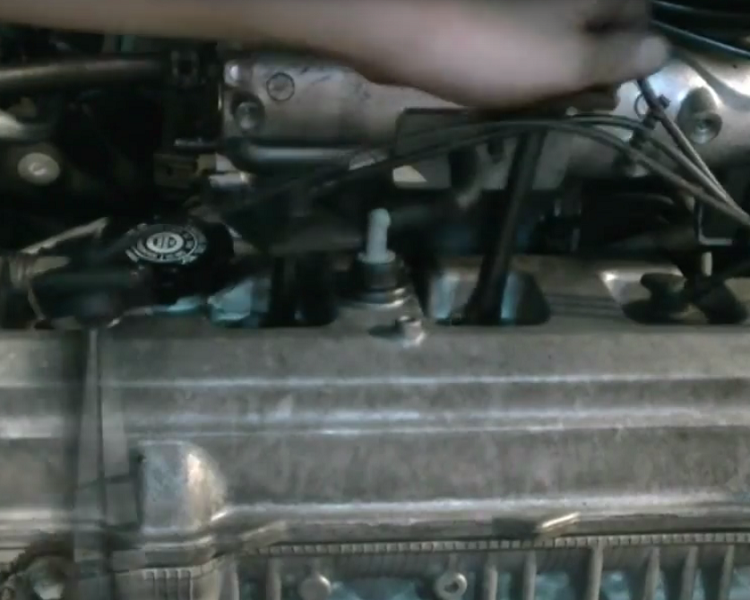
Figure 2. First remove the spark plug wires. 
Figure 3. Then remove the tube from the PCV valve. 
Figure 4. Remove the vacuum hose from the right side.
Pro Tip
You can either remove the tube from the PCV valve, or the PCV valve itself by removing the tube from where it goes into the intake manifold. Whichever is easier.
Step 2 – Remove valve cover
Crack out that big 30mm socket and remove the top four nuts surrounding the spark plug opening. These secure the valve cover down. With these removed, the valve cover should be able to be lifted. It should be noted that many miles of service and many years of grime may have "fused" the valve cover on. Plastic pry tools can be invaluable here. At this point, make sure any vacuum hoses or similar stay free of your "work area" to ensure that nothing gets crossed up or lost while you're working.

Figure 5. Use a 30mm socket to remove the four nuts on top of the valve cover. 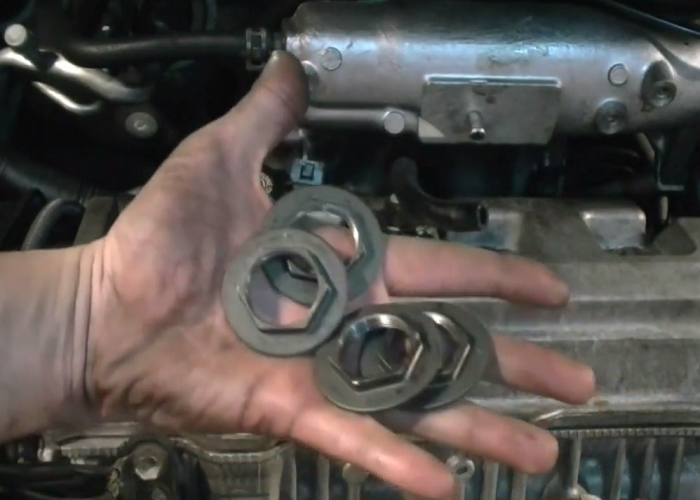
Figure 6. The four nuts you've just removed. 
Figure 7. Remove the valve cover.
Step 3 – Clean engine block
Scrape off the old gasket residue from the engine block with a razor, and then clean the surface with a rag and some brake cleaning fluid. Don't be over exuberant with your razor blade and scraping; you don't want to scratch the surface.
Step 4 – Clean the valve cover
Clean the groove of the valve cover where the new gasket will be put in place. Do the same on top of the valve cover that fits over the spark plug well. Use a bit of brake cleaner and some Q-tips (if you're gentle, resume the use of the razor blade) and clean the mating surface of the valve cover to ensure a leak-free gasket install.

Figure 9. Cleaning the valve cover groove. 
Figure 10. Cleaning the valve cover's groove.
- Do the same on top of the valve cover where the spark plug wells are.

Step 5 – Put your new gasket in place on valve cover
Slip the new valve cover gasket into the grooved section of the valve cover, and ensure that it is seated flush with the surface. If the valve cover is reinstalled with the gasket not seated correctly, it could tear the gasket and ruin it. The valve cover gasket is malleable, and shouldn't require much force or pressure to conform to the shape of the valve cover. Be careful not to tear or damage the gasket.
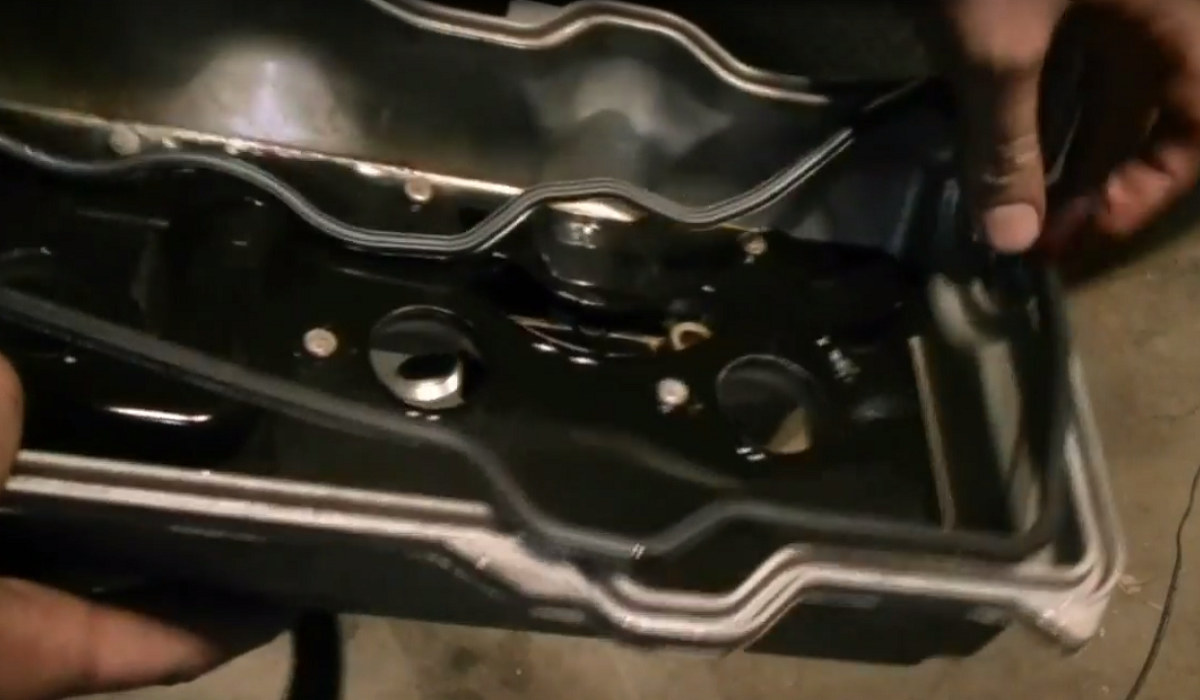
Figure 12. Slide your new gasket into the groove on the valve cover. 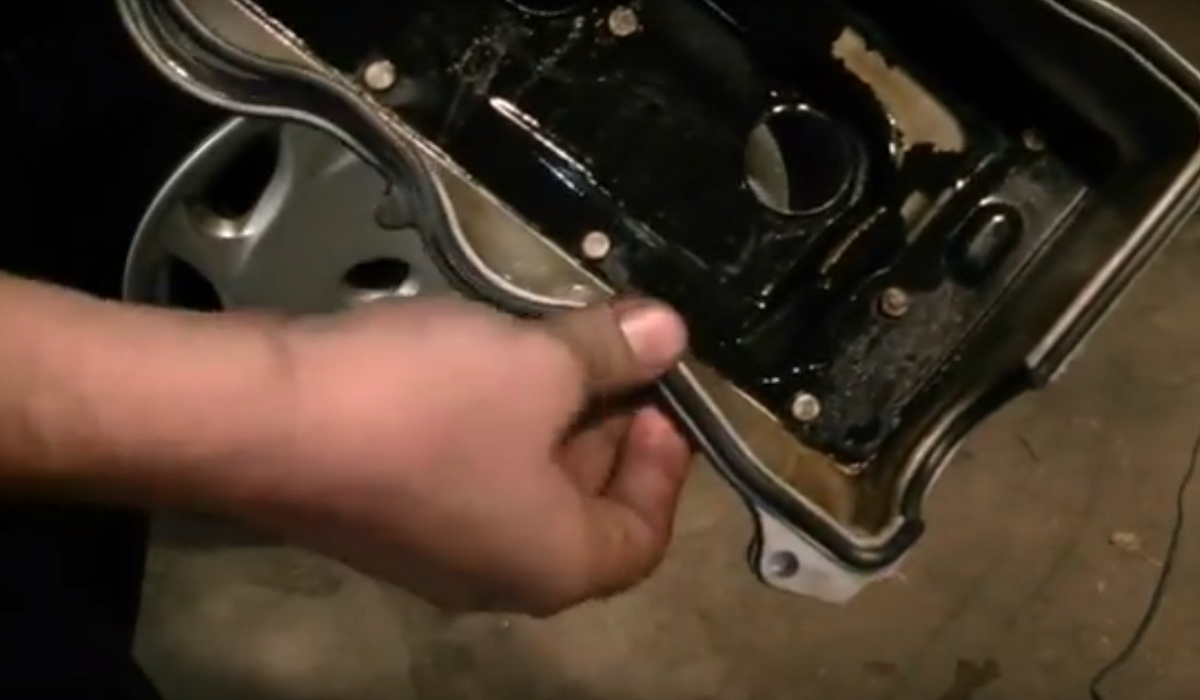
Figure 13. Put your new gasket in place.
Step 6 – Add RTV silicone in four specific areas
- Add silicone just in front of and just behind where the bearing cap meets the cylinder head.
- Add a bead of silicone on the front right-side of the casing where there is an uneven area.
- Lastly, put silicone on the same two spots on the other end of the block.

Figure 14. Silicone here where there is an uneven spot.
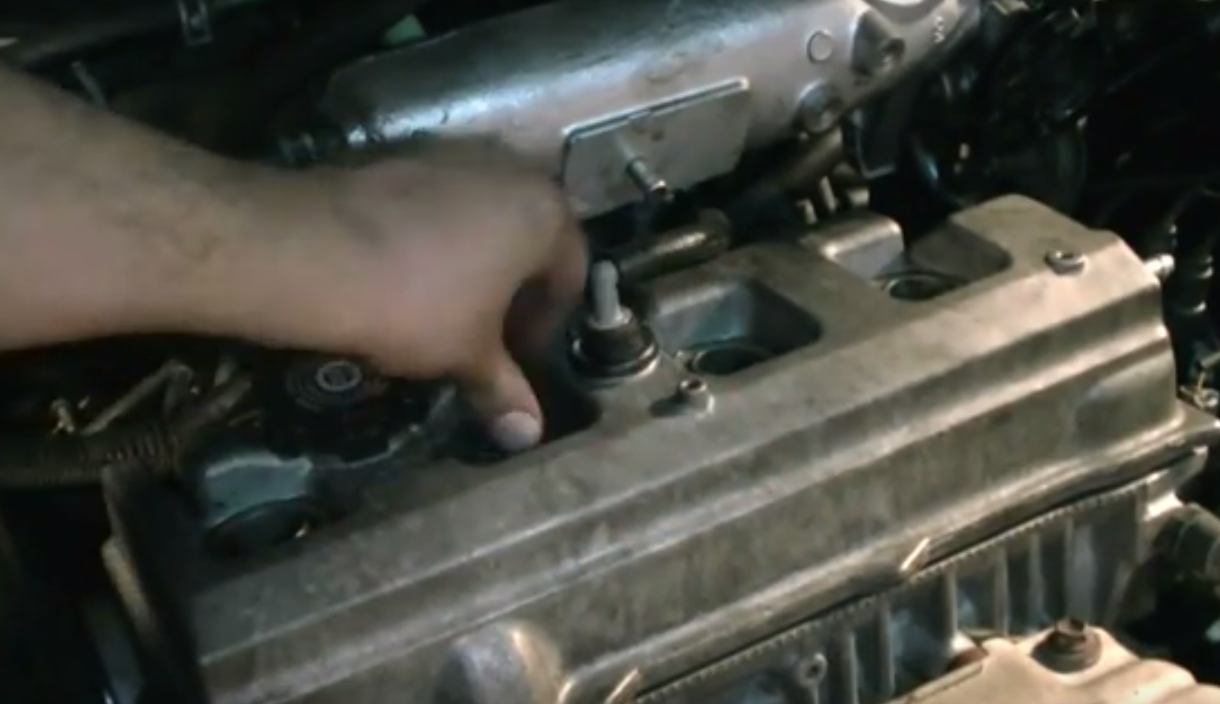
Step 7 – Put the valve cover back on
Do it as easily and evenly as possible to avoid having the gasket slip off. Make sure all the cables are out of the way before you put the cover back on.

Step 8 – Reinstall
Don't forget the rubber grommets that go in the spark plug wells first. Then, tighten the locking nuts with a torque wrench to approximately 12 ft/lbs.
After you've replaced the valve cover and tightened down the nuts, simply reattach the vacuum hose, the hose to your PCV valve and your spark plug wires.
Pro Tips
- If you don't have a torque wrench, many auto part stores have a "borrow program." You might want to check there before purchasing one.
- The reason you use a torque wrench is that you want to make sure each nut is tightened to the same pressure to avoid any difficulty or leaking down the road.
- It is very important that you tighten the nuts in this order: 1) Left-middle, 2) Right-middle, 3) Far-left, 4) Far-right.
Featured Video: How to Replace Valve Cover Gasket
-
Part One
-
Part Two
Related Discussions
- Valve Cover on 99 Camry - CamryForums.com
- 2001 Camry Valve Cover - CamryForums.com
- Replacing Valve Cover Gasket 2000 Camry - CamryForums.com