Toyota Camry 1997-2011: Brake Diagnostic Guide
Do you feel like your Toyota Camry's brakes are different? There are many components in the brake system that can go wrong, so read on to learn how you can diagnose the issue yourself.
This article applies to the Toyota Camry (1997-2011).
The brake system may seem like a complicated system, but diagnosing it isn't as hard as you may think. Since this system works with pressure and friction, a lot can and will go wrong. Since the Toyota Camry is made to be driven everywhere, brake components will need to be replaced often. The more you wait to fix a brake issue, the worse it will get. If you wait too long to replace the brake pads, you will damage the rotors and need to replace them, as well. The more you wait on a faulty brake caliper, the more damage you will cause to the pads and rotors. Also, the more you wait on a leaking brake line, the less effective your brake system will get. Overall, it's good to diagnose a brake issue as soon as it arises. So read on to learn what is wrong with your brakes.

Materials Needed
- Flashlight
- Jack and jack stands
- Tire iron
- 14mm socket
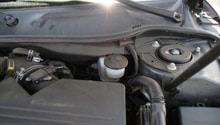
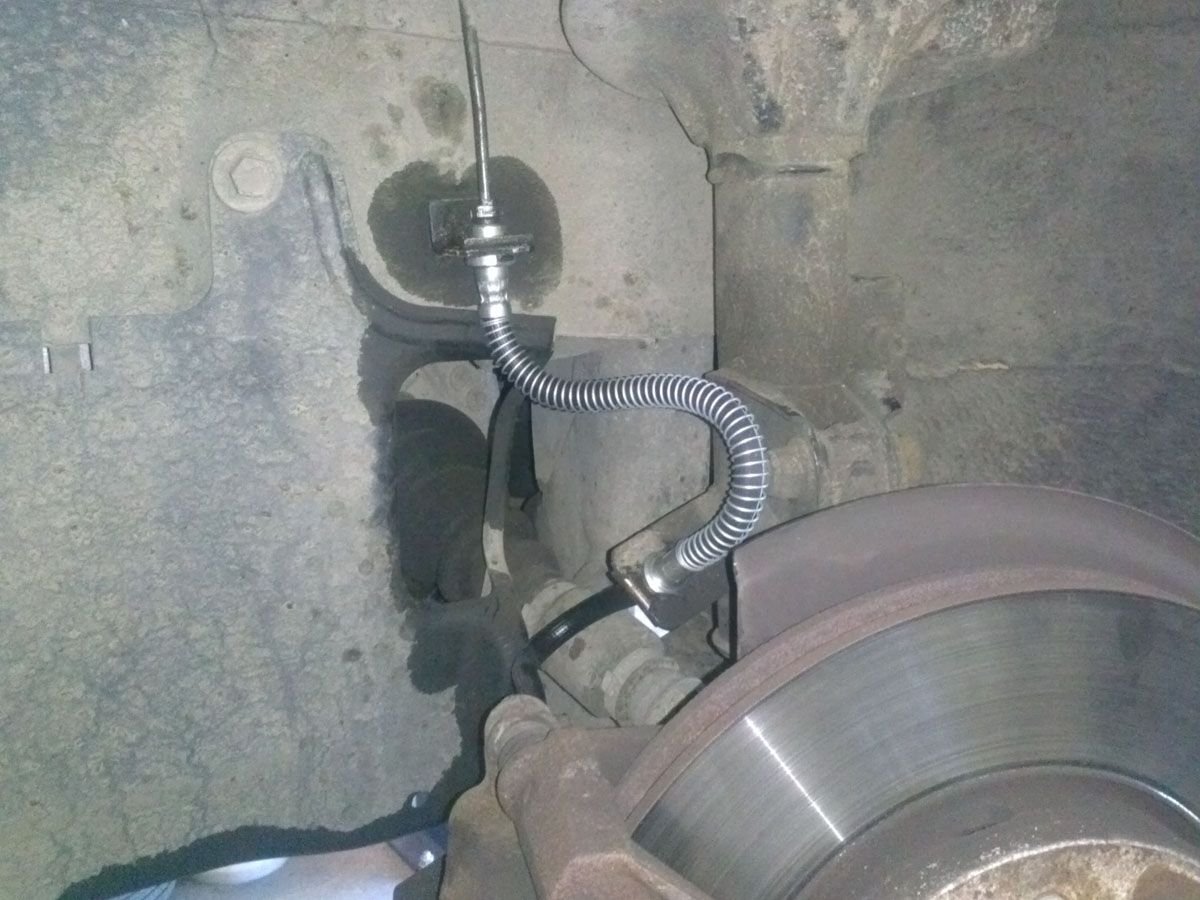
Step 1 – Check for leaks
Your Camry could be leaking brake fluid.
The first thing you always want to do is to check for brake fluid leak. The best place to check is under the hood in the brake fluid reservoir. Check to see if the fluid is lower than the max line. Then use your flashlight to check all the brake lines connected to the calipers. Follow the lines and check for any signs of wetness or cracks. If you see any leaks or cracks in the brake lines, replace them. Measure the length of the brake line and buy a similar sized one. Replace it and bleed the brakes. A sign of a leak or a bad brake line is also a spongy brake pedal. If your brake pedal feels fine and the brake fluid reservoir is full, you most likely don't have a leak.
If you don't have a brake fluid leak, proceed to Step 2.
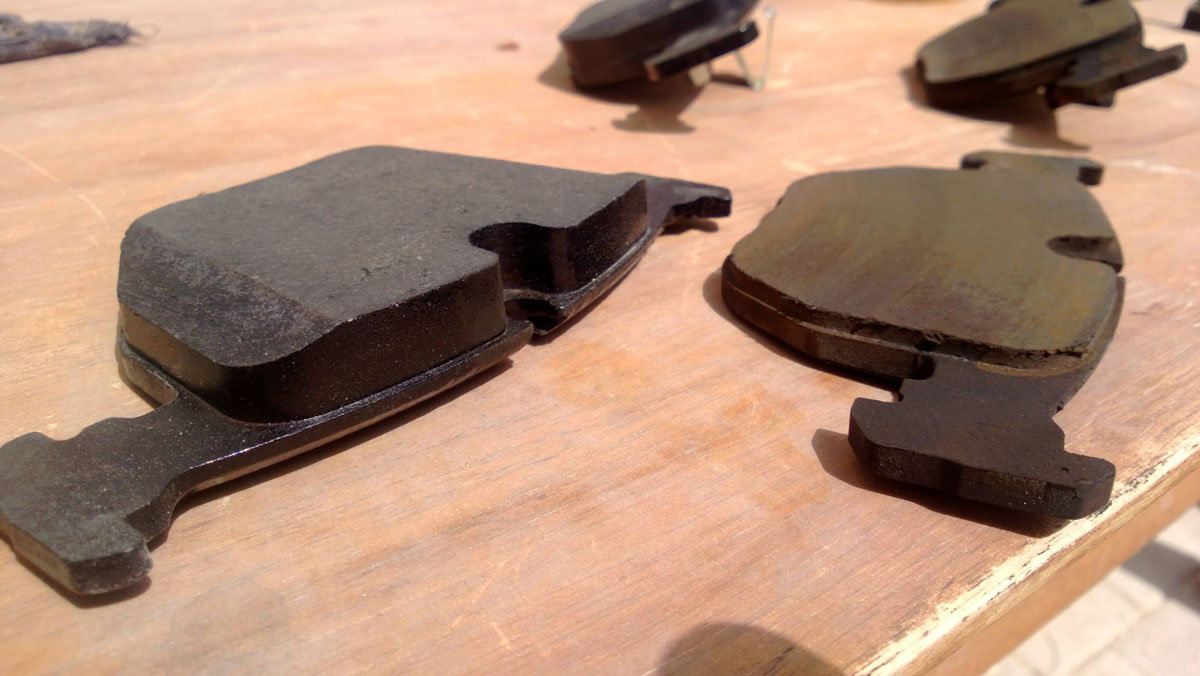
Step 2 – Check brake pads
They could be worn.
A sign of worn brake pads is a squealing noise when you brake. This could start really subtle, as you only hear it as the car comes to a complete stop and when it gets worse, you can hear it as soon as you step on the brake pedal. To check the pads' thickness, loosen the lug nuts on the wheel you hear the squealing from, then raise the car and secure it on jack stands. Remove the wheel and use your socket to remove the caliper's bolts to reveal the brake pads. The brake pads should be not less than 2-3mm. If they are too thin, replace them with new ones, compress the caliper's piston, then install the caliper back in place.
If your brake pads are good or you've replaced them but you still hear squealing, proceed to Step 3.
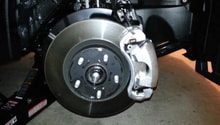
Step 3 – Check your rotors
They could be cracked, grooved, or rusted.
If you ever leave your worn brake pads for a while, you will damage the brake rotors. If you still hear a squeal, a grind, or a shaking steering wheel while you're braking, check your brake rotor. If you see any grooves on it, cracks, or rust, you will need to replace it. To replace your brake rotor, with the caliper and pads off, tap it with a rubber mallet to wiggle it loose, then pull it straight out. Install the new brake rotor in its place and install the caliper back on.

If you replace your rotor or it seems fine and you're still having issues, move on to Step 4.
Step 4 – Check your brake caliper
The caliper's piston could be sticking.
If you feel like your car is working against you and you hear consistent squealing, your brake caliper's piston could be sticking. Brake calipers aren't known to go bad or need replacement; however, sometimes they stick, causing the pads to rub on the rotor. Try replacing it as soon as you discover the issue to avoid replacing the pads and rotors with it. To replace it, you simply need to remove the two bolts holding it in place, remove the brake line bolt, and install it in the new caliper, install the pads in it, and place it back on the rotor. You will need to bleed the brakes after this procedure.

If the caliper isn't the culprit, proceed to Step 5.
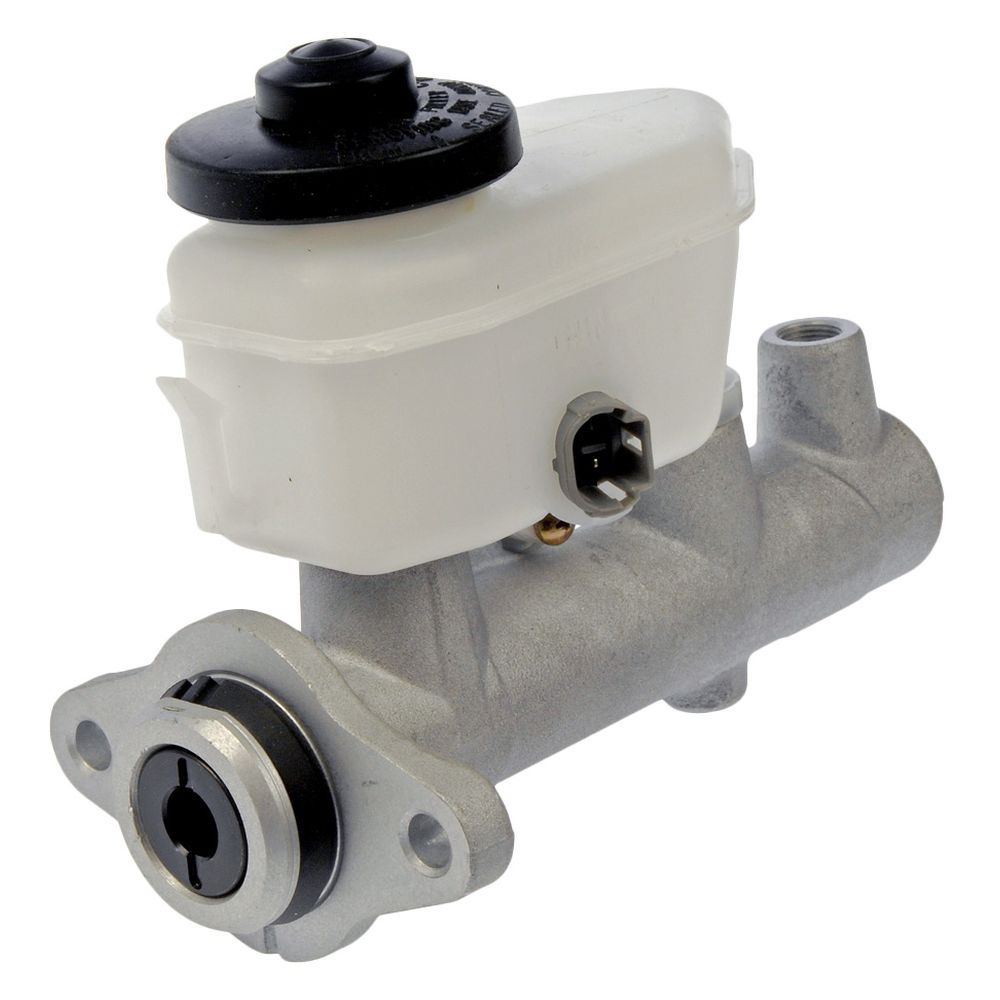
Step 5 – Check master cylinder
The pistons could be worn.
The master cylinder is the heart of the brake system. Overtime, the pistons get worn and it starts losing pressure, and since the brake system is a pressurized system, no pressure means bad brakes. After visually inspecting for leaks and bleeding the brakes, you're left with the master cylinder as the culprit. Check the brake pedal and if it's too low, then it's definitely the master cylinder. To replace the master cylinder, you will have to drain it from brake fluid, remove the bolts holding it, and replace it with a new one. Bleed the brakes when you're done.
Related Discussions
- Brake Grind - CamryForums.com
- Clunking Noise - CamryForums.com
- Brake Noise - CamryForums.com