Toyota Camry 2002-2006: How to Replace Fender
Replacing your damaged fender on your Camry is not only easy, but is extremely good for resale value. Follow this easy DIY to find out how you can easily replace your own front fender!
This article applies to the Toyota Camry (2002-2006).
Due to the perils of daily driving, your Camry might experience some battle scars on its fenders once in a while. Once you realize you are sick of looking at your damaged fender and want to replace it, there are a couple of options available. Since Camry's are so popular, you can find used fenders fairly easily at a local junkyard, maybe even a fender that is painted the same color! The other option is to buy an aftermarket fender and have it painted. However, these are known not to fit as well as OEM fenders and require more work to fit properly. After replacing your fender, you will enjoy the satisfaction of saving a bunch of money and having a pristine Camry!

Materials Needed
- 10mm socket and wrench
- Flat head and Phillips screwdriver
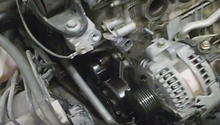
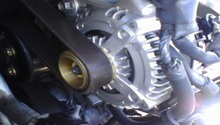
Step 1 – Remove bolts under hood
Remove the 10mm bolts holding your fender on in the engine bay. Save these bolts in a labeled baggie so you know where they go. The next bolts under the hood are two 10mm bolts under the headlight. After removing these bolts, you are done under the hood.

Figure 1. Under hood bolts. 
Figure 2. Bolts under headlight.
Pro Tip
Be careful with the headlight connectors when you reach in and remove the 10mm bolts.
Step 2 – Remove bolt in door jamb
Remove the 10mm bolt in the door jamb. There should only be one bolt in the door jamb that should be easy to access with an extension on your ratchet.
Pro Tip
Do not drop the bolt in the door jamb as it could be hard to find and remove.
Step 3 – Remove fender liner
The fender liner simply comes off with a series of 10mm bolts. It will be easier to remove to wheel and access the fender liner bolts if you have a jack and torque wrench.

Pro Tip
Saves these bolts in a different location since they are easy to confuse with the under hood bolts.
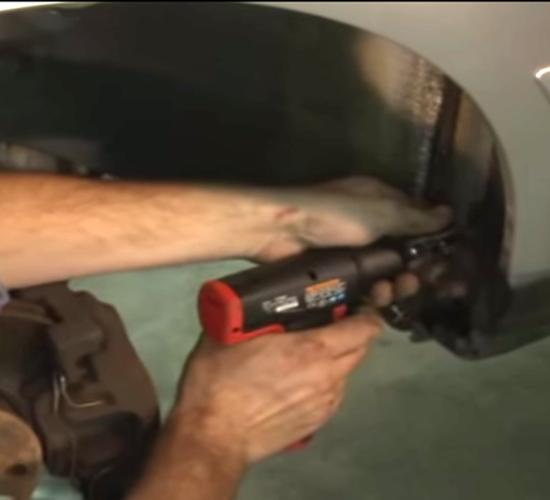
Step 4 – Remove bolt under side skirt
Lastly, remove a 10mm bolt under the side skirt and the fender should be free from the car. Gently pull the fender off of the car. You have successfully removed your fender!

Step 5 – Install new fender
Install new fender in the reverse order of fender removal. Make sure everything lines up before tightening anything.

Related Discussion
- 02 Camry Fender Replacement Do It Yourself- Camryforums.com