Toyota Camry 2002-2006: How to Replace Power Window Regulator
Power windows can stop working for a multitude of reasons, but the regulators are most likely the cause. Read more to find out how to fix it.
This article applies to the 5th Generation Toyota Camry (2002-2006).
You reach over to push the power window switch, expecting the window to comply with your desired command, but nothing happens. Power windows rely on a few different components to operate properly and go up or down as intended. The power window assembly relies on electrical power delivered through the wiring to the power window switch panel, and then to the window's gear and regulator for the window to move. A faulty regulator will render the entire system useless. While replacing the regulator isn't all that complicated, you may want to visit a dealer or repair shop if you don't feel comfortable digging into the door panel.

Materials Needed
- Replacement Toyota Camry window regulator
- Phillips screwdriver
- 10mm socket
- Ratchet and extension
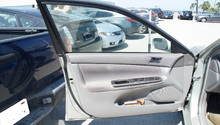
Step 1 – Remove the door panel
To gain access to the power window assembly, the door panel must first be removed.
- Start by using a Phillips screwdriver to remove the screw behind the door handle.
- Remove the plastic insert in the door's pull-handle cubby. Then remove the screw at the bottom of the cubby.
- Use a trim removal tool to pop out the door panel's retaining clip near the side mirror. Then remove the screw that is behind the clip.
- Remove two additional screws located at the very bottom of the door panel.
- Once that is complete, carefully wiggle the door panel off.
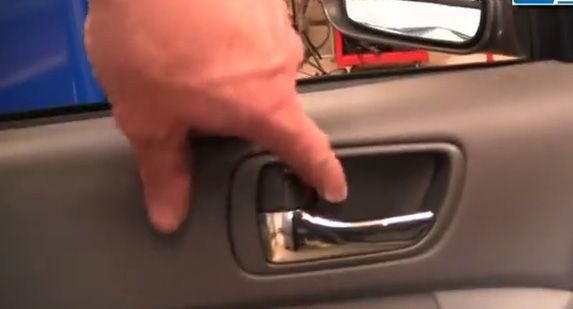
Figure 1. Remove screw behind the door latch. 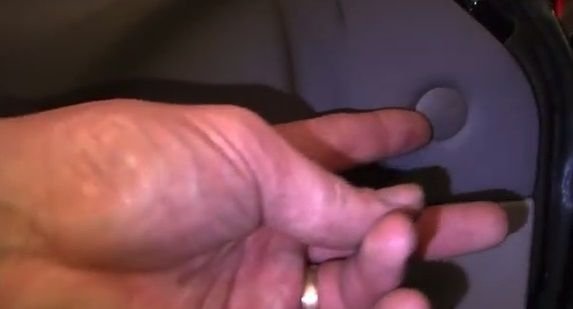
Figure 2. Remove cover in the pull-handle cubby and then remove the screw. 
Figure 3. Remove screw behind the door panel retaining clip.
Step 2 – Remove the old power window regulator
- With the panel removed, carefully peel back the water shield covering the door frame. Make sure not to rip or tear the shield as it will be reused.
- Use a ratchet with 10mm socket to remove the four screws holding the speaker in place.
- Remove the bottom two 10mm bolts that support the window glass.
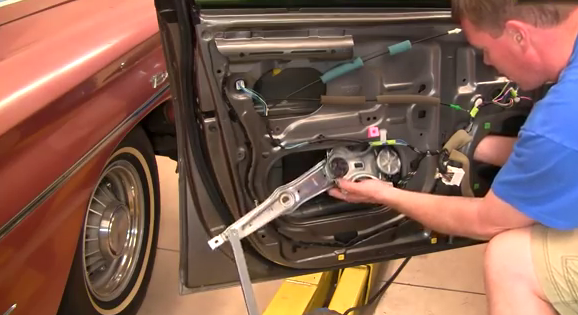
- Remove an additional four 10mm bolts that secure the power window regulator to the inside of the door frame.
- Then slide out the old power window regulator from the large opening at the bottom of the door frame.
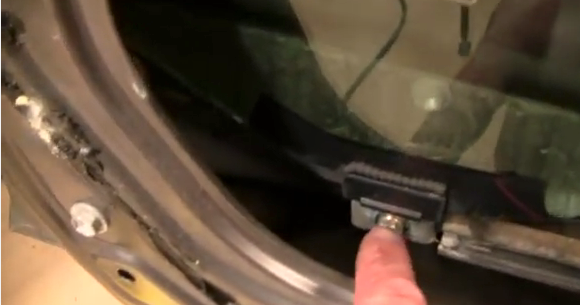
Figure 4. Remove single bolt at the bottom of the regulator. 
Figure 5. Remove four bolts on the frame to release the regulator.
Step 3 – Install the new power window regulator
With the old regulator removed, install the new power window regulator in reverse order.
- Slide the new regulator into the bottom door frame opening.
- Use the bolts to secure the regulator to the door frame.
- Press the water shield down onto the frame, and make sure it adheres tightly.
- Mount the door panel back onto the door frame.
- Re-install the screw in the door's pull-handle cubby, and drop in the insert.
- Re-install the door panel screws, and snap in the retaining clip.
- Re-install the screw behind the door handle.
Featured Video: How to Replace Power Window Regulator
Related Discussions
- Replacing Camry Window Regulator - CamryForums.com
- Camry Power Window Won't Go Up - CamryForums.com