Toyota Camry 2002-2006: How to Replace Serpentine Belt, Idler and Tensioner Pulley
Most engine squeals are the results of a worn out belt, idler, or tensioner pulley. Due to hundreds of heat cycles and wear on the rubber belt as well as bearings in the pulleys, the annoying noises you hear arise.
This article applies to the 5th generation Toyota Camry (2002-2006).
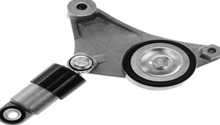
Your serpentine drive belt is extremely important to the function of your Camry. It basically transfers the rotational energy created by the engine to your accessories and water pump. Without this part, your Camry will not run at all, and a malfunctioning belt could lead to engine failure. Another essential part of your drive system is your idler and tensioner pulley. This pulley makes sure that proper tension is maintained on the serpentine belt throughout its service life. Due to the intrinsic qualities of a serpentine belt, it can stretch or shrink from age, which makes it important for the tension to be adjusted accordingly. If you suspect an issue with your serpentine belt or tensioner, follow the easy steps below to get back on the road safely!

Materials Needed
- 10mm and 14mm sockets
- Ratchet and extensions
- 10mm wrench
- 19mm socket and torque wrench
- Jack stand
Step 1 – Remove front passenger's side wheel and lift vehicle
Remove the lug nuts using a 19mm socket and a torque wrench. Lift the front of the Camry on its frame and remove the wheels. This will give you access to the belt tensioner pulley.

Pro Tip
Use a jack stand to make it safer when you are working in the fender well.
(Related Article: How to Jack Up Your Car - CamryForums.com)
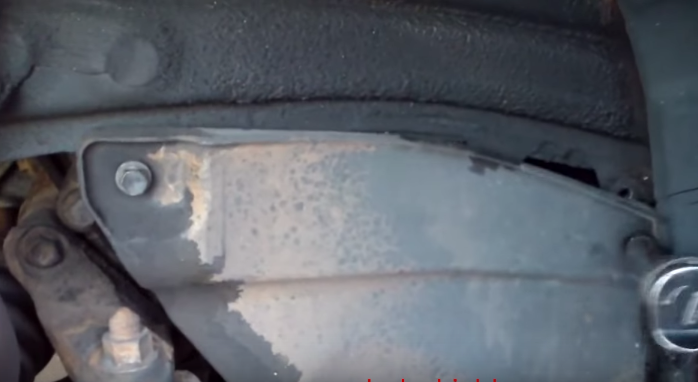
Step 2 – Remove inner fender liner panel
Remove the inner fender liner panel (shown in Figure 2) to gain access to the engine drive system, so you can replace the tensioner and serpentine belt. There are two 10mm bolts that need to be removed.
Pro Tip
Label and save your bolts so you know where they go during re-installation.
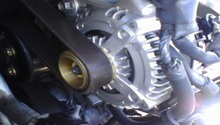
Step 3 – Remove serpentine belt
Remove the serpentine belt by turning the 19mm bolt on the tensioner clockwise. It is easiest to access this bolt from the engine bay as shown in Figure 3. After the tension is released, you can maneuver the belt out of the engine bay.

Figure 3. Turn tensioner bolt clockwise. 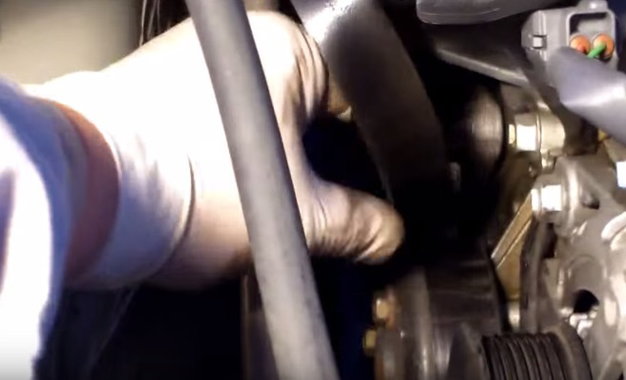
Figure 4. Belt removal.
Pro Tip
Take pictures of the routing of the belt so you know how to route the belt during re-installation.
Step 4 – Remove tensioner bracket
Remove the 14mm tensioner bracket bolts as shown in Figure 5.

Step 5 – Remove "dog bone" bracket
Remove the "dog bone" bracket as shown in Figure 6. This requires you to remove two 14mm bolts and maneuvering the bracket off.

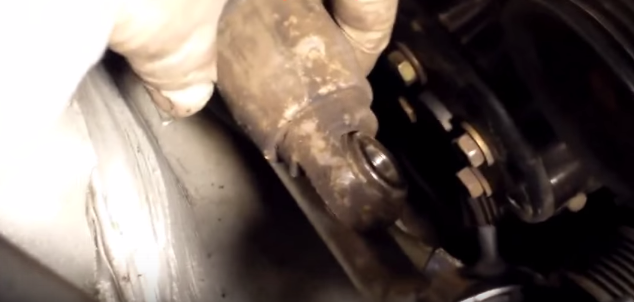
Step 6 – Remove last tensioner bolt
You are almost done! There is one tensioner bolt that needs to be removed carefully to allow the whole assembly to come out. This bolt connects the tensioner strut to the tensioner itself.

Figure 7. Tensioner bolt location. 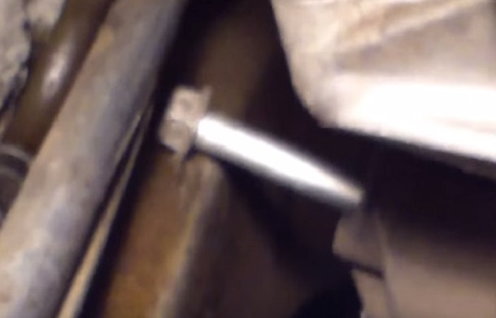
Figure 8. Bolt removed.
Pro Tip
Be careful removing this bolt, as it is under tension and needs to be handled with care.
Step 7 – Remove tensioner assembly and install new parts
There is nothing holding the tensioner assembly on to the engine anymore, so it can be pulled out of the engine bay. That's it! You have removed everything necessary to install your new tensioner pulley and serpentine belt. The installation of the new parts is the exact reversal of the above steps.
- Install new tensioner and mount.
- Install new idler and dog bone.
- Re-route new serpentine belt around all tensioners, and set belt tension with just a little bit of slack.
- Button up fender liner.
- Re-install wheels.
Featured Video: How to Replace Drive Belt Tensioner
Related Discussions
- Serpentine Bent on '07 Camry - CamryForums.com
- Camry Idler Pulley Replacement - CamryForums.com
- 2003 4cyl Serpentine Belt - CamryForums.com