Toyota Camry 2002-2006: How to Replace Struts
Struts cushion the shock and vibration from the unevenness in the road. A shock absorber filled with fluid compresses to reduce these unwanted effects. When struts wear out and break, the metal coil springs begin to act as the absorber, transferring much more movement throughout the vehicle.
This article applies to the 5th generation Toyota Camry (2002-2006).
Struts move with the vehicle's unsprung weight. This weight is the components that move with the wheels as the vehicle is traveling down the road. Struts are designed with various stiffness (damping levels) for vehicle control and ride quality. Worn out struts can be identified with a road test and visual inspection. If an increased level of shaking movement is felt throughout the vehicle while driving, the shocks may be the cause. Squeaking noises may be accompanied by the reduced ride quality. Knocking noises can indicate your struts mounts are broken. While looking from underneath the vehicle, torn rubber boots and leaking fluid both indicate your shock is in need of replacement.
Materials Needed
- Socket set 8mm-21mm
- Wrench set (preferably ratcheting)
- Allen wrench
- 1/2" ratchet with extension
- Torque wrench
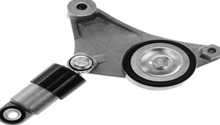
- Spring compression tool (for un-assembled struts)
- Floor jack
- Jack stands (at least 3)
Monroe Quick Struts and coilover type struts are preassembled packages that come with the spring and shock. These do not require a spring compressor for removal; although, both configurations will be covered in this how-to.
Step 1 – Raise and support vehicle
Loosen all four wheel's lug nuts one full turn before raising them off the ground if you don't have an electric or air powered impact wrench. Refer to Step 2 for wheel cover removal. Use the factory jacking points to lift the vehicle and place jack stands under the frame rail at each corner on level ground.
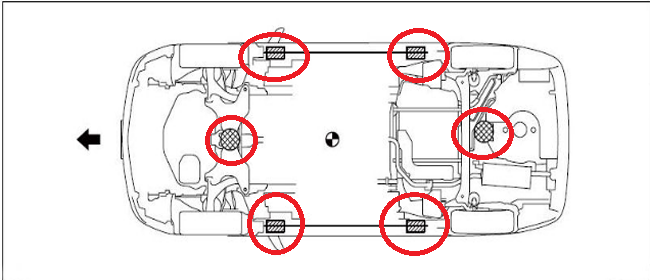
(Related Article: How to Jack up Your Car - CamryForums.com)
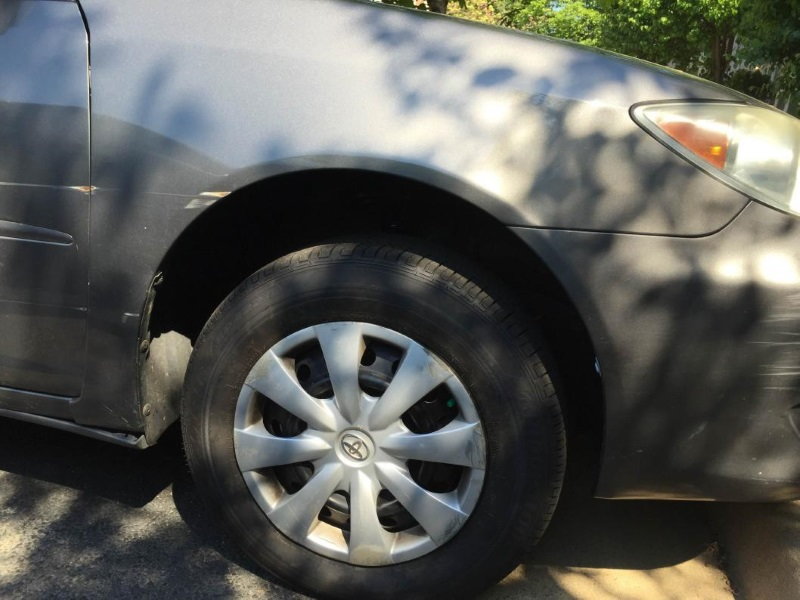
Step 2 – Remove wheels
Camry's without aluminum wheels may have wheel covers. Carefully lift on the edge of the wheel cover in multiple places. You will feel the cover snap off of the lug nuts. After removing the cover and lug nuts, remove the wheels.
Step 3 – Unbolt sway bar end link
Use a wrench to loosen the nut while holding the end link bolt with an Allen wrench. The rear sway bar end link nut is 14mm.

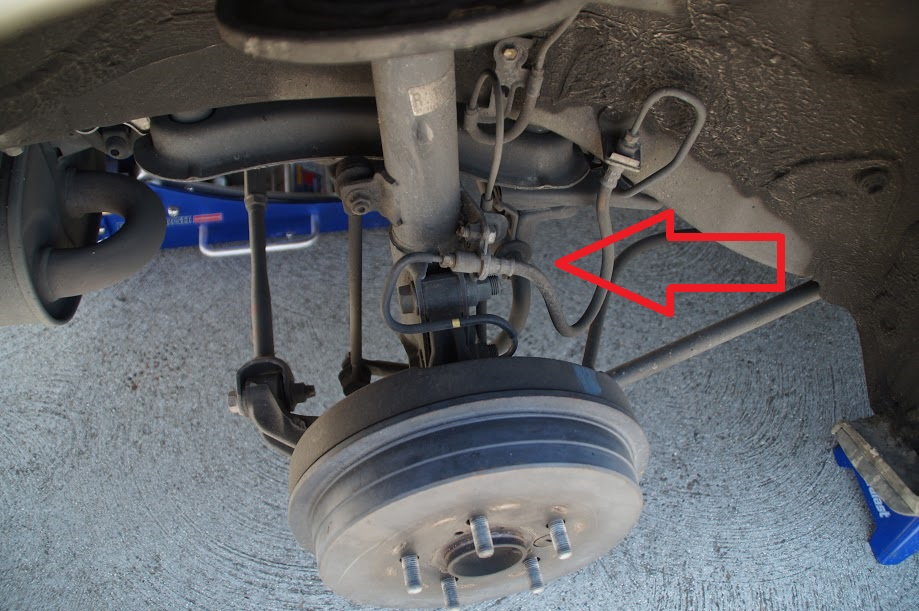
Step 4 – Remove brake line
Be careful not to damage the rubber hose. The rear brake line uses a metal section to connect to the drum. Do not move the brake line far from the rear strut, otherwise the metal line will bend.
Step 5 – Remove lower mounting bolts
Hold one end (either the nut or bolt) stationary while loosening the other. A 22mm wrench can be used to remove the rear bolts.

Step 6 – Remove upper mounting nuts
For the front strut, remove two of the three nuts. Leave the third nut connected to a few threads. This allows the strut to pivot but not let it fall. DO NOT remove the large nut in the center.
To reach the rear upper mounting nuts, you'll need to remove the seat cushions that are closest to the doors. Lift up on the bottom of the cushion to expose the bolt. Use a 12mm socket to remove it. Once the seat cushion is removed, you will see the three upper nuts. These can be removed with a 12mm wrench (preferably long).

Step 7 – Remove strut
Push the bottom of the strut off the spindle and remove the third upper mounting nut. Pull the strut down and off the vehicle. Support the spindle with a jack stand or similar tool. The outer section of the rotor or lower control arm are good locations for the stand.

Step 8 – Install new strut
If your new struts do not come assembled with the coil spring, you'll need to compact the spring with a compression tool. Once the spring is compressed, the center nut can be removed. This allows the strut to separate from the upper mount. When installing the new strut, make sure the coil spring is fully seated into the spring seat. A video of the procedure can be seen below.
Once the strut is assembled, feed it up and into the three upper mounting bolt holes. Secure the strut with the three nuts. Leave the nuts loose so the strut can be pivoted. Leave the spindle supported until the strut is re-connected. Line up the struts bolt holes with the spindles. Do not fully tighten the lower mounting bolts. Bolt the brake line and sway bar end link back into their original locations.
Featured Video: Separating Coil Spring and Strut
Step 9 – Finish installation
Here are the torque specs for the front struts:
- 100 ft. lbs. for the lower mounting bolts
- 20 ft. lbs. for the brake line bracket
- 30 ft. lbs. for the sway bar end links
Place the wheel back onto the studs and tighten it down in a star pattern.
Now torque the upper mounting nuts to 30 ft. lbs. and torque the lug nuts to 80 ft. lbs. Once you're finished, have an alignment done by a professional.
Featured Video: How to Install Struts on a Camry
Related Discussions and Video
- Camry Strut Assembly - CamryForums.com
- Rear Strut Replacement - CamryForums.com
- Front Struts Installed Wrong - CamryForums.com
- Rear Suspension Upgrade - CamryForums.com
- Installing Rear Struts - YouTube.com