Toyota Camry 2002-2011: How to Install HID Headlights
HID headlights offer greater illumination for your Toyota Camry. Here's how to install them yourself at home.
This article applies to the Toyota Camry (2002-2011).
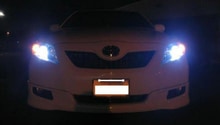
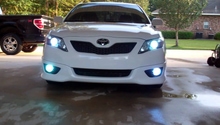
Halogen bulbs are now a thing of the past. Through an HID headlight upgrade, you can gain incredible visibility on the road, all while improving the overall look of your Toyota Camry during nighttime travel. Dim headlight bulbs can make a car appear cheap and poorly maintained, as well as make it unsafe. If you go to a local Toyota dealership to have your new HID headlights installed, you'll end up paying much more than if you installed them yourself using an HID kit. It's recommended that you roll up your sleeves, grab a tool belt, and pop the hood of your car. You're sure to save time and money completing this relatively easy DIY project on your own. Let's get started!

Materials Needed
- Painter's tape
- Wire cutters
- 10mm socket
- Socket wrench
- Premium HID kit with zip ties
Step 1 – Pop the hood
Using the 10mm socket wrench, disconnect the negative (black) terminal on your car's battery. Loosen the bolt, then pull the terminal up and away from the battery to disconnect it. Wrap the terminal in painter's tape or even a towel to prevent it from coming into contact with your battery while you work. You will need to reconnect the terminal once you're done.

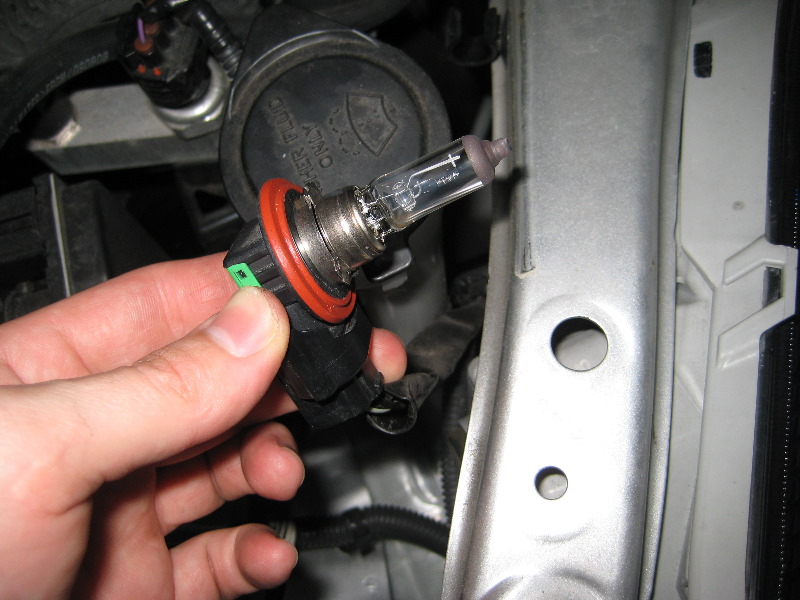
Step 2 – Remove driver and passenger side bulbs
Press down on the connector using only your thumb; you don't need to exert too much force here. The connector will naturally push away from your vehicle as you gently press down on it. Remove the bulb by twisting it in a counterclockwise direction and pulling it out (the gentle pressure of your hand should do the trick). Repeat the process on the passenger side headlight, where you will begin the installation process.
Step 3 – Mount ballast and connect the harness
It's recommended that you mount the passenger side ballast to the windshield washer tubing using the zip ties found in your kit. Next, grab the HID harness from your kit and snap the long wire directly into the ballast. Check the connection between the harness (by way of the wire) and the ballast. Tug gently on the wire to ensure it is firmly in place.

Pro Tip
The ballast will provide stability so your headlights are able to work properly.
Step 4 – Plug bulb into housing
Position the grounding strip so it is facing downward, and insert the bulb into the housing by hand. Turn clockwise to lock the bulb into place. Next, connect the stock wiring harness to the HID harness using the following connecting points.
HID harness wiring diagram
- HID black (-): White/black stripe
- HID blue (+): Black (brown)
You are now ready to snap the amp style connectors into place and stow away any excess wiring.

Step 5 – Set up your driver side HID headlights
You'll need to complete the exact steps as you did before and in the same order. Installation is exactly the same!
- Remove the bulb.
- Mount the ballast and connect the harness.
- Plug the bulb into the housing.
Pro Tip
It's recommended that you adjust your HID headlights on both sides of your vehicle to ensure they are even.
Featured Video: DIY HID Xenon Install
Related Discussions
- HID Kit Install Issue - CamryForums.com
- HID Kit Install - CamryForums.com
- HID Kit Questions - CamryForums.com