Toyota Camry 2002-2011: How to Install LED Tail Lights
New LED tail light installation is fast, simple and straightforward. Here's how to install a new set on your 5th and 6th gen Toyota Camry.
This article applies to the Toyota Camry (2002-2011).
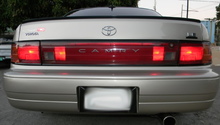
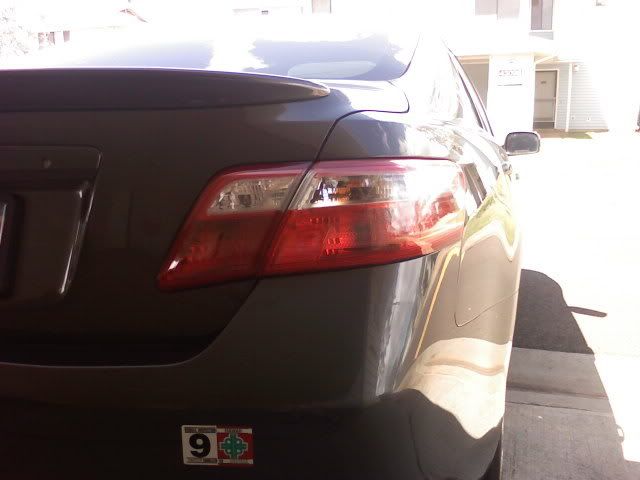
The tail lights on your 5th or 6th gen Toyota Camry are used to alert motorists who are traveling behind you to changes in your driving, such as an approaching turn (right or left), a sudden decrease in your speed, or a change in your direction (i.e., backing up). They also are also used to ensure you are able to park safely without hitting obstructions that might be behind your vehicle. The best way to modify your original manufacturers equipment (OEM) tail lights is with a set of LED tail lights. Manufactured to provide increased illumination, LED tail light installation is pretty straightforward. Here's everything you need to know to install your new set today!

Materials Needed
- LED tail lights
- Screwdriver
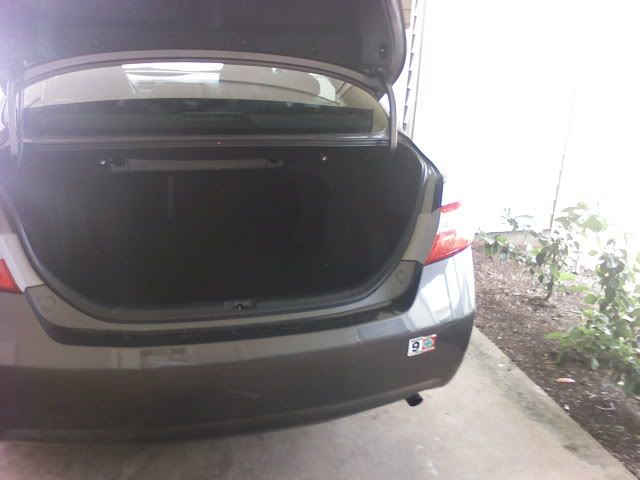
Step 1 – Access the trunk
Push the trunk lid lock release lever located inside your vehicle to pop the hood of your trunk. Remove all items from your trunk.
Step 2 – Access the spare tire
Remove the trunk lining by removing the locking screws by twisting them away. With the trunk lining removed from your vehicle, you now have access to your spare tire.
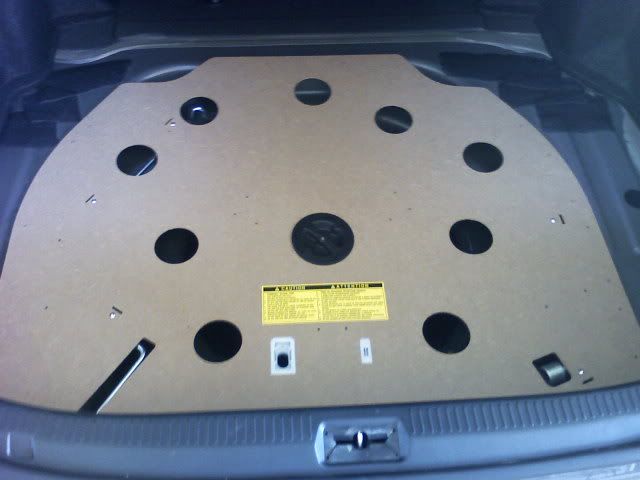
Figure 2. Remove the trunk lining completely. 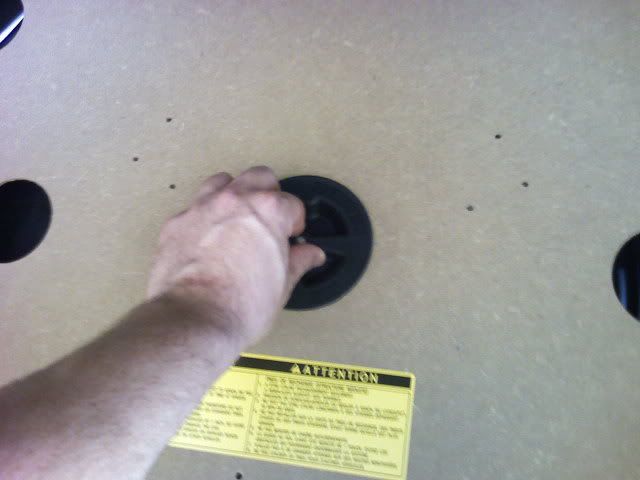
Figure 3. Remove locking screws. 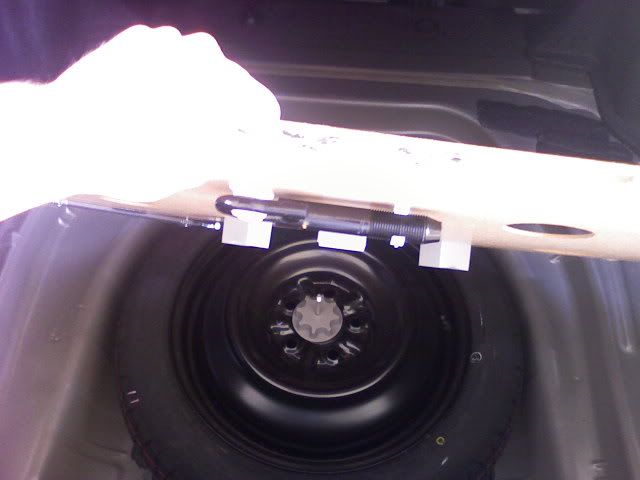
Figure 4. Gain access to your spare tire.
Step 3 – Locate the grocery hook
Find the grocery hook and unscrew it using a screwdriver. It's located in the top right-hand corner of your trunk, near the door.
Step 4 – Peel back trunk liner
This will allow you to gain access to your tail light bulbs. You will see three screws. These secure the light housing firmly in place. Unscrew these three screws, taking care not to strip them while doing so.
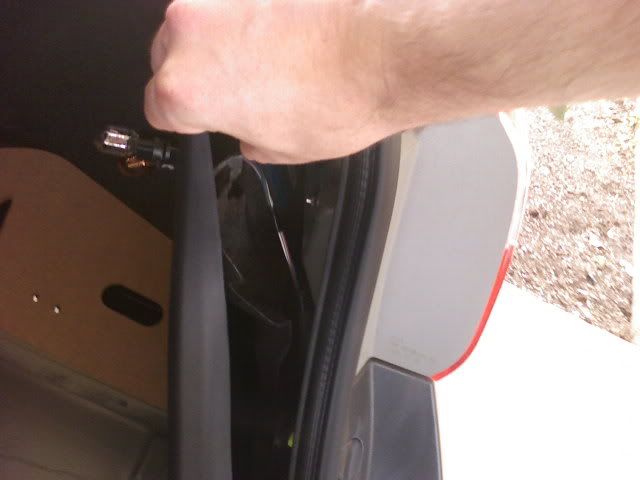
Figure 5. Peel back the trunk liner. 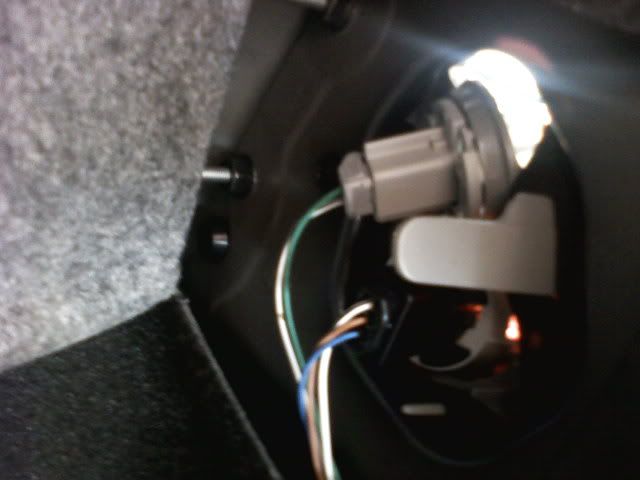
Figure 6. Access your bulbs. 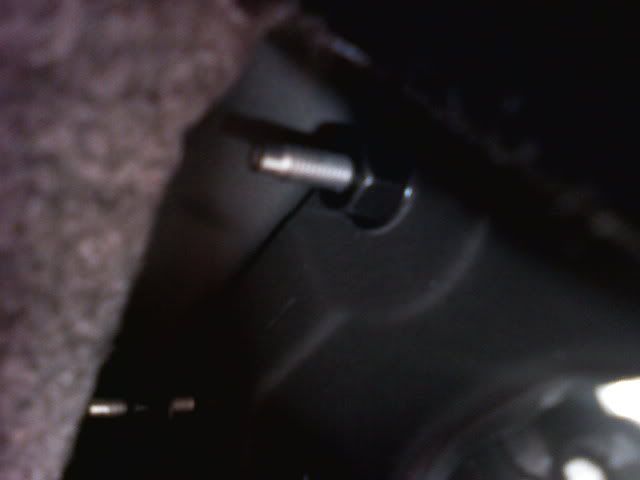
Figure 7. Unscrew all three screws.
Step 5 – Remove the light housing
Grab the light housing down the center of the plastic lens and gently ease it out. Once your tail light is removed, you are ready to move on to the final step in this project.
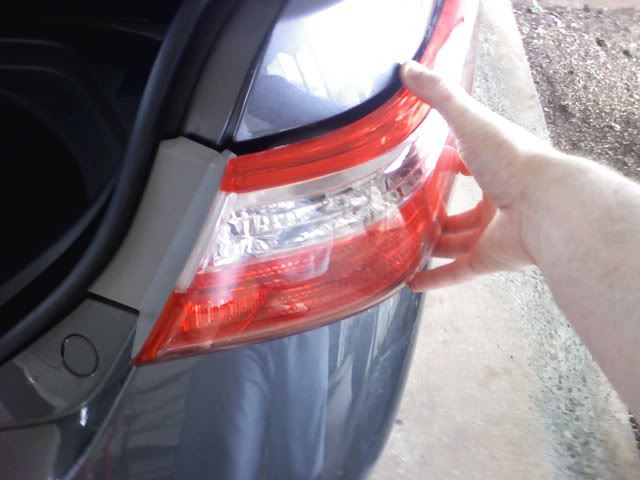
Figure 8. Remove the housing by hand. 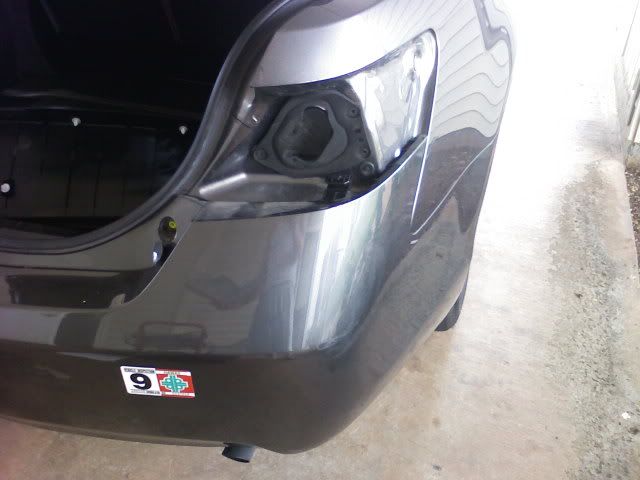
Figure 9. Remove completely.
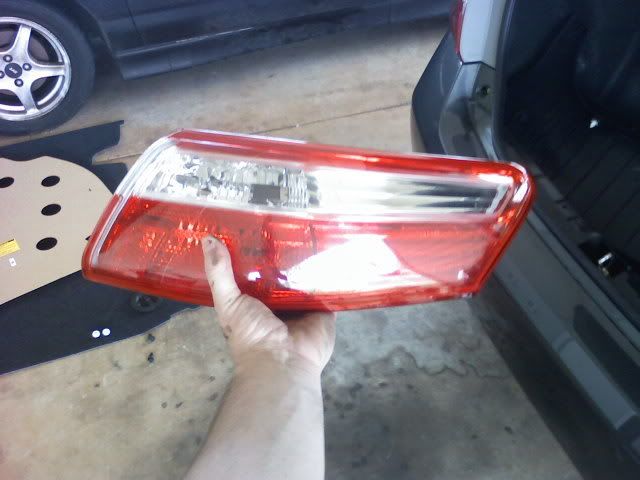
Step 6 – Install new LED tail light
Install your new LED tail light. Ease the tail light into place, and then reverse the steps you took to remove the old tail light.
Step 7 – Repeat for the other side
Once the second tail light is installed, you're done!
How to Install LED Taillights
Related Discussion
- LED Bulb Sizes List - Camryforums.com