Toyota Camry 2007-2011: How to Replace Fender
Replacing your damaged fender can be one of the best investments you make on your Toyota Camry. Not only do damaged fenders look terrible on a car, but they can be dangerous in a front end collision due to decreased rigidity. Find out how you can replace your Camry fenders fast and be back on the road with a pristine Camry!
This article applies to the Toyota Camry (2007-2011).
Sometimes bad luck strikes and leaves you with a dented or cracked front fender. Don't worry, this fix is not only easy but it can substantially increase your car's resale value and bring back its former glory. You have two options for replacement fenders: OEM and aftermarket. OEM fenders are obtainable through a dealership as long as they are not discontinued. Aftermarket fenders are available through countless vendors online but are known not to fit as well as OEM. The most common and straightforward route is to buy a used OEM fender that is painted the same color as yours so you don't have to worry about getting a new fender painted, and used fenders are much cheaper. Read on to see how you can replace your fender at home.

Materials Needed
- 10mm wrench and socket
- Flat head screwdriver
Step 1 – Remove bolts under the hood
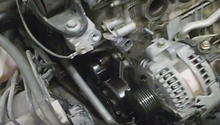
Remove the 10mm bolts under the hood that line up with the fender as shown in Figure 1. A new fender will be used to represent where the bolts that attach your fender are to make it easier to visualize.

Pro Tip
Keep these bolts in a labelled baggie so you know exactly where they go during re-installation.
Step 2 – Remove bolt in door jamb
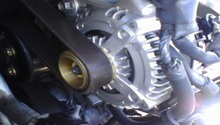
Remove the 10mm bolt in door jam which is represented by Figure 2. You may need an extension for your 10mm socket to reach this bolt. Be careful when removing this bolt, as it may fall and get lost.
Step 3 – Remove fender liner bolts
Remove the series of fender liner 10mm bolts shown below in Figure 3. This will allow access to the last of the bolts holding the fender on the chassis.

Pro Tip
These bolts may have different lengths and thread pitches, so remember where they came from.
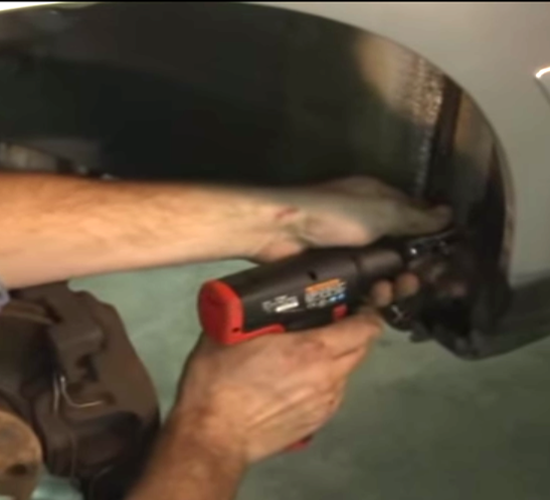
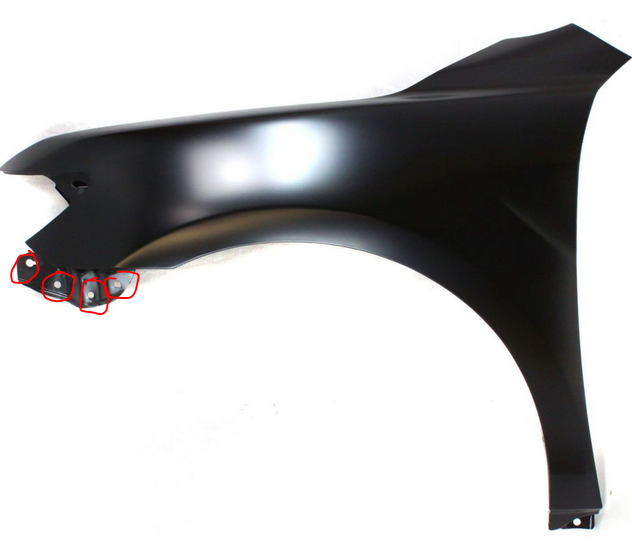
Step 4 – Remove bolts connected to front bumper
Remove the four 10mm bolts shown in Figure 4. You are almost done! There is only one more bolt remaining that fastens the fender to the chassis.
Pro Tip
Use a 10mm wrench when it is hard for a ratchet and socket to reach into tight spaces.
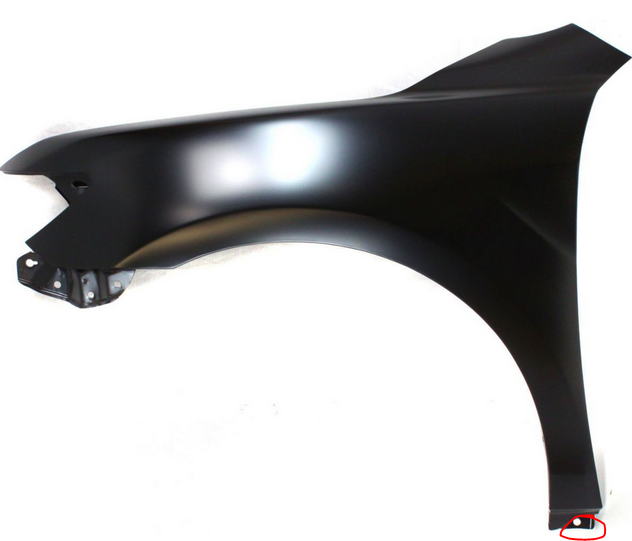
Step 5 – Remove side skirt bolt and fender
Almost done! Now remove the 10mm bolt shown in Figure 5 and the fender will be free of the chassis. Be careful and slowly lift it away and set it aside.
Step 6 – Install new fender
Install your new fender in the reverse process of removal. Make sure all of the holes line up before tightening any bolts down. Congratulations, you have installed your own fender!
Related Discussion
- Replacing Fenders 2009 Camry SE - Camryforums.com