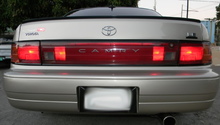
Toyota Camry 2007-2011: How to Replace Your Taillight Assembly
This article details all the steps necessary to access and remove the taillight assemblies on the sixth generation Toyota Camry.
This article applies to the Toyota Camry (2007-2011).
It is critical to have properly functioning taillights on every vehicle on the road. They signal to other drivers that you are slowing down, and keep you visible at night. It is important to address a malfunctioning or broken taillight immediately in order to keep you and everyone around you safe.

Materials Needed
- Ratchet set with 8mm, 10mm and 12mm sockets and an extension
- Flat head screwdriver
- Plastic trim removal tool
- Needle-nose pliers
Step 1 – Remove the trunk liner
Open the trunk. The liner panel is attached with plastic push-pins. Use a flat head screwdriver to pry up the center of each pin, and remove it with needle-nose pliers. With your fingers (or the pliers, if necessary) pull out the push-pin. Remove all of the push-pins and lift the liner from the trunk. Remove the grocery hook mounting screw, and remove the hook from the side of the trunk you are working on.
Pro Tip
Be careful when removing the grocery hook; it may require some force to remove.
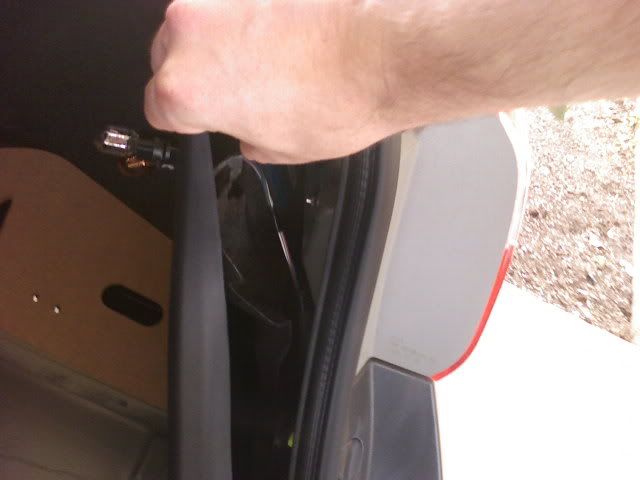
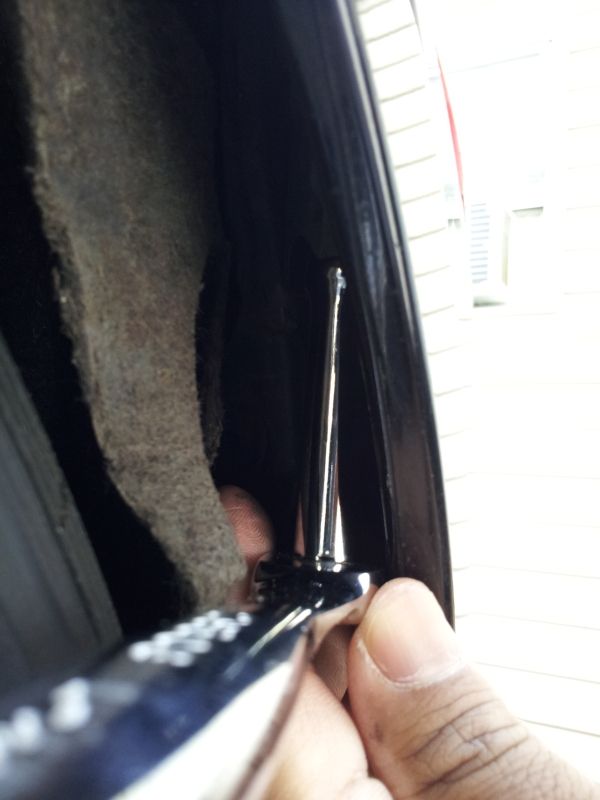
Step 2 – Remove the taillight housing mounting bolts
Pull back the trim panel and use your socket and ratchet to remove the mounting bolts from the housing. On some models, there is also a mounting nut that needs to be removed.
Step 3 – Disconnect the taillight wiring harness
From the rear of the tail light housing, disconnect the electrical connector.

Step 4 – Pull back the rear fender well liner and remove the 10mm bolt
There are two bolts behind the fender well liner, but it is only necessary to remove the 10mm bolt. You will need a ratchet with an extension to remove this bolt.
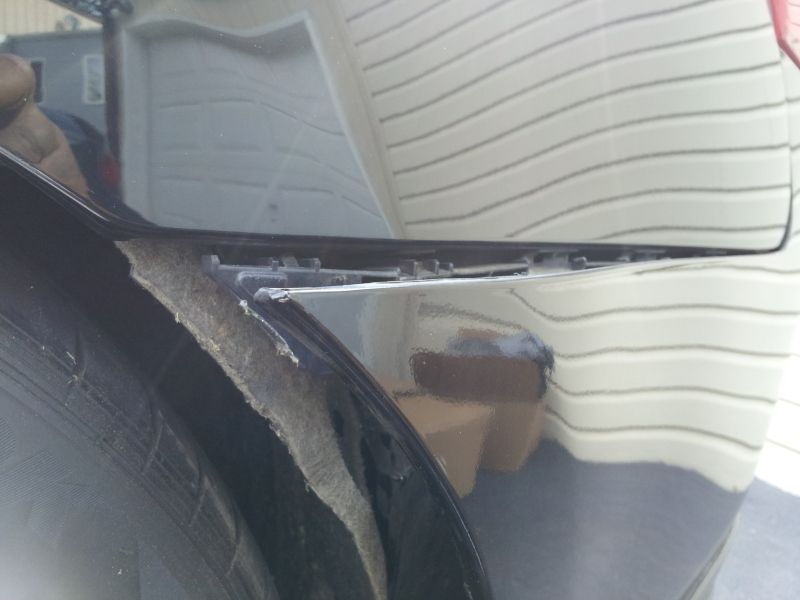
Step 5 – Remove the rear bumper
Use a trim removal tool to disengage all of the clips from around the edge of the bumper. There is a locking clip located between the taillight and the bumper, and this must be carefully disengaged. This clip may be hidden below a padding secured with nuts - remove these. Once everything is disconnected, slide the bumper rearwards, then towards the center of the vehicle. This should clear the locking clip, and you can now remove the bumper from the vehicle.
Step 6 – Carefully remove the taillight assembly from the vehicle
Check that everything has been disconnected, and no bolts remain attached, then pull the assembly rearward to remove it.
Step 7 – Install the new taillight housing assembly
To install the new housing, slide it in to place and install and tighten the mounting bolts/nut.
Step 8 – Re-install the rear bumper and trunk liner
Install the rear bumper, making sure that the locking clip engages properly without breaking. Re-install the 10mm bolt in the rear fender well. Install the trunk liner, using new push-pin fasteners, and install the grocery hook.
How to Replace Tail Light Assembly
Related Discussion
- Taillight Assembly Replacement - Camryforums.com