Toyota Camry 2007-2011: How to Retrofit HID Projectors
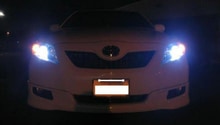
Retrofitting your Camry with a (non-AFS) HID projector used in the Lexus RX330 will show you that this model was the projector the Toyota Camry needed all along to realize its full potential.
This article applies to the Toyota Camry (2007-2011).
For those looking to replace their HID projector headlight lamps for the 6th gen Camry, here’s an option you might want to consider. You could retrofit it with a (non-AFS) HID projector used in the Lexus RX330. With the light output being at least two times as bright and much wider, these projector headlights are an efficient upgrade for your Camry.
Materials Needed
- Oven
- Protective gloves
- Pliers
- Drill
- Metal-cutting saw
- D2S HID bulbs, or Phillips 85122+ bulbs
- D2S connectors
Step 1 – Remove headlights and heat lenses
Remove the bumper cover to expose the hidden bolt that holds the outside corner of each lamp in place. Next, you’ll want to carefully remove the headlight lenses by heating in the oven at no more than 210 degrees Fahrenheit for 10 minutes. This will soften the sealant and allow the lenses to be separated. Separate them by prying apart and cutting the sealant as it stretches.

(Related Article: How to Replace Headlights - Camryforums.com)
Step 2 – Remove and disassemble projector
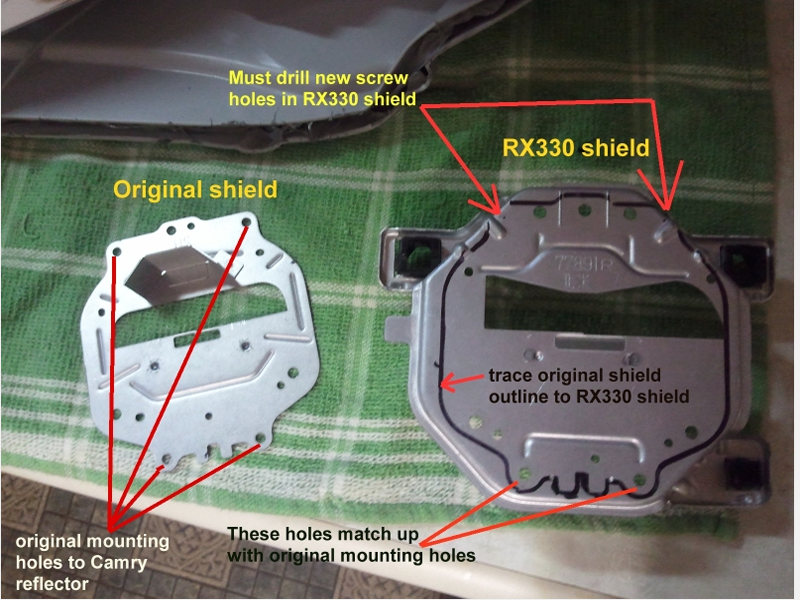
Next you will remove the original projector from the housing and disassemble. In Figure 1 below, you’ll see the original halogen projector shield and the RX330 side by side. The shield on both of these projectors also acts as a mounting bracket for the projector which is in two halves. You’ll need to drill new screw holes in the RX330 shield and then trace original shield outline to the RX330 shield. From there, the original projector assembly will be removed.
Step 3 – Drill holes to fit
Trim the shield of the RX330 projector to make it flat. Then cut off excess brackets to make flat mounting plate similar to original projector.
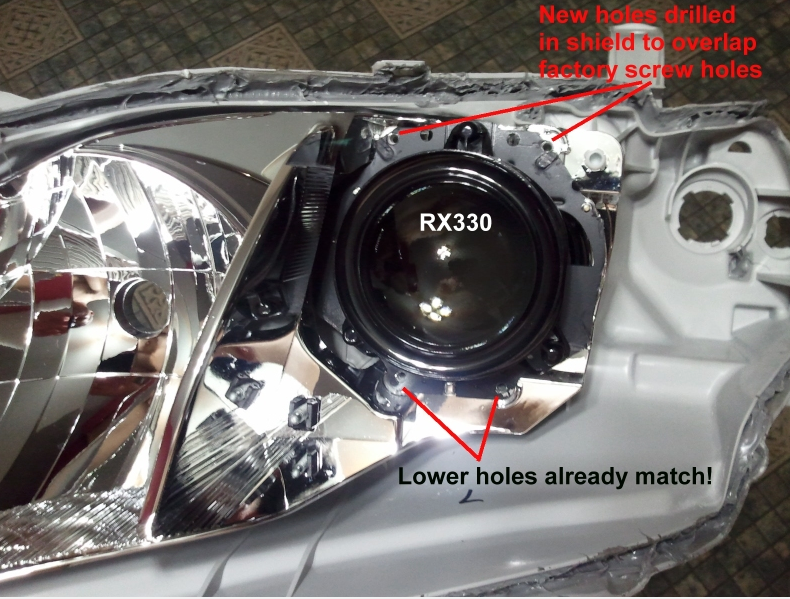
Next, you’ll need to test fit and mark where holes must be drilled. You will drill holes and test fit. Make sure that the new holes drilled in the shield will overlap factory screw holes. The lower holes will already match.
Pro Tip
When drilling out the new holes, go slow; if you make the holes too large, just use a thin washer to help your screws hold snug on the shield surface.
Step 4 – Reassembling the headlight
Since you used the existing screw holes, the cutoff shield will be rotationally level just as your factory halogen cutoff line was.
Reassemble the headlight and be sure to use more headlight sealant in the housing groove. Heat in oven again so you can clamp the lenses back on using pliers and the eight screws that help hold the housing to the lenses.
Pro Tip
You can use colored high temp paint (caliper paint) if you want the projector lens to show through a color.
Step 5 – Finding the right bulbs
The RX330 projectors use D2S HID bulbs. You can also use Phillips 85122+ bulbs. Both of them are among the best you can get. You will also need to run 35 watt HID ballasts with D2S connectors to the bulbs just as you would with an HID kit but using D2S connectors instead. The ballasts can be powered directly off the original low beam sockets. However, it is best to use a fused relay harness to take power directly from the car battery when the headlights are switched on. This prevents damage to the factory headlight wiring in the event of a short in the ballast or wiring.
Related Discussion
- DIY HID projectors Retrofit Lexus RX330 - Camryforums.com