Toyota Camry: How to Check and Replace O2 Oxygen Sensor
Replacing a faulty O2 sensor is not a difficult project, even for a novice DIY'er, as long as you take the appropriate precautions to prevent accidentally burning yourself.
This article applies to the Toyota Camry (1997-2011).
Your vehicle's oxygen sensor measures the oxygen content in the exhaust, and adjusts engine parameters like the air-to-fuel ratio (AFR) to keep it running at its best. However, exhaust gasses are (by nature) hot and dirty, so the sensor can wear out with time. Speaking very generally, a lifespan of 100,000 miles can be expected from the sensors. Therefore, as your vehicle ages, it is increasingly common that an O2 sensor will go bad on your vehicle. A P0125 or P1335 code means that you have a bad O2 sensor. Since a faulty sensor can affect your fuel efficiency by between 15 percent and 25 percent, you should replace your sensor when it fails.

Materials Needed
- New O2 sensor
- 22mm combination wrench or O2 sensor socket and wrench
- Multimeter (optional)
- Welder's glove (optional)
Step 1 – Prepare to replace your O2 sensor
Let your car cool for a couple of hours before replacing your O2 sensor. The area of your engine where you'll be working heats up quickly, and stays hot long after you've turned off your engine. The longer you give your engine to cool before replacing your O2 sensor, the less likely you are to accidentally burn yourself.
Step 2 – Open hood and locate sensor
Open the hood and use the hood support rod to fix in place.
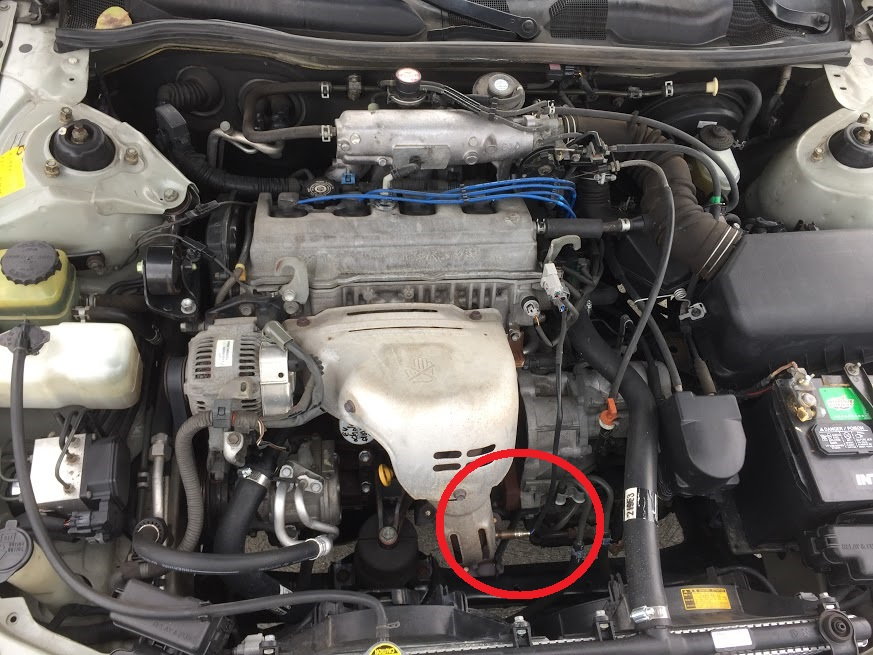
Identify the catalytic converter, and then look for the two sensors (they look like thick black wires) that are connected to it. There is one (sensor 1) in front of the catalytic converter and a second (sensor 2) located behind and beneath the catalytic converter. Be sure to replace the correct sensor (i.e., the sensor that has failed). To make sure you do, consider testing each sensor with a multimeter by connecting each in turn to the multimeter (set to 200 ohms) to see if the sensor is "live."

Figure 2. Locate the O2 sensor that is failing in order to replace it. 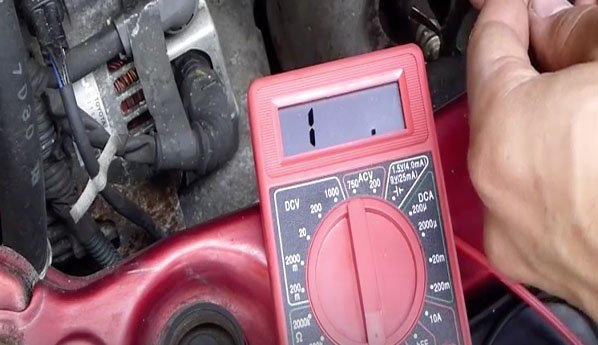
Figure 3. Use a multimeter to verify that the O2 sensor is failing or has failed.
Featured Video: How to Check O2 Sensor
Step 3 – Disconnect O2 sensor from connector
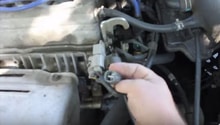
Follow the "wire" from the O2 sensor to the connector. At the connector, stick one or two finger(s) behind the connector and push on tab, while simultaneously pulling up on the connector. It should easily pop out of place.

Step 4 – Remove O2 sensor
Use O2 sensor socket to remove O2 sensor. To do so, slide "wire" into slot on O2 socket and then push socket down until it covers the O2 sensor. Once it does, attach ratchet to O2 sensor, which you'll use to loosen and then ultimately remove the sensor. If your engine is warm, or to help ensure you don't accidentally burn yourself, wear a welder's glove on one hand and then use that hand to actually remove the O2 sensor once you've gotten it nearly off with the O2 socket and ratchet.

Figure 5. Slide the O2 socket over the wire, so that it fits snugly inside socket. 
Figure 6. Slide O2 socket down the wire until it fits around sensor itself. Afterwards, attach ratchet to O2 socket. 
Figure 7. Use O2 socket and ratchet to loosen O2 sensor. Then remove it.
Step 5 – Add anti-seize on threads of new O2 sensor
Rub a little anti-seize (likely included with your new O2 sensor) on the threads of the new O2 sensor. This will help you more easily remove the new O2 sensor if you need to so at some point in the future.

Step 6 – Replace O2 sensor
Replacement is reverse of removal:
- Position O2 sensor, thread into hole, and tighten by hand until you cannot tighten it further.
- Use O2 socket and ratchet to tighten into place.
- Reconnect O2 sensor to connector by snapping it into place.
- Finally, close the hood.
Featured Video: How to Remove/Replace O2 Sensor
Related Discussions
- O2 Sensor Wiring - CamryForums.com
- O2 and AFR Sensor? - CamryForums.com
- Oxygen Sensor on '05 Camry - CamryForums.com
- P0135 Again, Help - CamryForums.com
- O2 Sensor Problem - CamryForums.com