Toyota Camry: How to Flush Your Brakes
Flushing your Toyota Camry's brake system should be done on a regular basis. Contaminants like water and dust inevitably enter your brake lines. Here's how to flush it and ensure effective braking.
This article applies to the Toyota Camry (1997-2011).
The hydraulic brake fluid in your Toyota Camry is used to transmit your brake inputs throughout the braking system. Eventually, this fluid gets to the caliper, where the brake pad presses on the rotor which slows down your car. When you have contaminants in your braking system, it will not perform at full efficiency and deposits will form. Eventually, these deposits can cause permanent damage to your braking system which makes for extremely expensive repairs. Instead, proper maintenance of your brake fluid ensures that you can avoid ridiculous repair bills while driving safely for years to come. These procedures can be used on a Camry equipped with four-wheel disk brakes.

Materials Needed
- Bucket
- At least two feet of 3/16" tubing
- Turkey baster
- Water bottle
- Funnel
- 8mm wrench
- DOT-3 brake fluid
- 21mm socket and torque wrench
- WD-40 (optional)
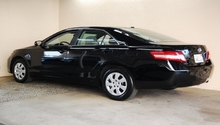
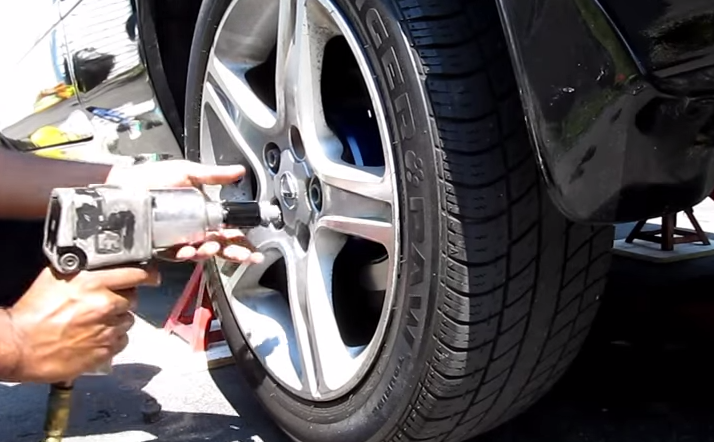
Step 1 – Raise and secure rear of vehicle
Raise the rear of your Camry on level ground using a hydraulic jack on the frame of the vehicle. Secure your car in the air using two jack stands on both sides of the car. This will ensure that an accident will not occur if your jack fails. Remove the rear wheels using a 21mm socket on a torque wrench.
(Related Article: How to Jack Up Your Car - Camryforums.com)
Pro Tip
Soak your bleeder screw with WD-40 so it is easier to remove.
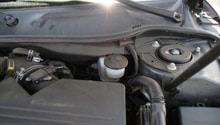
Step 2 – Remove brake fluid from master cylinder reservoir
Use your turkey baster to suction out all of the brake fluid in the master cylinder reservoir. Collect your brake fluid in a container, like a plastic bottle so it stays away from your paint since it is extremely corrosive. Refill the master cylinder with new DOT-3 brake fluid so the system can be flushed with new, clean fluid.
Pro Tip
Clean up any spills immediately since brake fluid is highly corrosive.
Step 3 – Remove brake bleeder screw
Starting on the rear passenger side of the vehicle, loosen the 8mm brake bleeder screw a few turns. Do not loosen all the way as the 3/16" tubing has to be pushed onto the bleeder screw. Put the other end of the tubing into the plastic bottle to begin flushing the system. The setup should look like Figure 3.

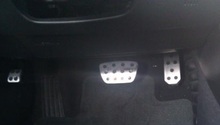
Step 4 – Begin bleeding process
It is extremely helpful to have someone assist you with this step. First, put a small brick under the brake pedal so it doesn't compress past what it normally does. This prevents any damage to the hydraulic components like the master cylinder. Next, pump the brake pedal to remove the old fluid from the system. While someone is pumping the pedal, someone else should be watching the brake fluid level in the master cylinder. Refill as necessary to keep the fluid topped off. If no fluid is in the reservoir, air will get trapped into the system and will make this flush useless.
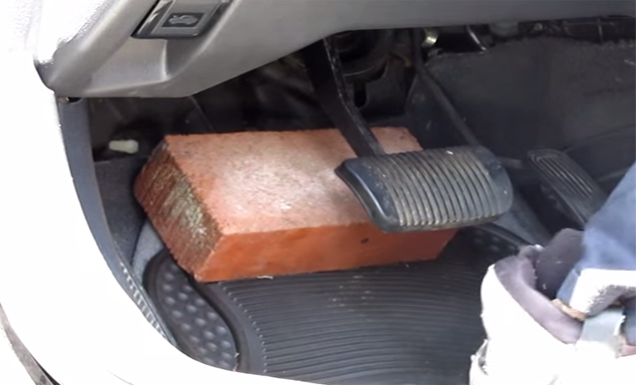
Figure 4. Pumping the brake pedal. 
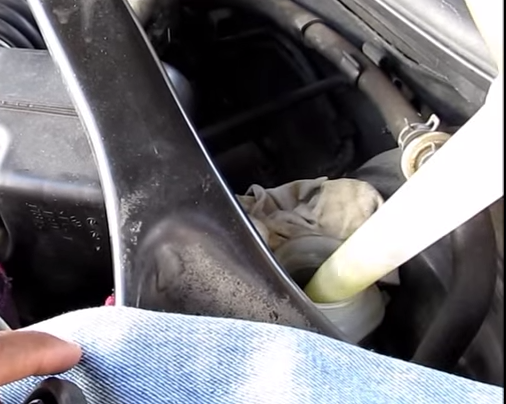
Figure 5. Refill reservoir as necessary.
Pro Tip
It is worth your time and effort to make sure no contaminants or air gets trapped in the brake lines during this procedure since you will have to start over if it occurs.
Step 5 – Finish bleeding process
Once you notice clean fluid coming through the tubing, tighten the bleeder screw and remove tubing. Repeat Steps 3 and 4 for the other brake calipers. The order in which you do the bleeding process is as follows:
- Passenger's Side Rear
- Driver's Side Rear
- Passenger's Side Front
- Driver's Side Front

Pro Tip
Use brake lubricant on the bleeder screws to make them easier to remove the next time you flush your brake system.
Step 6 – Clean up
Make sure your brake fluid reservoir is properly filled with clean fluid and cap the reservoir. Lower the car and make sure that your brake pedal is now firm. Take your car for a slow test drive and feel out different braking situations. Go ahead and admire the fact that you saved yourself some cash while knowing your braking system is nice and clean.

Pro Tip
Brake fluid absorbs water when exposed to moisture, so always use unopened brake fluid since it is cheap and you know that it is not contaminated.
Featured Video: Toyota Camry How to Flush Your Brakes
Related Discussion
- Brake Fluid Flush - Camryforums.com