Toyota Camry: How to Install Windshield Molding
Over time, your windshield molding can get old and cracked, which could allow water to leak inside your Toyota Camry. Here's how to replace it yourself.
This article applies to the Toyota Camry (1997-2011).
The windshield molding on your Toyota Camry is designed to seal your windshield tightly, which means its main job is to prevent water and wind from getting inside the car. Over time, they start showing signs of cracking and fading; sometimes you could hear a whistling sound while driving on the freeway, which is the sound of the wind slipping through your windshield. Replacing it isn't tough, and it would save you some money. Here's how to do it yourself in an hour or less.
Materials Needed
- Flat head screwdriver
- Pliers
- Plastic gasket tool
- Glass suction cups or handles
- New molding (make sure it is the correct size for your Camry's year)
Step 1 – Secure suction cup tools
Place the suction cup tools on the windshield, and then press the cups to the glass. Use the levers (or buttons) to secure the suction cups to the windshield.
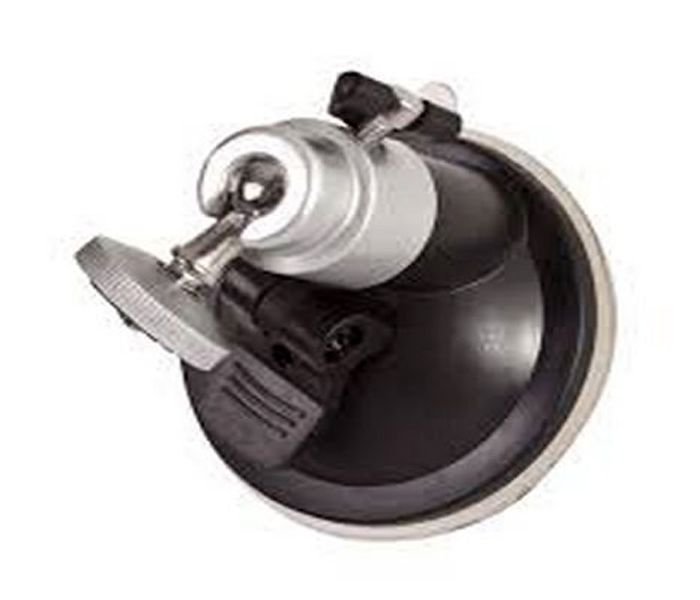
Figure 1. Suction cup tool. 
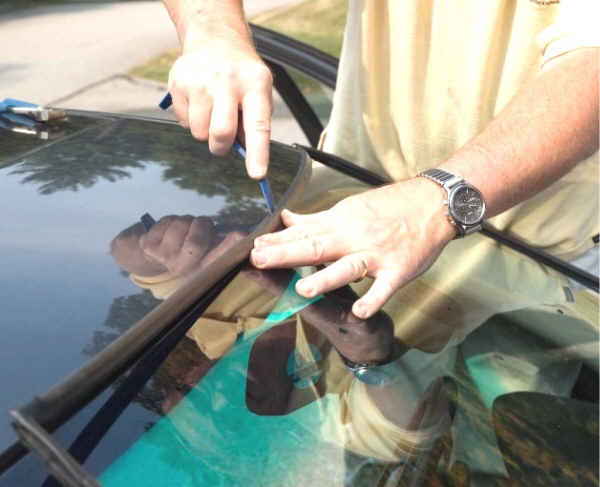
Figure 2. Place suction cup tools on the windshield.
Pro Tip
Use caution when you work with the suction tools. Too much pressure can crack the windshield. On the other hand, not enough pressure can cause the grip to come loose. Always use caution when working near glass.
Step 2 – Loosen windshield from molding
Grip the suction cup tools and slowly, but firmly, wiggle the windshield to loosen it from the molding.
Step 3 – Remove center clip
With the glass loose, find the windshield clip at the bottom of the windshield. This clip holds the molding ends together. Pry the clip out of the gasket with a flat head screwdriver or pliers, then slide the clip back and forth to remove it.
Step 4 – Remove molding
Retain the grip on one of the suction tools with one hand, just in case the windshield comes loose from the gasket. With the other hand, pull on one end of the molding until it comes loose from the gasket. Continue to pull the molding all the way around the windshield until it is completely removed.

Step 5 – Install new molding
Press one end of the new molding into the bottom center windshield gasket. Use the gasket tool to push the molding into the grooves of the gasket the entire way around the windshield. Use the suction tool to move the windshield from side to side. This allows the molding to fit and sit correctly by creating room.
Pro Tip
Work the new molding in slowly. Working too quickly can damage the gasket and/or the windshield.
Step 6 – Install center clip
After you have pushed the molding through the gasket all the way around the windshield, slide the center clip onto one the end of the windshield. Press the other end of the clip firmly into the gasket and lock the clip in place. Remove the suction tools from the windshield.
Pro Tip
Use the gasket tool to make sure the clip is securely locked.
Step 7 – Clean windshield glass
Clean the windshield with glass cleaner to remove any fingerprints or smudges.

Related Discussion and Sites
- Flooding Problems - CamryForums.com
- Intall Windshield Molding - eHow.com
- Replace Your Windshield - WikiHow.com