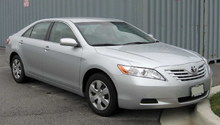
Toyota Camry: How to Replace Headlights and Fog Lights
Replacing your headlights and fog lights is a fairly simple task, even for a novice car owner. If you're planning to replace both at one time, consider replacing your headlights first and then replacing your fog lights. Replacing your headlights takes a little longer than replacing your fog lights, so it may make sense to get the longer project out of the way first.
This article applies to the Toyota Camry (1997-2011).
If one or both headlights burn out, or if one or both fog lights burn out, then you can't put off replacing the burned out light. Driving with a burned out light is a safety hazard, will decrease your visibility at night, and can increase your chances of getting into an accident. And if one or both of your fog lights are burned out, then you'll see a noticeable difference if driving in fog. Fortunately, replacing a burned out light is a fairly simple task. The hardest part may actually be finding the right replacement. Your owner's manual likely has information about the headlight/fog lights your car uses, and your local auto parts store likely has the parts you need or can order them for you.

Materials Needed
- New headlights
- New fog lights
- Regular flathead screwdriver
- Small flathead screwdriver
- 10mm wrench or socket and ratchet
- Towel
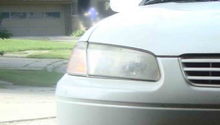
Replacing Headlights
Step 1 – Prepare to replace your headlights and fog lights
Open hood and lock in place with hood support rod.
Step 2 – Prepare to remove parking light
Use regular flathead screwdriver to pry up clip holding parking light in place. This clip is located about five inches above the light itself, in the inside of the engine cavity. Once you’ve loosened the clip, then you can simply pull it out by hand.

Step 3 – Unclip parking light from headlight and fender
Firmly grasp parking light on both sides and pull it out of the clip attaching it to fender. Wrap regular flathead screwdriver in towel, and then insert tip of screwdriver between parking light and headlight, beneath clip, and wiggle until you’ve unclipped parking light from headlight.

Step 4 – Remove parking light
Pull parking light away from car. Twist the parking light bulb out of the parking light, and then set the parking light aside somewhere safe, since you’ll re-install it later.

Step 5 – Unplug connector from back of headlight
Reach behind headlight and unplug its connector.

Step 6 – Remove two 10mm bolts holding headlight in place
Use 10mm wrench to remove pair of 10mm bolts holding headlight in place. There is one bolt on top of the headlight, and then one bolt on the side of the headlight (on the left side, if you're looking directly at headlight).

Step 7 – Unclip other side of headlight
Use the regular flathead screwdriver to unclip other side of headlight. This clip is on the right side of headlight, if you're looking directly at headlight. Pull clip holder away from fender, and then insert flathead on top of and then under clip. Pry down and then up until you unclip headlight.

Step 8 – Remove headlight
Hold headlight firmly in one hand and pull it off and away from your car.

Step 9 – Re-install headlight
Re-installation is reverse of removal:
- Position headlight back in place.
- Reclip clip on right side of headlight.
- Re-install two 10mm bolts (one on top of headlight and one on the left side of headlight).
- Re-install connector on back of headlight.
- Replace parking light.
- Clip parking light into place.
Step 10 – Remove and replace second headlight
Repeat Steps 2-9 to remove and replace headlight on other side of car.
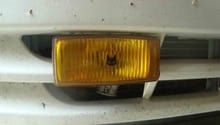
Replacing Fog Lights
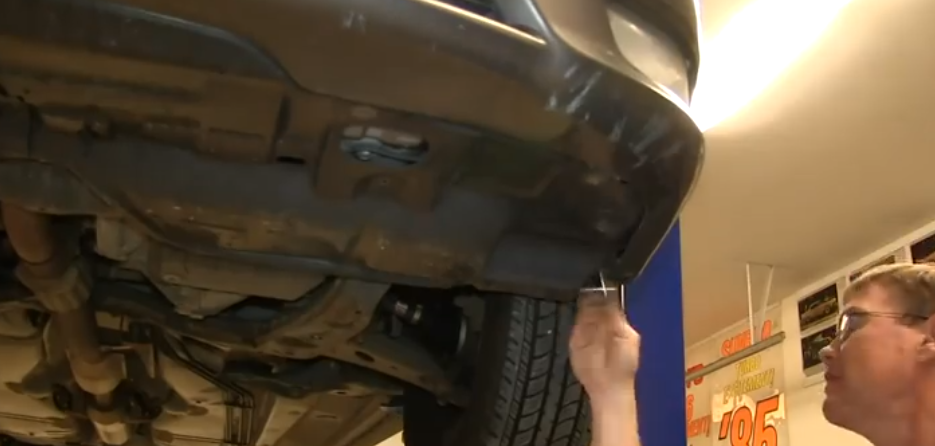
Step 1 – Remove four 10mm bolts beneath fog light
Use 10mm socket and wrench to remove four 10mm bolts holding bottom liner to car. These bolts are located under the general area of the fog light itself. You won’t be removing the entire bottom liner.
Step 2 – Pull out fog light socket
Twist fog light socket counterclockwise until it comes out.

Step 3 – Replace fog light
Twist old fog light counterclockwise until you can pull it out. Insert new fog light, twisting clockwise until it is tight.

Step 4 – Re-install fog light socket
Re-install fog light socket, twisting it clockwise until it snaps into place.
Step 5 – Reattach liner
Use 10mm socket to re-install the four 10mm bolts you removed, so that the lower liner is stretched back into place.
Step 6 – Remove and replace second fog light
Repeat Steps 1-5 to remove and replace fog light on other side of car.
How to Install Fog Lights
Related Discussion, Sites, and Videos
- Change Headlights on a 2007-2011 Toyota Camry - YouTube.com
- Toyota Camry Headlight Replacement - CamryForums.com
- How to Replace Headlight Bulbs on a Toyota Camry - YouTube.com
- Replace 2002-2006 Toyota Camry Headlights - YouTube.com
- Fog Light Replacement 2007-2011 Camry - CarCareKiosk.com
- How to Install/Replace 1997-2001 Toyota Camry Headlights - YouTube.com