Toyota Camry 1997-2001: How to Replace Multifunction Switches
Multifunction switches get a lot of use. Every time you use the turn signals, turn on the lights, or use the windshield wipers, you use a multifunction switch. If you need to replace one or both of these switches on your Camry, follow these simple instructions.
This article applies to the 4th Generation Toyota Camry (1997-2001).
In nearly all cars, when it comes to the exterior lights going out, faulty multifunction switches are the usual culprits. They are in constant use, and on top of that, they are pretty delicate components. So if you've replaced the bulbs as well as fuses and the lights are still not turning on, here are the steps to replace the multifunction switches that control them.

Materials Needed
- Phillips screwdriver
- Trim removal tool
- New multifunction switch (left, right or both)
- Crescent wrench
Step 1 – Remove steering column cover screws
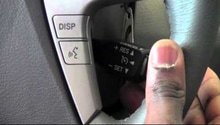
Before you begin working on your car, start by placing your Camry in "park" and turning off the engine. Pop the hood and disconnect the negative battery cable (black) using a Crescent wrench. Then make your way to the driver's seat, and use a Phillips screwdriver to remove the three screws holding the steering wheel column covers in place.

Figure 1. Remove one screw on the top right corner. 
Figure 2. Remove one screw on the top left corner. 
Figure 3. Remove one screw underneath center of the cover.
Step 2 – Remove the lower dash panel
- Use the Phillips screwdriver to remove one screw on the bottom right side of the lower dash panel.
- Use a trim removal tool to pry out the upper right corner of the lower dash panel. Make sure you hear the tabs unsnap.
- Work your way to the center of the lower dash panel, but do not remove it completely. Simply let the panel hang and make sure it doesn't get damaged.

Figure 4. Remove screw on bottom right side of lower dash. 
Figure 5. Loosen upper right corner of the dash. 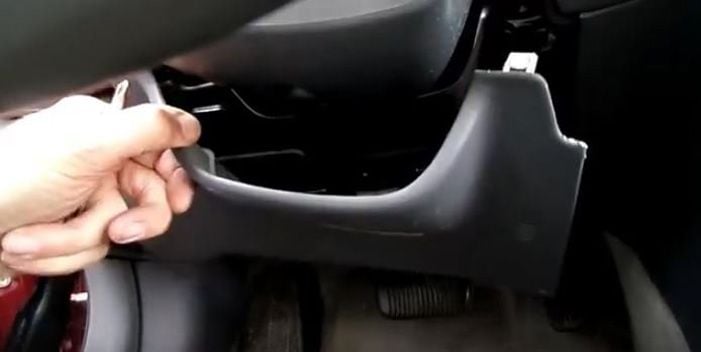
Figure 6. Pull the lower dash panel away.
Step 3 – Remove the steering column covers
- Pull down and remove the lower steering column cover first.
- Then remove the upper steering column cover to gain access to the multifunction switches.

Figure 7. Pull down the lower steering column cover. 
Figure 8. Remove the upper steering column cover.
Step 4 – Remove the right multifunction switch
- Unplug the bottom wire harness connector of the multifunction switch.
- Use the Phillips screwdriver to remove the two screws securing the multifunction switch to the steering column.

Figure 9. Unplug the multifunction switch wire harness connector. 
Figure 10. Remove the lower multifunction switch screw. 
Figure 11. Remove the upper multifunction switch screw.
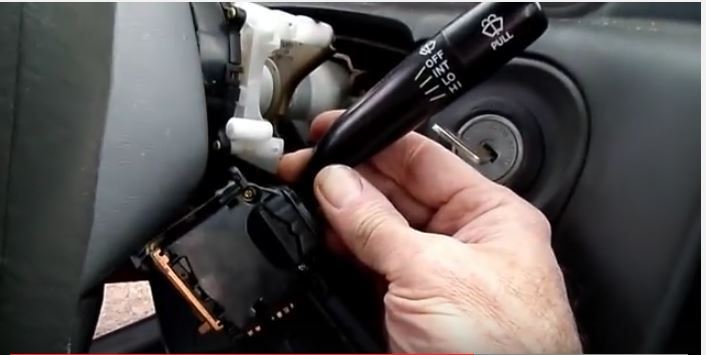
- Grab the lower part of the switch and pull it toward you to remove it from the steering column.
Step 5 – Remove the left multifunction switch
- Unplug the bottom wire harness connector of the multifunction switch.
- Use the Phillips screwdriver to remove the two screws securing the multifunction switch to the steering column.

Figure 13. Unplug the multifunction switch wire harness connector. 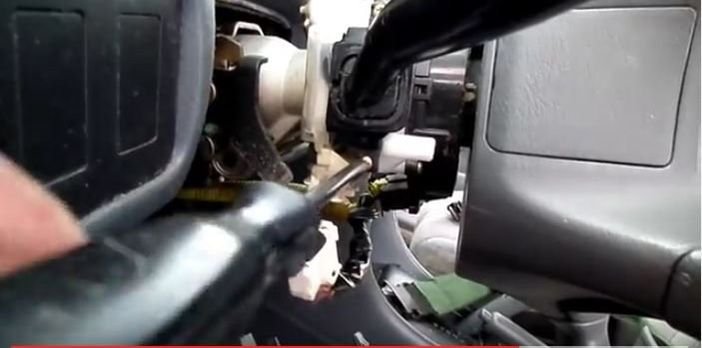
Figure 14. Remove the lower multifunction switch screw. 
Figure 15. Remove the upper multifunction switch screw.
- Grab the lower part of the switch and pull it towards you to remove it from the steering column.

Figure 16. Left multifunction switch removed. 
Figure 17. Both multifunction switches removed.
Step 6 – Install the new multifunction switches
Installing the new switches is the reverse order to the steps above.
- Secure the left and right multifunction switches to the steering column.
- Plug in the wire harness connectors.
- Reattach the steering column covers and lower dash panel.
- Secure the steering column covers using the screws.
Featured Video: Multifunction Switch Removal
Related Discussion
- 1998 Camry Turn Signals Quit - CamryForums.com