Toyota Camry 1997-2001: How to Replace Radio
Looking to swap out that factory radio in your Toyota Camry for something a bit more modern? The good news is Toyota made this change a simple process that just about anyone can perform. All you need is a few minutes to spare and a little technical know-how.
This article applies to the 4th Generation Toyota Camry (1997-2001).
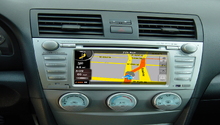
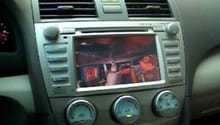
Swapping out the old factory-issued radio for a new OEM or aftermarket unit is a terrific way to keep your Toyota Camry up-to-date. The good news is that most of the stereos out there today fit the Camry, and just about all of them are super simple to install in your car. Here is the DIY guide for you to install it yourself.

Materials Needed
- Trim removal tool
- Phillips screwdriver
Step 1 – Remove the head unit trim panel
- Using a trim removal tool, pry around the edges of the radio's trim panel.
- Once you've freed the trim from the center console, carefully pull off the trim panel by hand.

Step 2 – Remove the radio
- Using a Phillips screwdriver, remove four mounting screws located on each corner of the radio. The screws mount the radio's brackets to the center console.
- Carefully slide the radio out, but do not remove it completely.

Figure 2. Remove the four radio mounting screws. 
Figure 3. Slide the radio out.
Step 3 – Disconnect wire harness and antenna cable
- First remove the two white wire harness connectors on the back of the radio. To do so, push down on their tabs and pull the connectors out.
- Then simply pull out the antenna cable, and remove the radio.

Step 4 – Install the new radio
- Plug in both wire harness connectors and the antenna cable to the back of the new radio.
- Then insert the new radio into the center console compartment.

Figure 5. Radio's wire harness connectors. 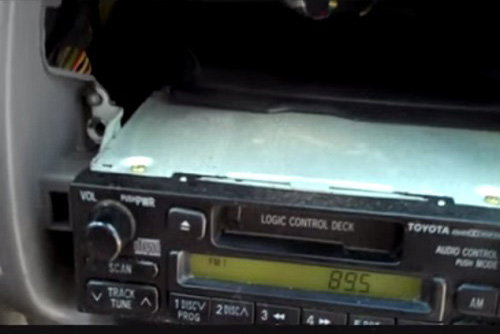
Figure 6. Slide new radio into the center console.
- Once the stereo is leveled and the brackets are lined up, secure the radio using the four mounting screws.
- Lastly, snap the head unit trim panel into place and test the new radio.
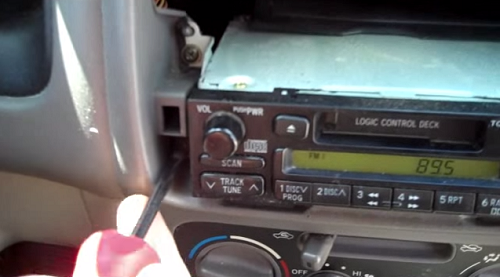
Figure 7. Secure the radio brackets. 
Figure 8. Snap on the head unit trim panel.
Featured Video: Stereo Removal
Related Discussion and Video
- Need Help Installing CD Player 1998 Toyota Camry XLE V6 - CamryForums.com
- Replace Camry 2001 Car Radio - YouTube.com