Toyota Camry 2007-2011: How to Install Rearview Backup Camera
The backup camera is a great safety addition to your Toyota Camry. The installation is not as intimidating as it may seem. So, read on to learn how to install a rear view camera in a matter of hours.
This article applies to the Toyota Camry (2007-2011).
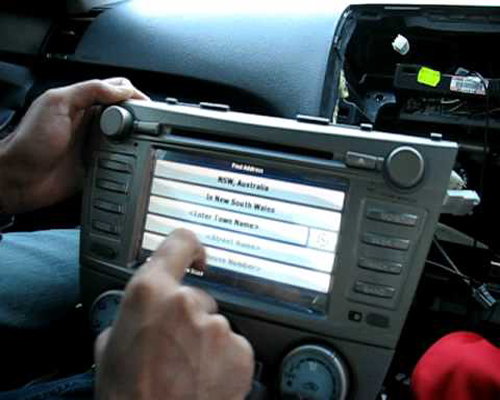
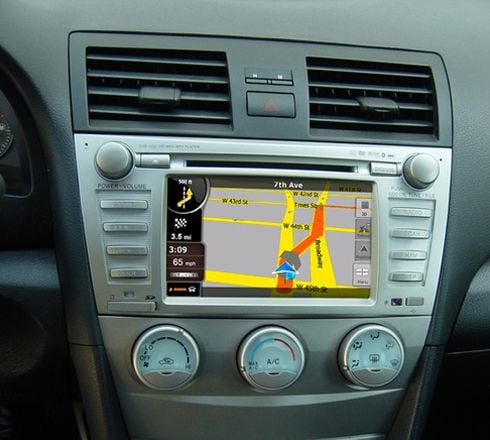
There are many choices in aftermarket backup cameras. Some receive power from splicing into the reverse light wiring, and others are powered by the audio unit in the dashboard. Toyota Camrys with factory navigation may already have a camera power output plug and video input plug in the back of the JBL nav/audio unit. This setup may only require the addition of a backup camera, since the JBL navigation unit serves as the display screen. However, it is not necessary to remove the factory nav/audio unit if you are installing a separate display screen. Ensure that the separate display screen location does not interfere with airbag deployment.
Backup camera installation can sometimes get complicated; it is important to closely follow the directions for your selected system.

Materials Needed
- Backup camera
- Plastic auto body pry tools
- Common metric socket wrench set
- Pliers
- Wire fishing tape
- Cable ties for thin wiring
Wireless vs Wired cameras
The wireless camera is easy to install. Simply mount the camera on the trunk, and mount the screen above the dashboard. The camera transmits a video signal, which is received and displayed on the screen. However, the wireless backup camera transmits in the ISM (Industrial Scientific Medical) frequency band of 2.4 GHz. The FCC has designated the ISM band for most of the non-registered wireless devices that surround us. Cordless phones, Bluetooth devices, Wi-Fi networks, walkie-talkies and many others share and cause interference in this narrow frequency range. In a busy parking lot, your wireless backup camera is bombarded with competing ISM signals. Your own signal may get snowy and unreliable. It is even possible that your screen may display the video image from another backup camera or a nearby wireless security camera.
Conversely, the wired camera is connected to the screen by a video feed wire, providing a clear, reliable image of the area behind your Camry. However, extra effort is needed to remove panels and fish the video feed wire through the trunk, under the door sills, up behind the dashboard and into the screen.
Many good wireless cameras are available, but for safety and reliability, most installers recommend wired installations.
Camera features and options
CCD vs CMOS image sensors:
The Complimentary Metal-Oxide-Semiconductor (CMOS) utilizes a Rolling Shutter, which produces each line of pixels in sequential order; similar to an ink-jet printer printing a picture. While CMOS has improved greatly in personal cameras, the Rolling Shutter does not capture motion well.
The Charge-Coupled Device (CCD) utilizes a Global Shutter, which produces all pixels at the same time. It creates a better image when in motion and is generally a better choice for your Camry's backup camera.
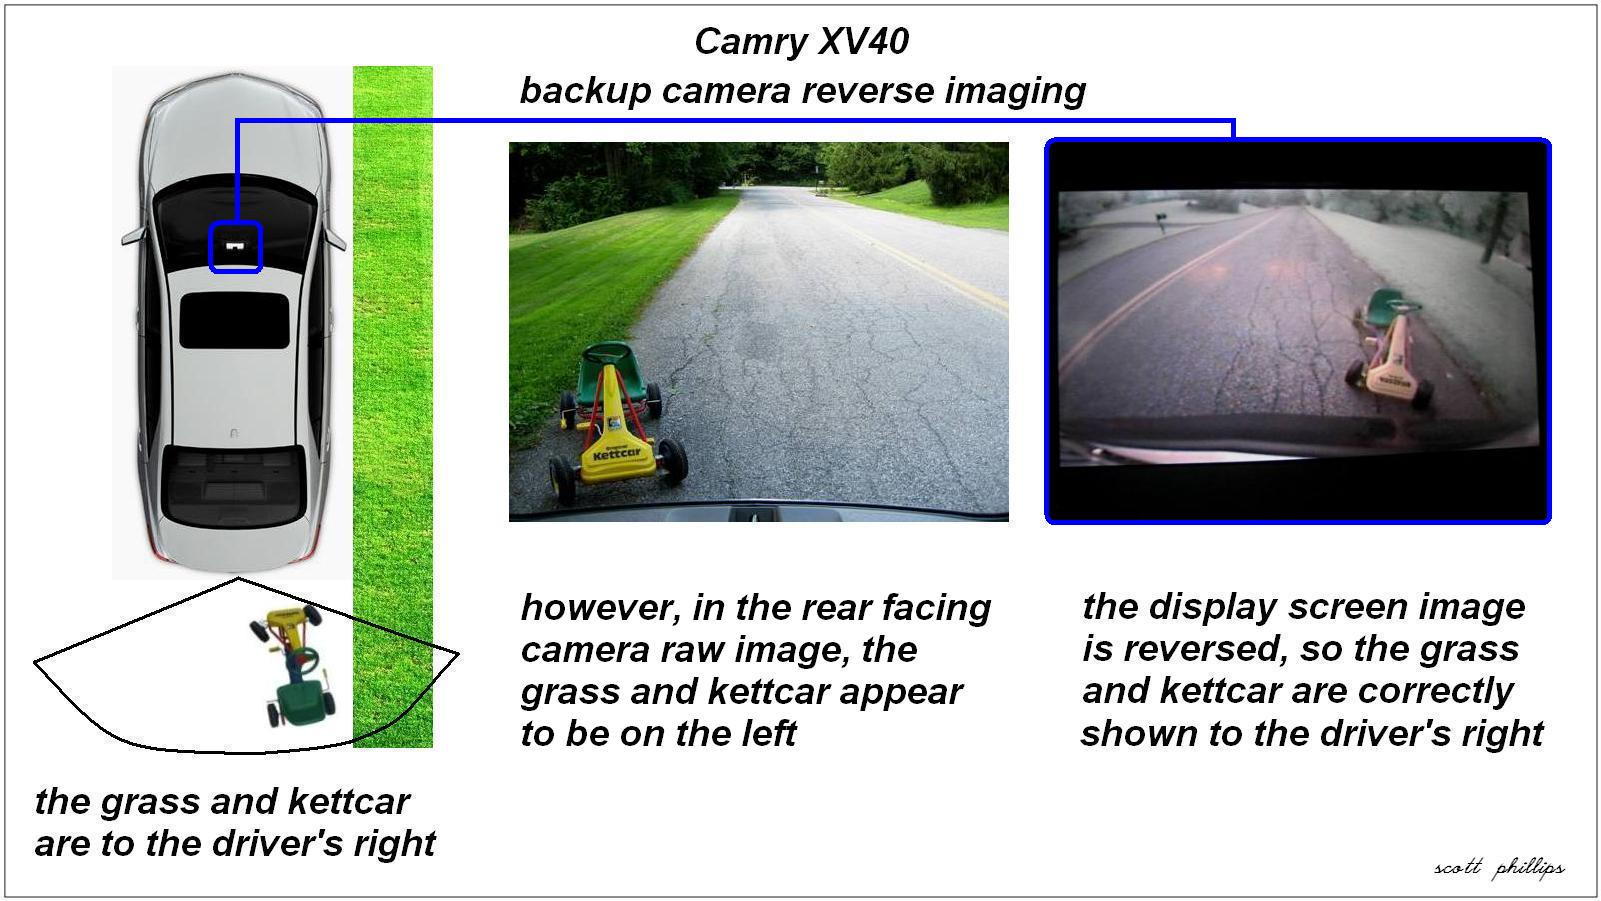
Displayed image reversing:
When you look out of your Camry's rear window, you have reversed left and right in relation to the car. The rear facing backup camera does the same thing, and the image displayed on the forward facing screen would be confusing, unless it is presented horizontally flipped. So either your camera or your display screen should reverse the image. See Figure 1.
Lux rating:
One lux is 1 lumen of light per square meter, or about 0.093 foot-candles. A lower lux rating indicates the camera should produce a better image in low light. Some backup cameras have infrared LEDs to boost night vision. However, LEDs are short ranged and may not have much effect beyond 5 to 8 feet.
Mounts:
- Keyhole mount: a hole is drilled into the trunk or trunk trim and the camera body is inserted. Removing the camera leaves the hole exposed.
- Bracket mount: the camera is mounted to a U-shaped bracket, similar to a fog light, and the bracket is screwed into a drilled hole. Removing also leaves the hole exposed.
- Adhesive mount: the camera is glued to the trunk trim, using auto body adhesive tape. This can be removed without damage.
- License plate mount: the camera bracket is screwed into the existing upper license plate holes. This is easily removable.
Viewing angle:
Width of viewing angle is a trade-off between seeing more and accurate perception of what is seen. Backup camera viewing angles greater than 100 degrees cause distortion, like the reflections in a chrome moon hubcap.
Weather resistance:
Backup cameras are rated for dust and water intrusion by the International Protection code.
- Cameras rated IP66 are dust tight and block water spray of 100 kilopascals from a distance of 3 meters. That is the force of a weak garden hose.
- Cameras rated IP67 are dust tight and withstand full immersion in water for 30 minutes at a depth of 1 meter. That should stay water tight in any driveway washing.
- Cameras rated IP69K are dust tight and block high temperature water spray of 10000 kilopascals from 15 mm at 80 Celcius. IP69K was designed for hot pressure washing of commercial trucks.
Impact resistance:
Cameras may be rated with the IK code for impact resistance. IK0 is the lowest and IK10 is the highest impact resistance. Keep in mind that the camera will be subject to repeated trunk closing.
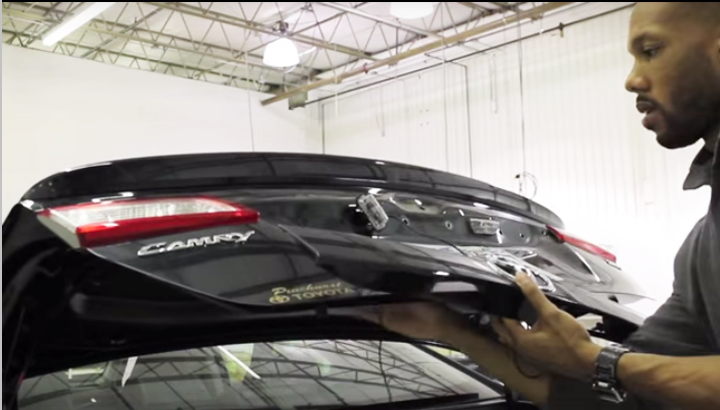
Step 1 – Remove liner and license light shroud
- Using the auto body pry tools, pop-up the center post of the fasteners and remove the trunk lid liner.
- Remove the six and ten mm nuts, loosen the alignment stud and remove the license light shroud.

Step 2 – Mount camera
Fix the camera to the license frame or the license light shroud in accordance with the instructions for your unit.
Step 3 – Remove interior trim
Use the auto body pry tools to remove the rear seat side trim, door sill trim and B-pillar trim as needed to run the camera wiring.
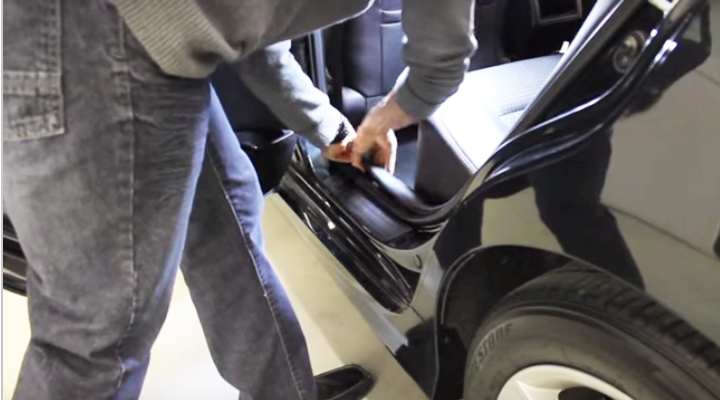
Step 4 – Run camera wiring
- Run the wiring through the trunk lid.
- Use the fishing tape to pass the wiring through the rear seat area.
- Fit the wiring into the door sills and past the B-pillar, following the factory wire channels.
- Secure the camera wiring to the factory wiring with cable ties.

Featured Video: Toyota Camry Backup Camera Installation
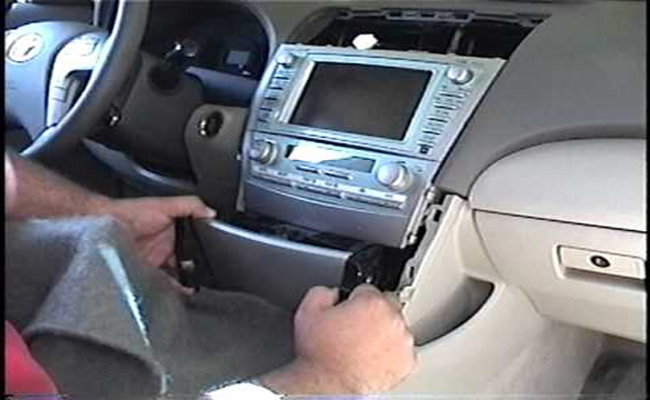
Step 5 – Remove trim and disconnect console wires
- Release the shift knob collar and unscrew the shift knob.
- Remove the console trim.
- Remove the dashboard trim and upper air vent.
- Remove the four bolts and lift out the audio unit.
- Disconnect the wires from the back of the audio unit and remove it.
Featured video: Toyota Camry Car Stereo Removal
Pro Tip
If you are installing a separate display screen, it is not necessary to remove the factory nav/audio unit. Simply remove trim as needed to run wiring to the chosen screen location.
Step 6 – Connect and install display screen
- Connect the wiring as prescribed in your unit's instructions.
- Install the display screen.
Step 7 – Test camera and reassemble
- Test the backup camera's functions.
- Reinstall the trim and the shift knob.
Pro Tip
Develop the habit of wiping the camera lens clean when you approach the car. A grime-free lens will greatly improve the camera's usefulness.
Related Discussions
- BOYO Rear plate Backup Camera. - CamryForums.com
- Camry $25 Backup Camera Install Web Page - CamryForums.com


