Toyota Camry 2007-2011: How to Install/Replace Interior LED Lights
LED bulb installation requires only a few tools. Read on to learn how to replace your interior lights in minutes.
This article applies to the Toyota Camry (2007-2011).
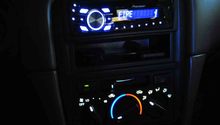
The interior lights in your Toyota Camry make it easy for you to view maps, input navigation points into a GPS and, when you are parked at night, interact comfortably with your passengers without needing to strain. If one or more of your LED lights become dim, you can install a fresh one in as little as a few minutes. You won't need specialized tools, and you won't be working with any wires; although you may need to tuck a few stray wires back into place after you've mounted your new bulbs.

Materials Needed
- Replacement bulbs
- Adapter with light board (optional)
- Flat head screwdriver
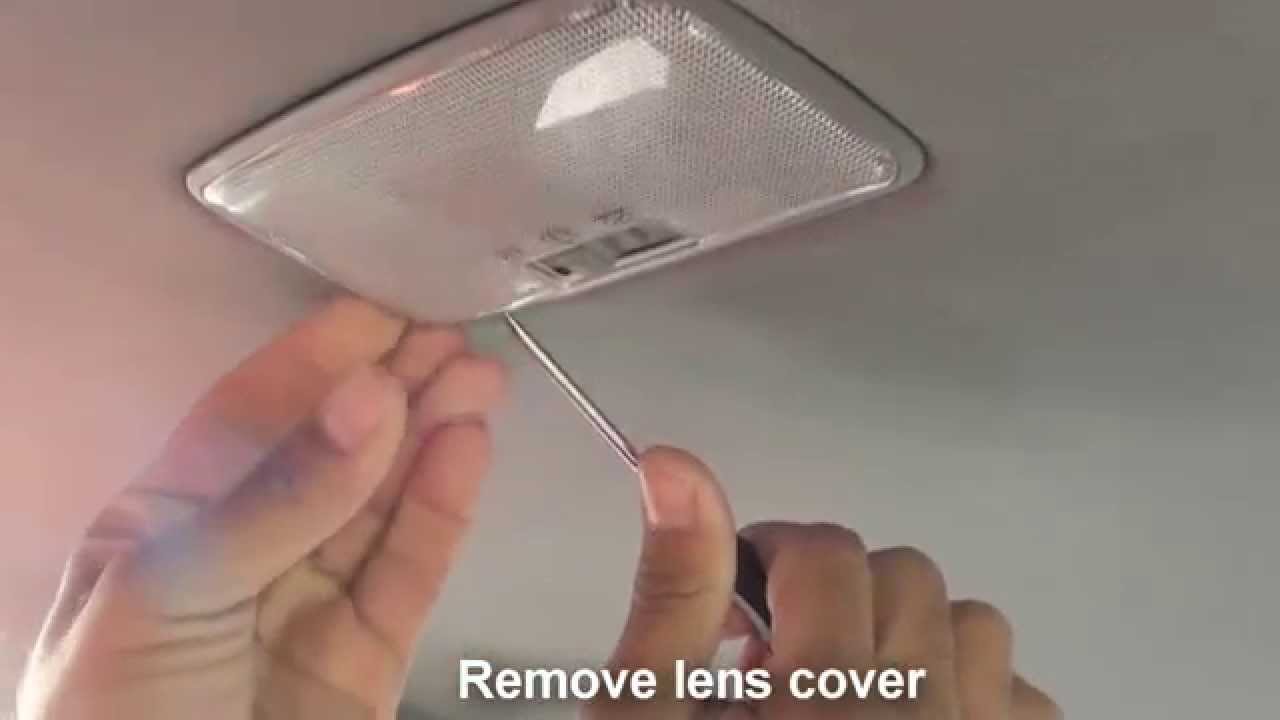
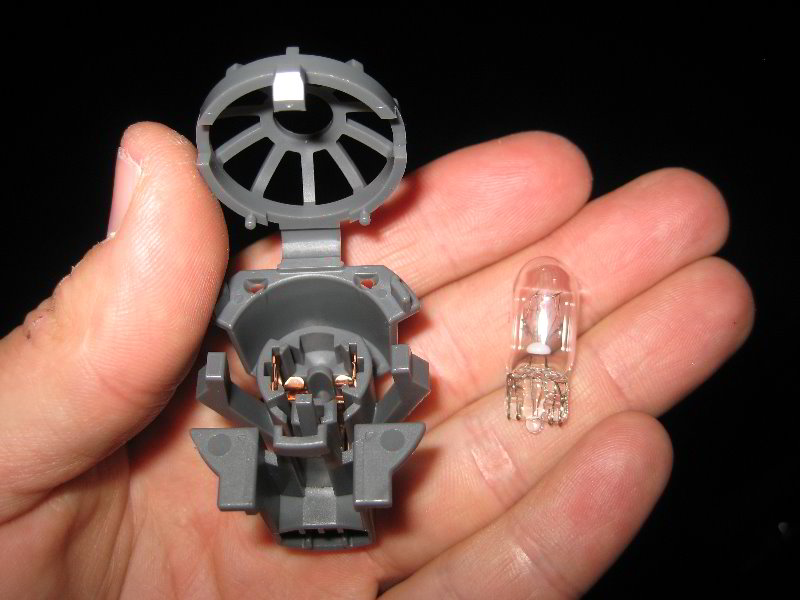
Step 1 – Pop out the lens on the dome light
Using a flat head screwdriver, pry out the lens. Push downward on the small tabs positioned around the lens. Do so until the lens falls directly into your hands. You shouldn't need to exert too much force. Simply easy the lens off using the flat head screwdriver.
Step 2 – Pop out the bulb
You have two main options: you can either pry out the bulb with your flat head screwdriver or use your finger. Press down on one end of the bulb, and then pop it out without exerting too much force.

Step 3 – Turn on the light
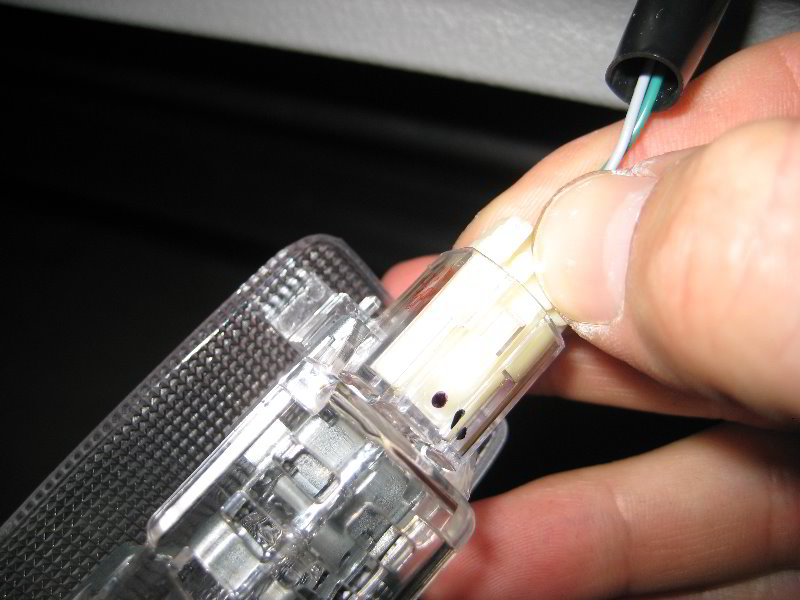
Switch the dome light on. Doing so will ensure the bulb emits a glow when properly fitted. If a glow does not illuminate from the bulb, flip it around, and then gently insert it once more into the socket, making sure both sides touch the inside of the socket for a proper connection. If you are using an adapter, install it into the socket like you would a normal LED bulb. Peel away the strip of adhesive on the back of the board, where your light is located (e.g., your light board). Fasten it directly to the light housing by pressing firmly down on the adhesive strip for two to three seconds. Hide the wire and the put the cover back on.

Step 4 – Move on to the map lights
Release the first cover; there should be three lens covers for the entire assembly. Pry down on the outer clip(s) using your flat head screwdriver. Next, pry out the bulb; using your finger might be too difficult. Replace the bulb by snapping a new one into place. If you are using an adapter, place it directly into the socket. Next, secure your board to the housing by fitting it into place; there's no need to remove the adhesive strip.
Test the light. If it does not immediately come on, you will need to flip your adapter around and then reinsert it into the socket. Take care not to obstruct the push button located on the top-right side of the housing.
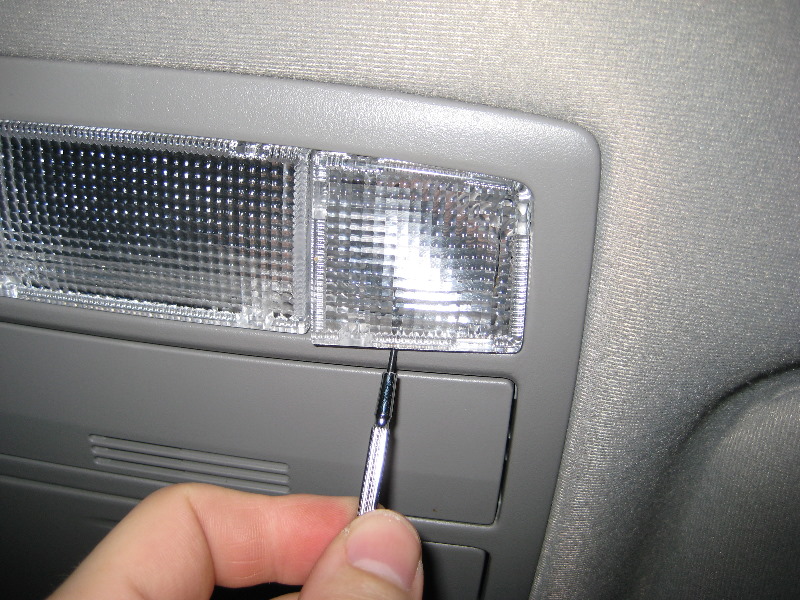
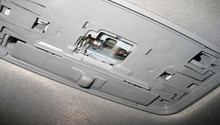
Step 5 – Unclip the door lights
Remove the cover using your flat head screwdriver. Of all the light covers, this one should be the easiest to remove. Pull out the socket to release the housing. Looking down into the housing, press down on the top clip, while lifting the larger plastic piece from the housing. The cover to the actual bulb is now removed, and you are ready to pop out the bulb and replace it with a new one. It's recommended that you push it out of its metal holder using your flat head screwdriver. Once you are done, reinstall all of the parts you just disassembled (in the reverse order).
If you are using an adapter, install it as usual to get a glow of light. Slide the light board into the housing, directly above the lens, but below the bulb. You might need to exert some force here, but not too much. Set the plastic cover to the side and tuck any excess wiring out of place, so you can close the cover and move on to your next light.
Step 6 – Replace the trunk light
Locate the small, cage-like cover and un-clip it using your flat head screwdriver. Pry out the old bulb and replace it with a fresh one. If you are using an adapter, insert it into the socket and mount the light board next to the socket. Close the cover when you are done.
Step 7 – Remove trunk liner to access license plate lights
Using a flat head screwdriver, remove the locking screws, which are located all the way around your trunk liner to hold it in place. Hold the outer ring down with your finger, while pulling up on the outer ring. Continue until the center circle pops up and out of place. You only need to remove enough screws to pull down on the trunk liner to access the lights. To remove the lights, twist in a counterclockwise motion and then pull down.
To remove the bulb, encircle it in tape and then pull down on the tape to unseat the bulb. This is a great trick for removing a tight bulb. Add a new bulb, install the light back into the socket, and then lock it into place. Push the trunk liner back into place. Next, lock it into place by reinstalling the locking screws you previously removed.
Related Video
- LED DLRs Installation - Youtube.com