Toyota Camry 2007-2011: How to Replace Serpentine Belt Tensioner
Removal and replacement of a Camry's serpentine belt is challenging enough, how about doing this while also replacing the belt tensioner?
This article applies to the Toyota Camry (2007-2011).
Serpentine drive belts are made of a durable rubber-like material, but still wear out over time. These drive belts typically will last from between 45,000 to 75,00 miles, or three to five years of driving. As the belt wears, it may emit squeaking or chipping noises, and a badly-worn drive belt can break. They drive the alternator, water pump, air conditioner, and power steering. If the drive belt fails, your car won't be drivable within a matter of minutes.
The trend in serpentine drive belts from the manufacturer’s point of view is to make these belts out of tougher material, as well as shorter in length. A shorter drive belt can last longer because it stretches less, plus can utilize fewer idler pulleys along its path to reduce friction. Eliminating an accessory that requires drive belt connection also significantly shortens belt length. For this reason, the 2.5L I4 introduced in 2010 included electric power steering (EPS), thus eliminating a belt connection to a vane pump (the hybrid version of the 2.4L engine always used EPS).
Because the space is so tight, replacing the serpentine belt in a Toyota Camry is a difficult chore. But also removing and replacing the belt tensioner complicates matters greatly. What typically fails in the belt tensioner is the bearing of the pulley. A failing tensioner bearing can emit a grinding noise, a rattle, or a constant and unpleasant dull moan.
The belt tensioner’s pulley can be replaced, but this task requires some special equipment, namely:
- a hydraulic press, and
- a bearing puller kit.
There are facilities that you can send your tensioner to that will replace the bearing, but this will take time to work out the details for shipping, payment, and return. Replacing the entire tensioner will obviously be a more expensive proposition, but also a straightforward one.

Materials Needed
- Socket set with 10mm, 14mm, and 19mm sockets
- Belt removal tool or equivalent (long 3/8" breaker bar with 90-degree tip, two box wrenches, etc.)
- Short 14mm ratchet wrench
- 1' by 3' or so thick plank of lumber
- Two short jack stands and a trolley jack
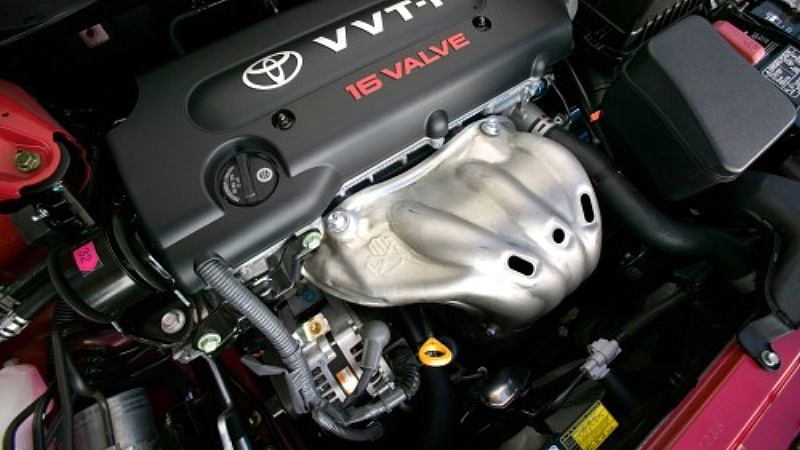
Between 2007 and 2011, the Toyota Camry utilized three different non-hybrid, gasoline engines:
- 2.4L I4 engine 2AZ-FE (2007 to 2009)
- 2.5L I4 engine 2AR-FE (2010 to 2011, replacing the 2.4L 2AZ-FE), and the
- 3.5L V6 engine 2GR-FE.
Note that a 2.4L I4 hybrid gas/electric engine was also available between 2007 and 2011, the 2AZ-FXE.
The serpentine drive belt is located in the front of the engine, which, because the Camry engine is transverse mounted, is located on the passenger side of the engine compartment. Between the inside of the engine compartment at that location and the front of the engine is a tight fit.
Step 1 – Prep the car
Put car in park, emergency brake on, and chock the rear wheels. Use a trolley jack to raise the front of the car and put two jack stands (only 10” to 12” or so high) under the frame rails behind each front wheel.

Step 2 – Remove front passenger tire and fender liner splash shield/access panel
Remove the front passenger wheel and set it aside.

Remove the two 10mm bolts on the front of this wheel’s fender liner that holds a small splash shield/access panel in place. Then remove this access panel and set it aside.
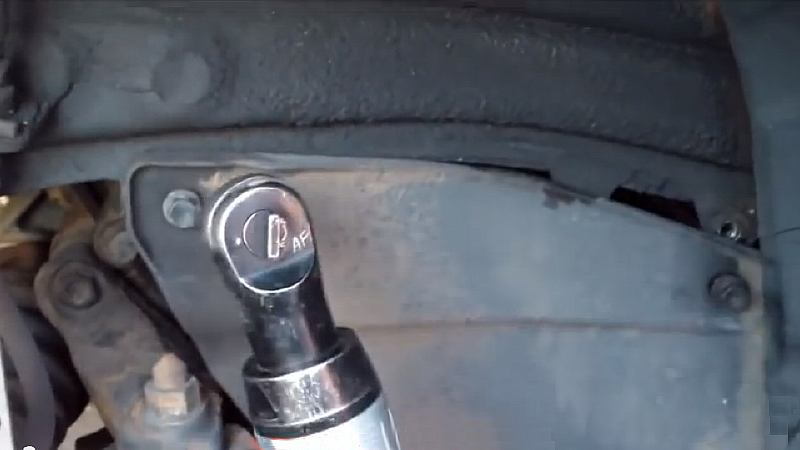
This small window reveals a portion of the engine’s front, the bottom of the drive belt tensioner piston’s attachment point, and the serpentine belt.
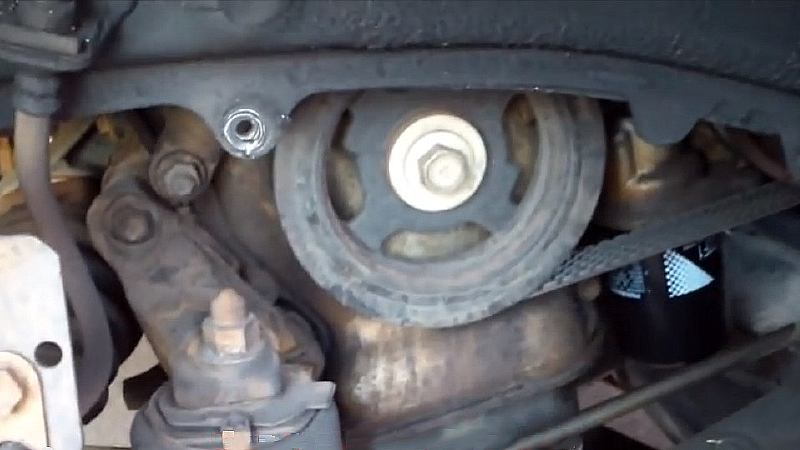
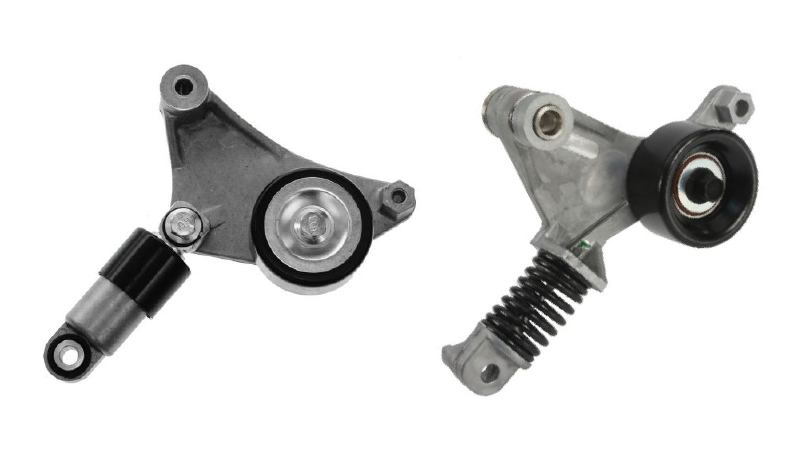
The drive belt tensioner is composed of a pulley, a swing arm, and small hydraulic cylinder to provide pressure on the belt (some cars came with a short spring instead of a hydraulic cylinder). Note that the “bolt-head,” which you attach the 19mm socket on the removal tool, is cast in place—the swing arm turns, not the bolt head. Also, be aware that this aluminum alloy bolt-head is easy to strip.
Step 3 – Remove the serpentine drive belt
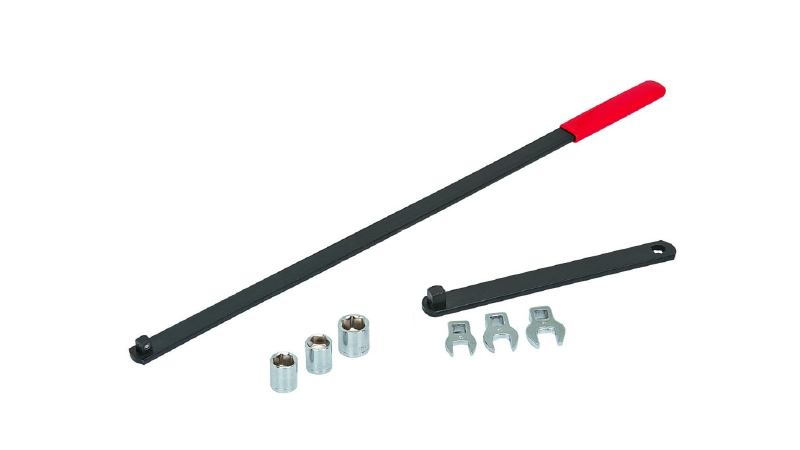
For the 19mm socket, a long, thin wrench is needed to twist the belt tensioner so the belt can be removed. Toyota makes such a “Special Service Tool” (SST 09249-63010). There are generic (and much lower-priced) substitutes, such as this “serpentine belt tool” priced at around $16 to $20 (Figure 7).
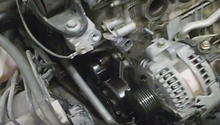
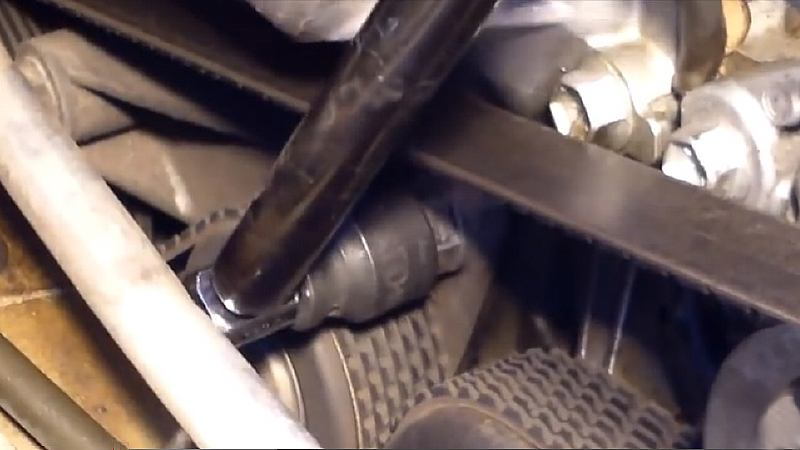
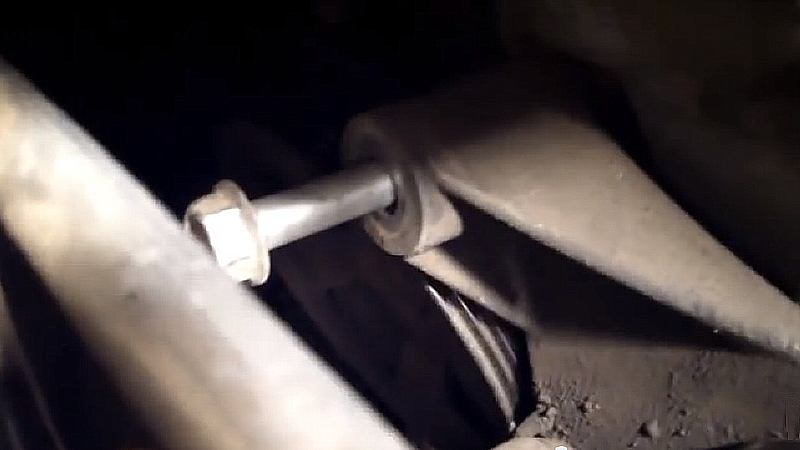
However, many DIYers have successfully made due with what they have on hand. Some use a box wrench engaged by another box wrench for leverage, others use a socket wrench with a length of plastic pipe over the handle to extend its length. In the case shown in Figure 8, the owner is using a long 3/8 inch breaker bar with a 90-degree tip, and short, appropriate-sized socket—which, for this engine, is 19mm.
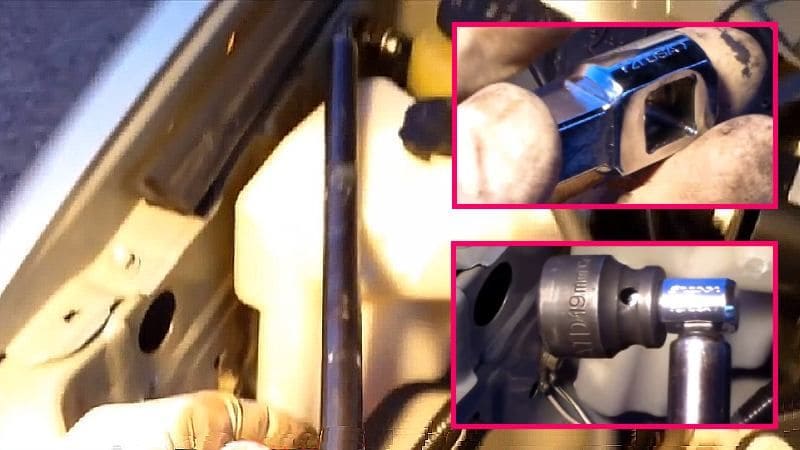
Put the socket onto the nut and turn the wrench clockwise. Note that this movement should be done slowly, as the tensioner’s design may include the previously-mentioned small hydraulic cylinder. When the nut stops turning, hold the wrench in place.
Now with your free hand remove the drive belt from the pulley closest to you (the alternator pulley is probably the most accessible), extract your wrench, feed the belt off the other pulleys, and pull it out of the engine compartment.

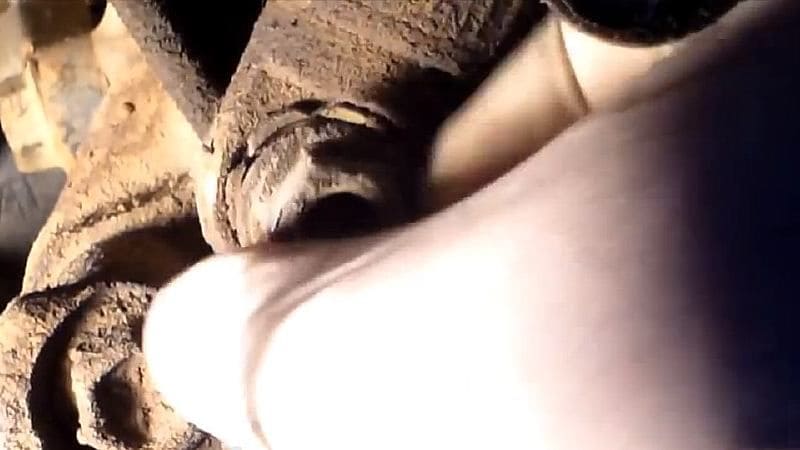
Next, from the access panel in the wheel well, find the end of the nut that hods the bottom of the tensioner’s hydraulic cylinder (or spring) to the engine block.

Remove the nut, but don't pull the cylinder off its mount just yet.
Step 4 – Support the engine from underneath
Place a thick wooden board atop your trolley jack, and insert it under the engine’s oil pan. Raise the jack up to the point at which the board supports, but doesn’t lift the engine.

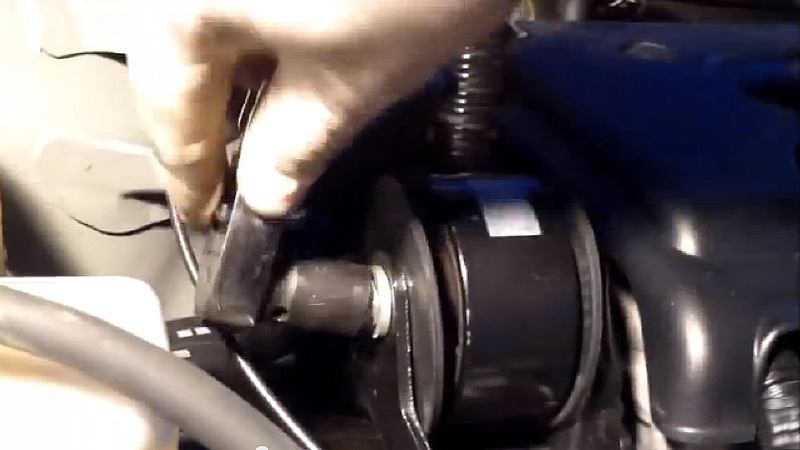
Step 5 – Remove the "dog bone" engine mount
With a 14mm socket, remove the two bolts holding the engine mount visible on the passenger side of the engine. This mount is commonly referred to as the “dog bone.”
Set this engine mount aside.
Step 6 – Jack the engine up one to two inches
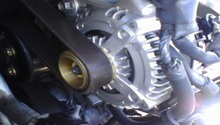
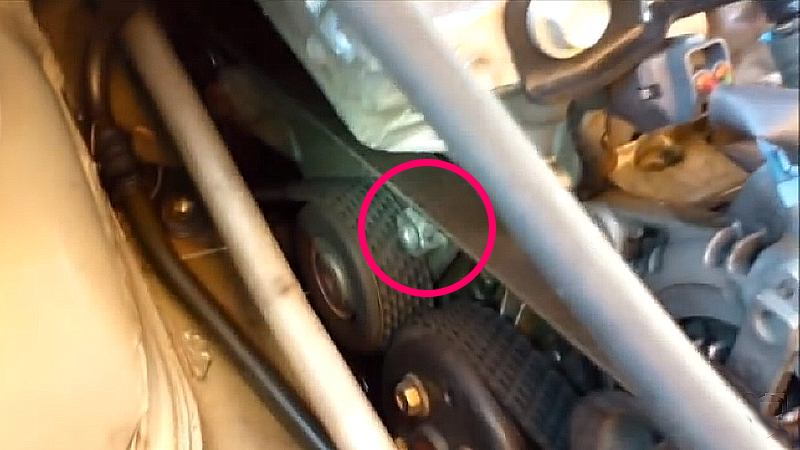
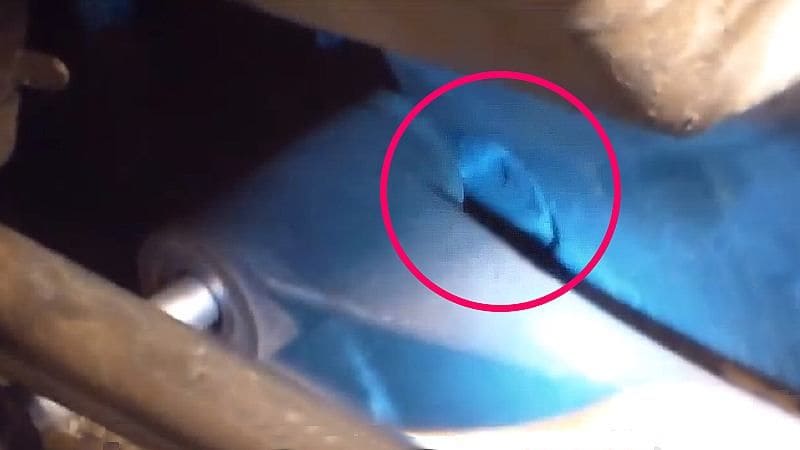
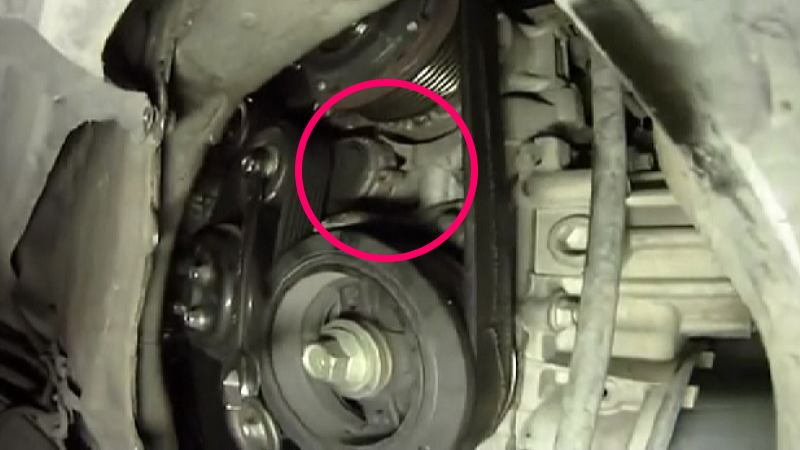
The bolt circled here (on the removed tensioner) is what the tensioner pivots on. This bolt has to be removed; however, more clearance will be required, as this bolt is quite long.
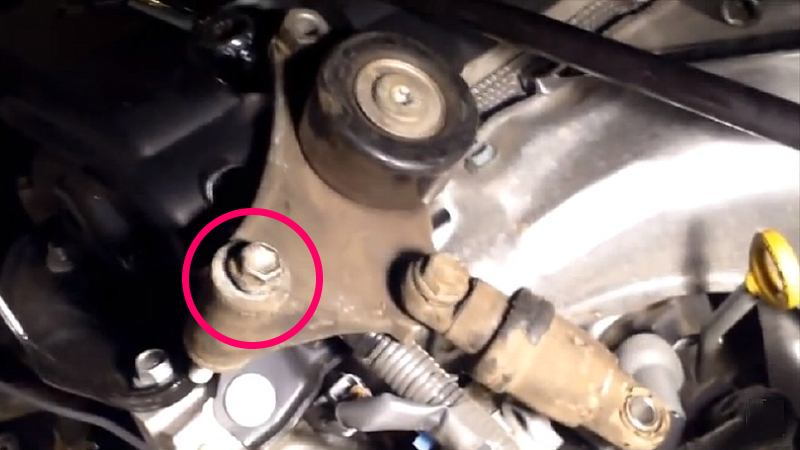
Because the engine mount was removed, you can now use the trolley jack to lift the engine up a bit more—between one and two inches, but no more. Too much pressure against the bottom of the engine could damage the oil pan and/or cause more component damage.
With a long-handled 14mm box wrench, loosen this bolt. After it’s loose, switch to a shorter (“stubby”) 14mm ratcheting wrench.

Continue loosening this bolt until there’s only enough room between it and the engine bay’s side to remove your wrench. Continue loosening this bolt by hand until it touches the side of the engine bay.
Now, from the access panel pull the bottom of the tensioner’s hydraulic strut off its connecting bolt.

With the bottom of the tensioner strut now detached, tilt the tensioner so the protruding bolt head points upward. Continue loosening this bolt by hand until its threads are no longer connected to the engine block.
With the bolt still in the bracket, work the tensioner up and toward the front of the vehicle. Practice some patience here, and gently wrestle the tensioner high enough to grab the strut on its bottom. Twist the strut up and over the connection bracket as well as bolt. Then twist it and turn it while lifting the entire tensioner, with the bolt still in the braced, up and out of the engine compartment.

Step 7 – Replace the tensioner with a new one
With the bolt in place in the new belt tensioner’s connection bracket, reverse the movements used to remove the old tensioner to finagle the new one into place:
- Insert the threaded end of the connection bracket into its mounting hole and hand-tighten it until you can get a wrench in to seat it.
- Replace the hydraulic strut to its connecting bolt.
- Tighten this bolt down to the approximately the same torque range that you found it at, as well as the nut holding the hydraulic strut (you probably won’t be able to get a torque wrench into either location).
Step 8 – Replace the serpentine belt with a new one
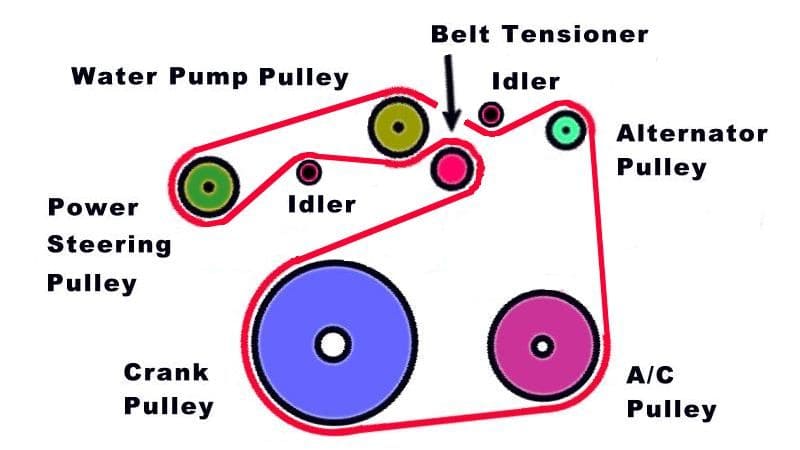
Don’t reuse the old serpentine belt. There should be a diagram of your serpentine drive belt path under your hood. If you can’t find it, the following diagrams are provided here.
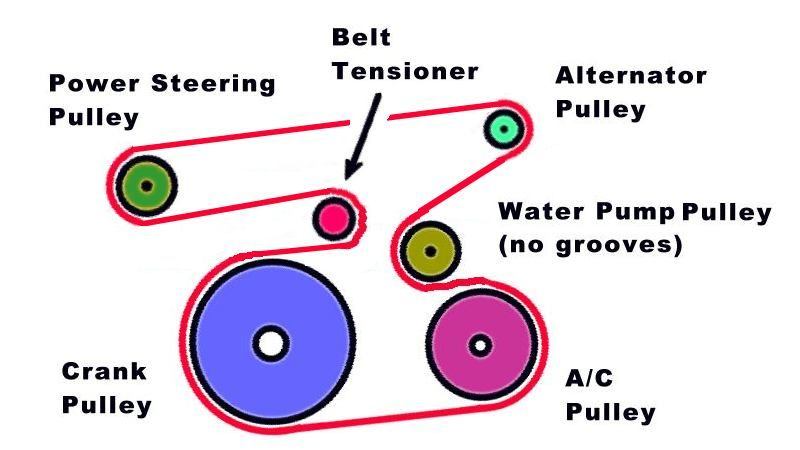
Note that the 2.4L engine had a serpentine belt 75.06 inches in length (1,906mm), and the 2.5L belt is much shorter at 47.17 inches (1,196 mm).

It’s usually best to route the belt around all grooved pulleys, but saving the water pump pulley for last. That’s because only the smooth surface of the belt contacts this pulley, not the grooved surface, and thus it’s easiest to slip the belt onto.
Differences with the 3.5L V6 Engine
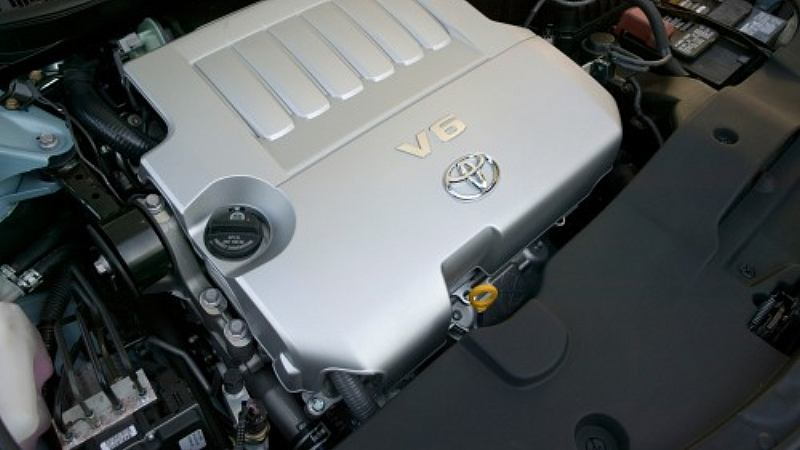
Note that the steps for accomplishing this procedure with the V6 engine has some differences:
- For one thing, you turn the tensioner nut counterclockwise, not clockwise, to take pressure off the belt.
- For another, its considered easier to remove the belt from the access hole.
- In addition, there is a hole in the block that allows you to lock the tensioner into its “loose belt” position with a 5mm Hex key (Allen wrench) from the access hole, which can greatly help with replacing the belt.
Obviously, to insert the Hex wrench, the 19mm long wrench or special tool will first have to be tied off in its full “loose belt” position, or an assistant will be needed to either manipulate the tool or insert the Hex key into place.
The V6 serpentine belt is 82.2 inches in length (2,088 mm), almost twice as long as the belt on the 2.5L engine, and incorporates two idler pulleys.
How to Replace Serpentine Belt Tensioner
Related Discussions
- 2007 Belt Tensioner Replacement - CamryForums.com
- Serpentine Belt Tensioner Pulley - CamryForums.com
- Serpentine Belt on '07 - CamryForums.com
- How to Change Serpentine Belt - CamryForums.com