Toyota Camry: How to Change a Tire and Check Tire Pressure
A tire change and tire pressure check are two maintenance procedures that every car owner should know how to do. If you own a Toyota Camry, or any car for that matter, here are the proper instructions to do so.
This article applies to the Toyota Camry 4th, 5th, and 6th generation (1997-2011).
Tires are literally the only contact your car has with the road as you propel thousands of pounds of metal down the highway at high speeds. And as with any other moving component, tires have a limited shelf life, which require some routine maintenance such as checking and maintaining proper tire pressures. Frequently servicing your tires is an easy and important way to maintain your car's handling, ride quality, and safety. It also extends the life of your tires, saving you a ton of money in the long run. Changing a tire is another useful (and necessary) skill that can really come in handy, whether you have roadside assistance or not. There might be a time when you simply can't reach help and need to do it yourself. Follow the simple steps below to keep your tire in great shape.
Materials Needed
- Tire pressure gauge
- Air compressor
- Hydraulic floor jack and jack stands (or factory tire change kit)
- Wheel chocks (optional, but improves safety)
Step 1 – Check the tire pressure
Tire pressure should be checked regularly; generally, around once a month. Make sure to check the tire pressure early in the day (when it's not too hot outside) because heat can cause the tire pressure to increase.
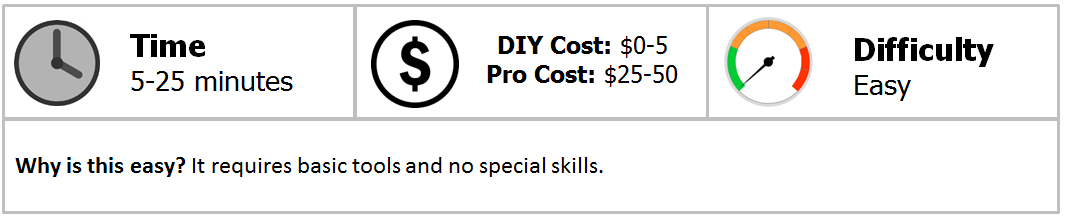
- Remove the valve stem cap and press the tire pressure gauge evenly over the valve stem until you don't hear any more air hissing or escaping.
- Reset the gauge, and take the pressure at least one more time to ensure you get an accurate reading.
- Compare the psi pressure reading to your tire's recommended psi specs. You can find the specs on the sidewall of the tire and in the car's door jam (if equipped with factory tires).
- If necessary, use an air compressor to add air to the tires and be careful not to over-inflate them.
- Air can also be let out of the tire by depressing the needle in the valve stem.
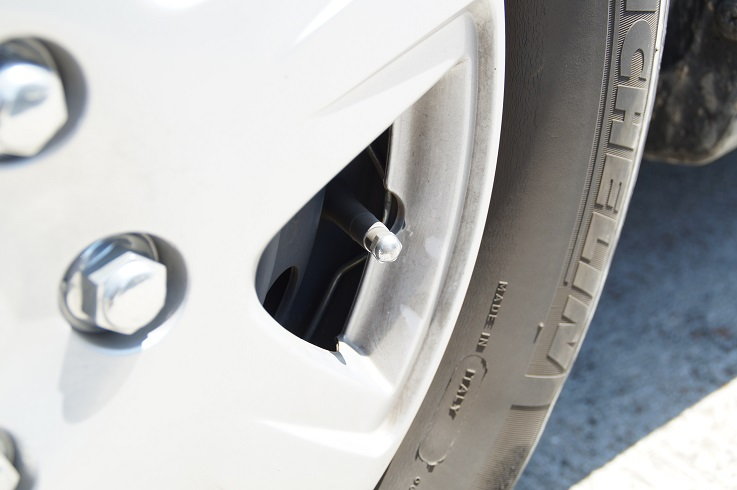
Figure 1. Remove the valve stem cap. 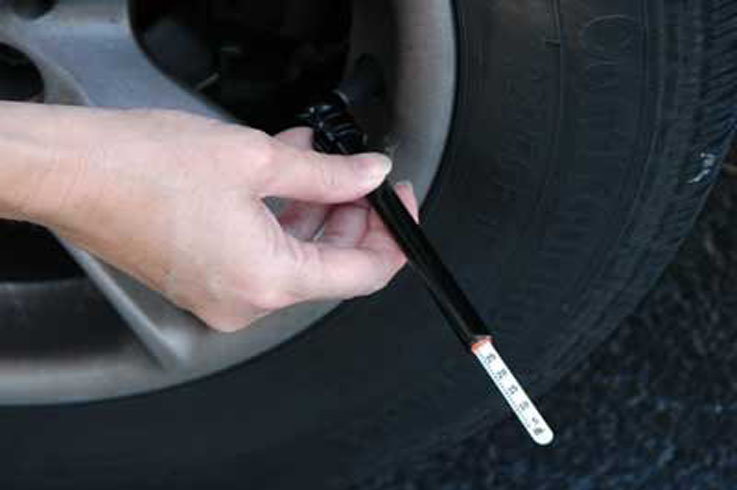
Figure 2. Check the tire pressure with a gauge.
Step 2 – Remove the old tire
- Park the car on a level surface and engage the parking brake. You can chock the wheels for added safety, but it is not necessary.
- Loosen the lug nuts while the tire is still on the ground. This will make removing the wheel a lot easier.
- Lift up the car using a floor jack or the factory jack, and place jack stands under the car's jacking points.
- Lower the car onto the jack stands and make sure it is safely supported.
- Remove the lug nuts and dismount the tire from the axle.
Figure 3. Loosen lug nuts before jacking up the car. 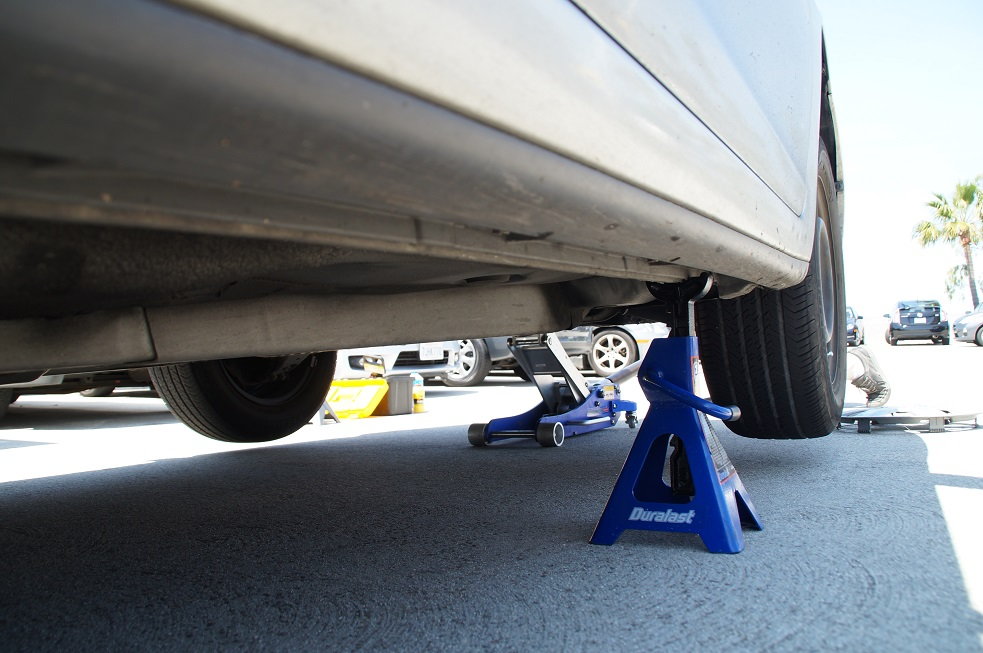
Figure 4. Jack up car and support it with jack stands.
Step 3 – Install the new tire
- Set the new tire in place by pushing it onto the wheel studs.
- Then re-install and snugly tighten the lug nuts, making sure the wheel is flat against the brake calipers.
- Raise the car off of the jack stands.
- Remove the jack stands from under the car and lower the car to the ground.
- Torque the lug nuts to factory specs.
Note
If you are installing a factory "donut" style spare tire, be sure to follow the manufacturer's recommendations for maximum speed and safety.
Featured Video: How to Check Tire Pressure and Change a Tire
Related Discussion
- Camry Wheel Torque Specs - CamryForums.com