Toyota Camry: How to Paint Your Brake Calipers
All-in-one caliper paint kits make it easy for you to paint the calipers on your 4th, 5th or 6th gen Toyota Camry in a few hours. Here's how.
This article applies to the Toyota Camry (1997-2011).
Painting your brake calipers is a straightforward DIY project that requires only a few hours of work. Before getting started, you will need to head over to a local auto parts store or go online and purchase a high quality caliper paint kit. Reasonably priced at around $30 from trusted brands such as G2, Duplicolor, Rust-Oleum and Eastwood, these all-in-one-kits are available in a full range of colors, including, but not limited to, silver, gold, red and blue (custom colors are also available for an added cost). Although these kits contain everything to complete this DIY project, you'll need to supply your own masking tape (or terrycloth) and jack stands (the latter of which you'll need to know how to safely operate).

Materials Needed
- Brake caliper paint kit
- Jack
- Jack stands
- Wire brush
- Coarse and fine-grit sandpaper
- Rubbing alcohol
- Masking tape (terry cloth will also suffice)
- Safety and protective gear (gloves, protective face mask, safety glasses)
- Lint-free cleaning rags
Step 1 – Detach tire and wheel
- Pull your emergency brake.
- Jack up your Camry.
- Set appropriately sized wheel chocks behind and in front of each tires you are NOT working on to keep your vehicle from accidentally rolling away.
- If you own jack stands, use them.
- Detach the first tire and wheel of your choosing; it's recommended that you complete this project one wheel at a time.

(Related Article: How to Jack Up Your Car - Camryforums.com)
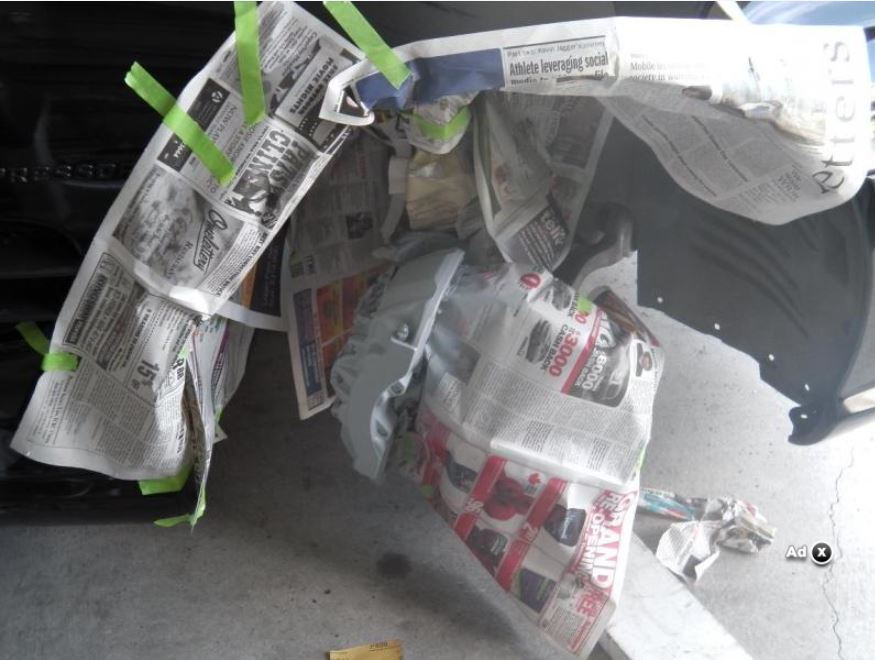
Step 2 – Protect Camry
Apply masking tape to all surrounding areas to prevent contamination while you work. To minimize masking tape that you use for each wheel, it's recommended that you cover these areas with pieces of old newspaper and then tape them down. Areas to be especially diligent in covering include, but are not limited to, the rotor, the shocks and the wheel well. All of which are particularly susceptible to contamination due to their close proximity to the caliper you will be painting in a few steps.
Step 3 – Clean and sand caliper
- Before cleaning the caliper with brake cleaner, take a wire brush and remove dirt and other deposits from your caliper.
- Sand away rust, if applicable, using a fine or coarse grit.
- Clean your caliper with repeated sprays of brake cleaner.
- Allow the cleaner to dry while you change your gloves.
- Use a lint-free cleaning rag soaked in rubbing alcohol to remove remaining particles from the caliper.

Pro Tip
Avoid rubber areas, such as the rubber boots, to eliminate unnecessary damage to your vehicle.
Step 4 – Paint the caliper
Add three to four coats of paint, allowing two to three minutes of drying time per coat of paint. Spray a final coat of paint and wait approximately 30 minutes for the paint to dry.

Step 5 – Reattach tire and wheel
Reattach your tire and wheel by going in the reverse order of the previous steps. Further set the paint by driving your Camry for approx. 30 minutes after your final coat of paint dries.

Pro Tip
Lubricate the piston walls and the caliper bore with grease; Valvoline multipurpose grease is recommended. Replace the O-ring as well.
Featured Video: Painting Brake Calipers
Related Discussion
- Camry Front Brake Calipers Replacement Overseas - Camryforums.com