Toyota Camry 1997-2011: How to Replace Brake Fluid
If it is time to replace the brake fluid in your Toyota Camry, then continue reading this step-by-step guide.
This article applies to the Toyota Camry (1997-2011).
Your vehicle's braking system is crucial to the optimum safety for you, your passengers, and drivers around you. Making sure your brakes are working in optimal order are something to keep an updated check on. In a typical automotive braking system, there are brake rotors, brake pads, brake calipers, brake lines, a brake cylinder, a proportion valve and, last but not least important, brake fluid within the brake reservoir. Making sure the level of your fluid is at the correct mark is the difference between safety and danger. Typically, a brake fluid flush should be performed on your vehicle every year at least once.

Materials Needed
- Funnel
- Drain pan
- Plastic bottle with cap having a hole cut on top
- 1-2 feet worth 3/16" clear tubing
- Siphon or turkey baster
- 8mm box-end wrench
- Brakleen (or other brake cleaner)
- Shop towels or rags
- WD-40 or other penetrating solution
- Jack and jack stands
- Tire iron
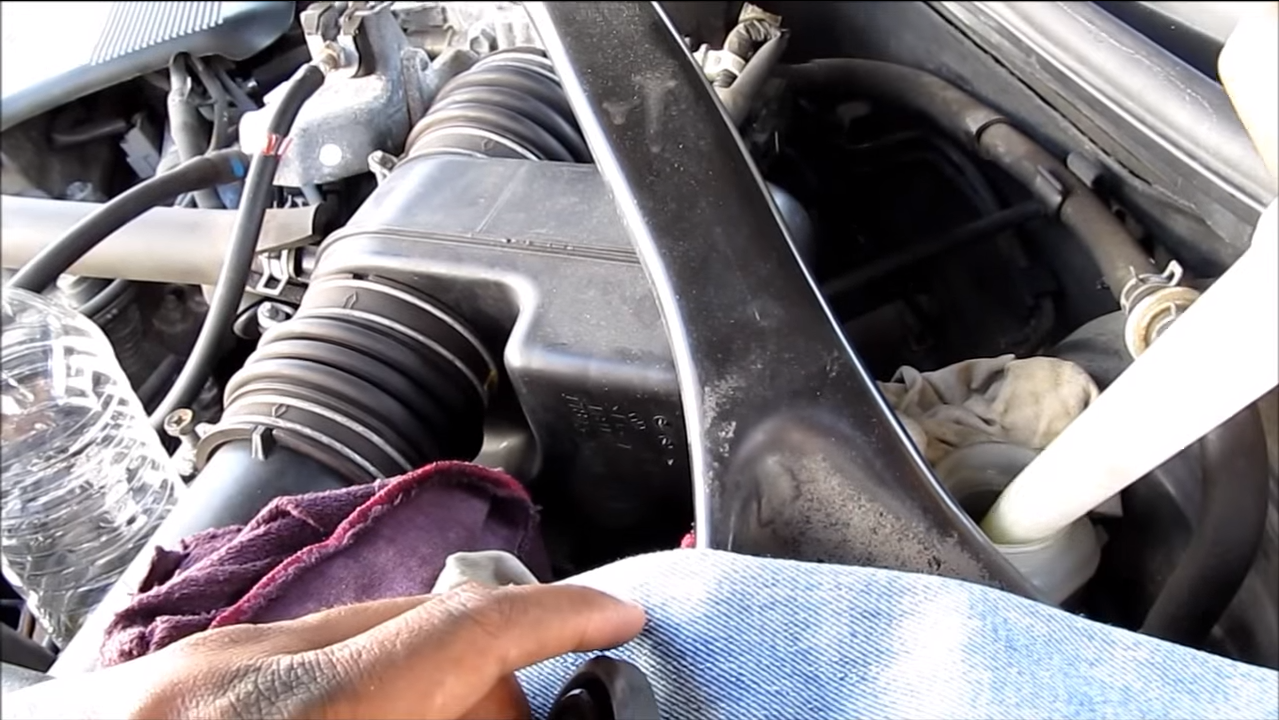
Step 1 – Remove old fluid
Before new fluid can be introduced to the system, the old fluid must be taken out.
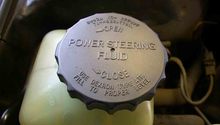
- Remove cap from brake reservoir.
- Use a turkey baster or siphon to remove the fluid.
- Release baster or siphon into drain pan or empty bottle.
Pro Tip
Be careful with brake fluid and make sure it doesn't touch the car's paint. It can cause the paint to peel!
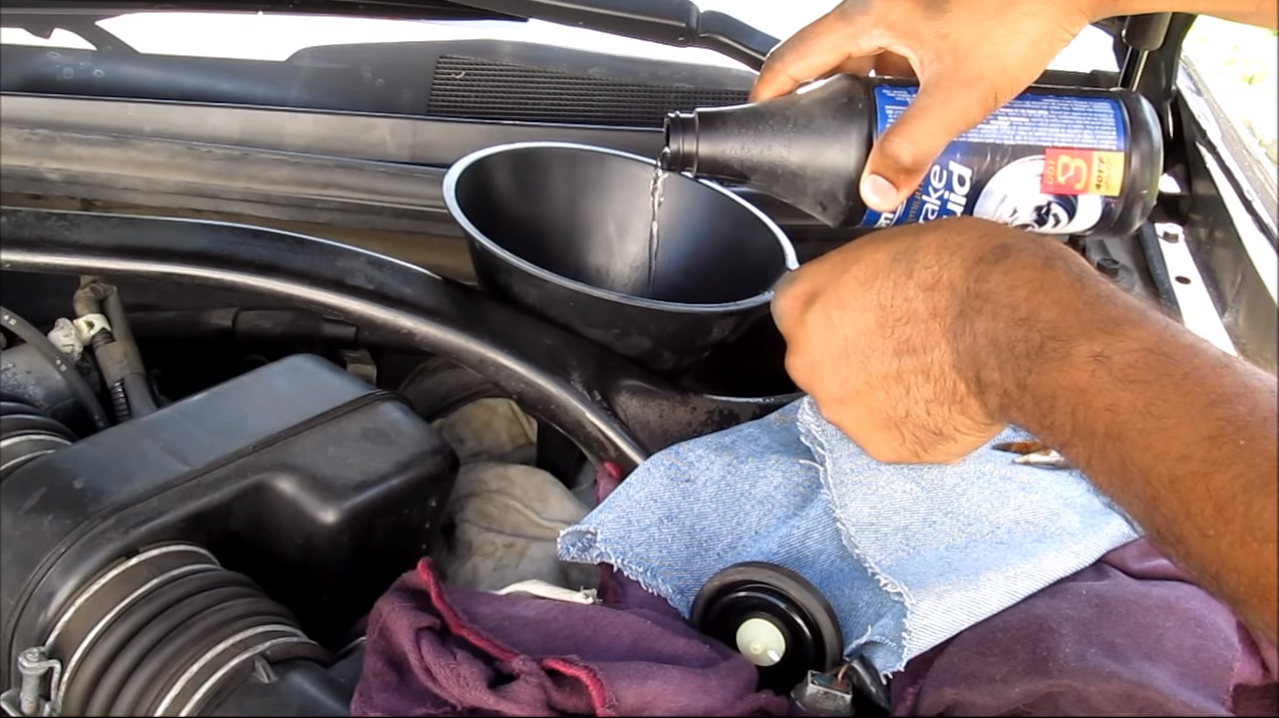
Step 2 – Refill new fluid
Part of the flush requires you to fill the reservoir with new fluid.
- Remove the cap from the brake reservoir.
- Fill with new DOT 3 fluid.
Pro Tip
Fill the reservoir to the MAX line.
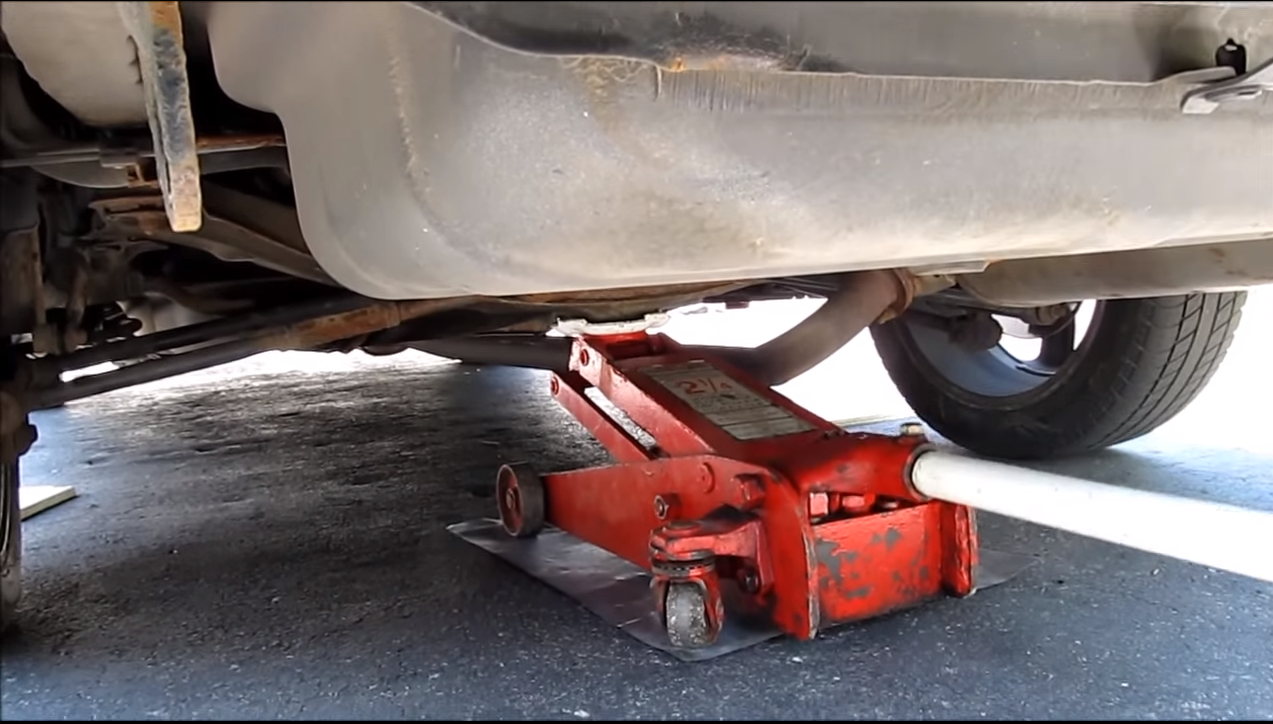
Step 3 – Jack rear of vehicle
The car will need to be raised from the rear to aid in flushing the old fluid out.
- Raise the rear of car using a hydraulic or floor jack.
- Secure car using jack stands.
- Secure front wheels with wheel chocks.
- Remove rear passenger wheel.
Pro Tip
Unless you have a strong impact wrench, it may be wise to loosen the lug nuts on the wheels you will be removing using a tire iron.
Step 4 – Prepare caliper for bleeding
The system will need to be bled of the old fluid for a proper flush.
- Use the box wrench to loosen the bleeder screw.
- Attach one end of clear tubing to the bleeder screw.
- Attach the other end of the clear tubing to the plastic bottle with hole in the cap.
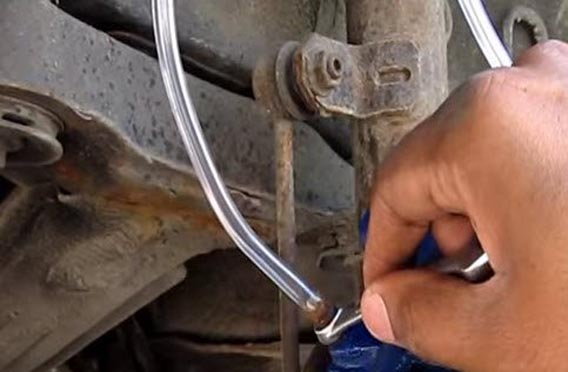
Figure 4. Open the bleeder valve. 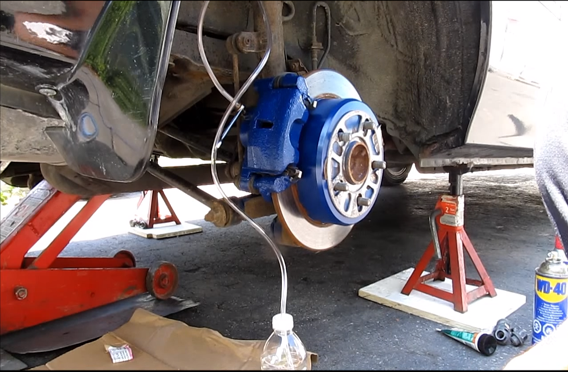
Figure 5. Let the old fluid go into the catch can.
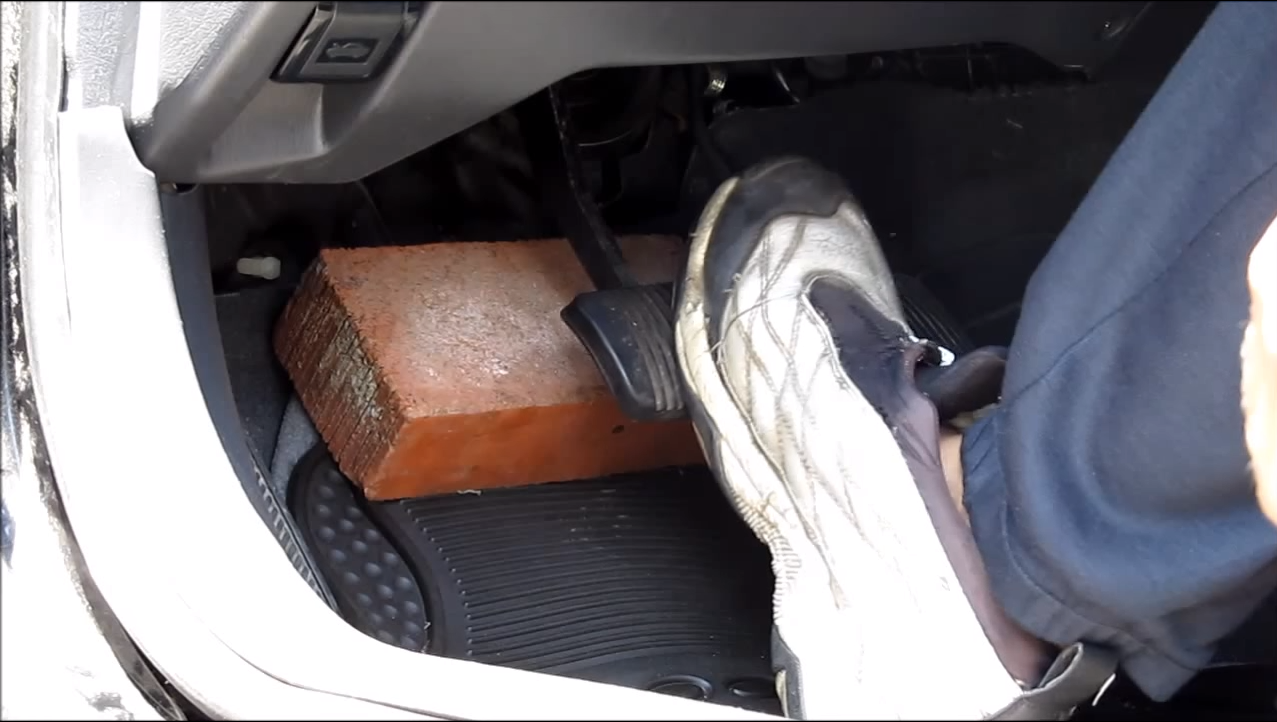
Step 5 – Pump the brakes
To clear the system of fluid through calipers, you will need to pump the brakes.
- Tighten the bleeder screw again.
- Pump the brakes a few times until the pedal becomes firm.
- Have your assistant hold the pedal down while you open the bleed valve.
- With the valve open, brake fluid should begin to leave the caliper.
- Close the valve after a few seconds.
- Have your assistant pump the pedal and repeat the process above a few times per brake caliper until the fluid comes out clean.
- Start with the passenger's-rear caliper, than to the driver's-rear, then passenger's-front, and finally the driver's-front.
Step 6 – Top off the fluid
As you go through the system flushing, you should keep the reservoir filled.
- Check reservoir fluid level after each bleed.
- Top off as necessary.
- When all calipers are bled, top off the reservoir to just below the max level.
Featured Video: How to Change Brake Fluid
Related Discussions
- Brake Fluid Flush - CamryForums.com
- Camry Brakes - CamryForums.com