Toyota Camry 2007-2011: How to Install Aftermarket Stereo
If you want to add a little eye candy and a little thump to your Camry, then upgrading your stereo is key. Read this guide to find out how.
This article applies to the Toyota Camry (2007-2011).
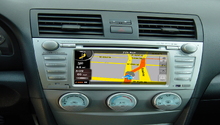
The cabin of your Camry is meant to be enjoyed, and one way to make it even more enjoyable is by upgrading your sound system experience. Sound systems come in all shapes, types and price ranges, so while choosing one may be rather complicated, installing it wont be. We've compiled a step-by-step guide to show you how to install an aftermarket stereo in your Camry. If you don't feel comfortable doing this, you can visit a dealer or professional sound shop.

Materials Needed
- Aftermarket stereo
- Trim removal tool
- Phillips screwdriver
- Ratchet wrench and 10mm socket
Step 1 – Remove trim panels
Position yourself in the driver's seat and start by removing the trim panel below the radio unit and the A/C vent panel above it. Start by using the trim removal tool to wiggle it in between the panel and the exterior edge, then carefully wiggle it through the gap until it gently pops out. Repeat the same step with the A/C panel above the radio unit. Once the panels pop out, proceed to unclip the wiring connectors and fully retrieve the panels.

Figure 1. Use the trim removal tool to pop out the panels. 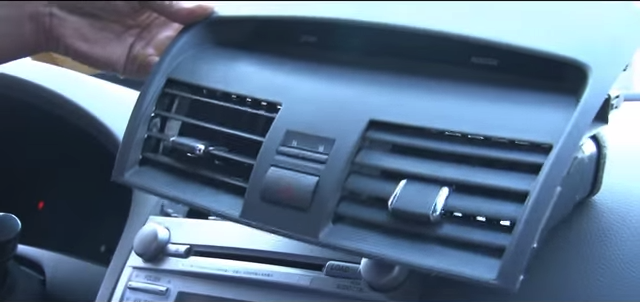
Figure 2. Repeat the same step with the A/C vent panel.
Step 2 – Retrieve stock unit
With the trim panels removed and out of the way, there are four 10mm bolts holding the stock unit into place. Two screws are located toward the back of the bottom panel that was removed, and another two up top where the A/C vent panel was located. Use the 10mm socket and ratchet wrench to remove these. Then carefully wiggle the unit out of place, and disconnect the harnesses to fully retrieve it.
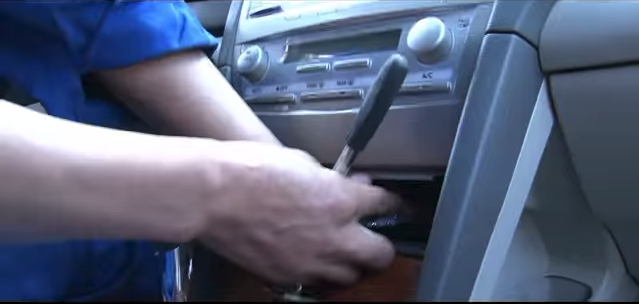
Figure 3. Remove bottom bolts. 
Figure 4. Remove top bolts. 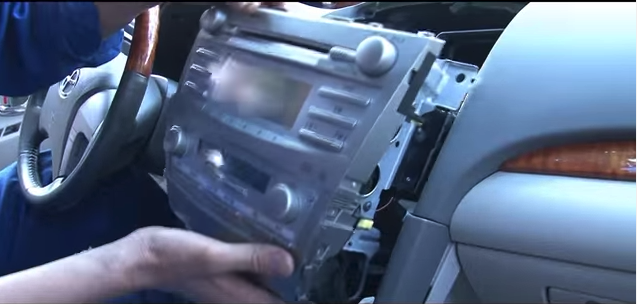
Figure 5. Carefully pull unit out.
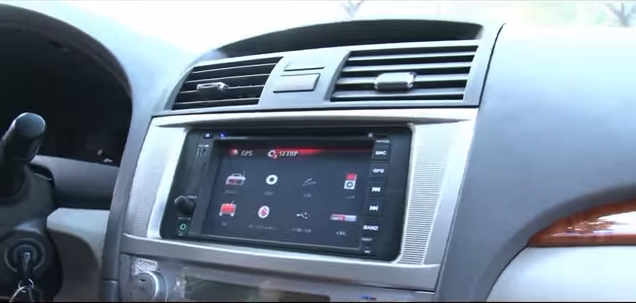
Step 3 – Install aftermarket unit
With the stock unit removed, the dash opening should be ready to have the aftermarket unit installed. Make sure not to forget to plug in the connectors in the back of the new stereo. Perform these steps once the aftermarket unit is installed.
- Install new unit.
- Plug in connectors.
- Replace four bolts.
- Replace both body trim panels.
Related Video
- Toyota Camry Head Unit Remove and install - YouTube.com