Toyota Camry 2002-2006: How to Replace Radio
The radio in your Camry transmits signals from the antenna and head unit to your speakers. Radios can malfunction in a number of ways, which can lead to fuzzy reception or an inoperative CD player. The more cost effective alternative to repairing the radio is replacing it completely with a known good unit.
This article applies to the 5th generation Toyota Camry (2002-2006).
A stereo is the center of entertainment during your daily commute. With it, you can play your choice of music or listen to your favorite radio station, making your one hour drive feel like ten minutes. If you find your radio is not playing CDs correctly or buttons are beginning to stick, you can easily replace it with a new unit at little cost and less hassle. In fact, this may be a great opportunity to upgrade to a higher end radio, complete with satellite radio and MP3 compatibility.

Materials Needed
- Trim removal tool
- 10mm socket
- Ratchet and extension
- Dash kit (if the radio is smaller than the factory radio)
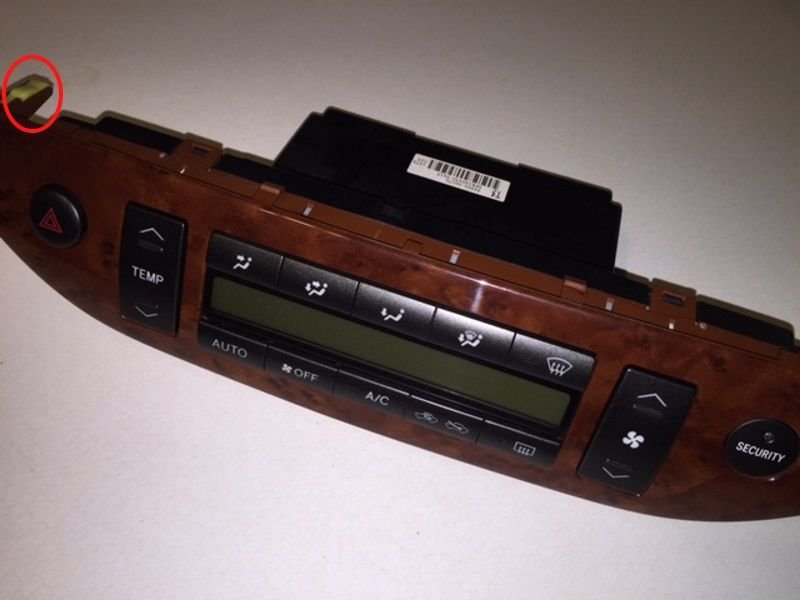
Step 1 – Remove the climate control from the dashboard
- Using a trim removal tool, pry the climate control module away from the dash. Pop out each corner of the cluster until the clips disengage.
- Gently pull the module forward and unplug the wire harness connectors. The entire module can now be removed from the dash.
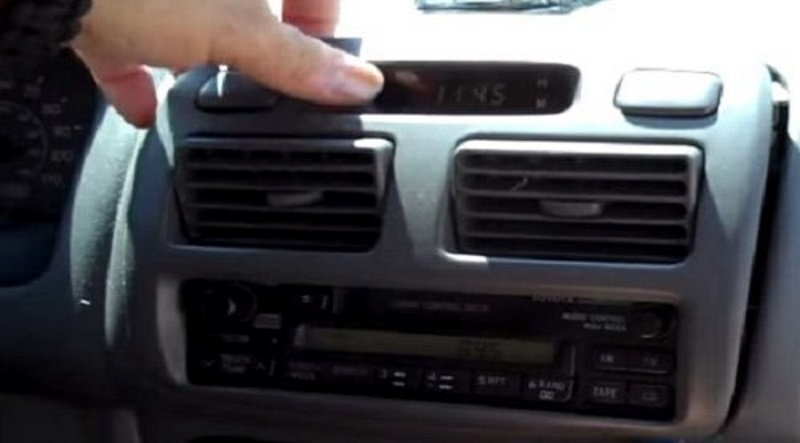
Step 2 – Remove air vents and trim piece surrounding radio
- Grab the bottom corners of the panel, and gently pull it away from the dash. Doing so will release the clips.
- Use the trim removal tool to pry off the upper portion of the panel.
- Pull the panel far enough from the dash to access the wire harness connector behind the clock display.
- Squeeze the flexible tab on the connector, and pull the connector away from the panel.
- Lastly, free the trim piece free from the dash and set it aside.
Step 3 – Remove the radio
- On the bottom side of the radio are four 10mm bolts. Remove the bolts using a socket and ratchet.
- Slide the radio out of the dash until you have access to the harness connectors.
- The blue plug is attached to the antenna cable. Since it is a simple push-in style jack, simply pull it out to disconnect it from the radio. Some Camrys have a secondary antenna jack that you will have to remove as well.
- Locate the main wire harness. Disconnect it by squeezing the connector's flexible tab and pulling it away from the radio.
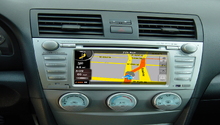
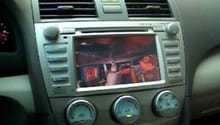
Step 4 – Install the new radio
Several aftermarket stereo units are smaller than factory radios. Therefore, a radio dash kit will need to be installed to bolster the new unit and conceal the extra space in the dash.
- Install the new radio by reconnecting the main wire harness and the antenna's cable.
- Then secure the radio using the four 10mm bolts.
- Reconnect the wire harness to the digital clock display, then snap the air vents and trim piece in place.
- Lastly, re-install the climate control module and test out the new radio.

Featured Video: Camry Stereo Removal and Repair
Related Discussion
- 2007 Camry SE Aftermarket Radio - CamryForums.com