Toyota Camry: How to Replace Dome Light
Replace the dome light(s) in your Toyota Camry for increased visibility.
This article applies to the Toyota Camry (1997-present).
Dome light replacement is a common repair. The process is straightforward and does not require specialized tools or expert knowledge. In fact, the entire process takes just minutes to complete from start to finish. Further, you can replace old dome lights with newer, more technologically advanced LED lights, which offer more dynamic lighting and longer lasting performance. If a dome light is not working due to a blown fuse in your fuse box, you will need to pop the hood of your car and change out the old fuse using a pair of fuse pullers. Once the new fuse is installed, your new dome light(s) should shine brightly for you and your passengers to see clearly inside your Camry.
Materials Needed
- Replacement fuse
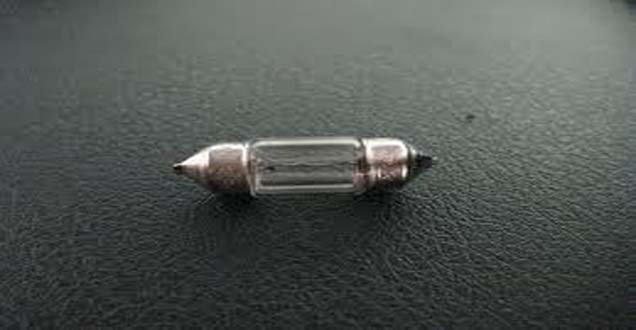
- Replacement bulb(s)
- Flat head screwdriver
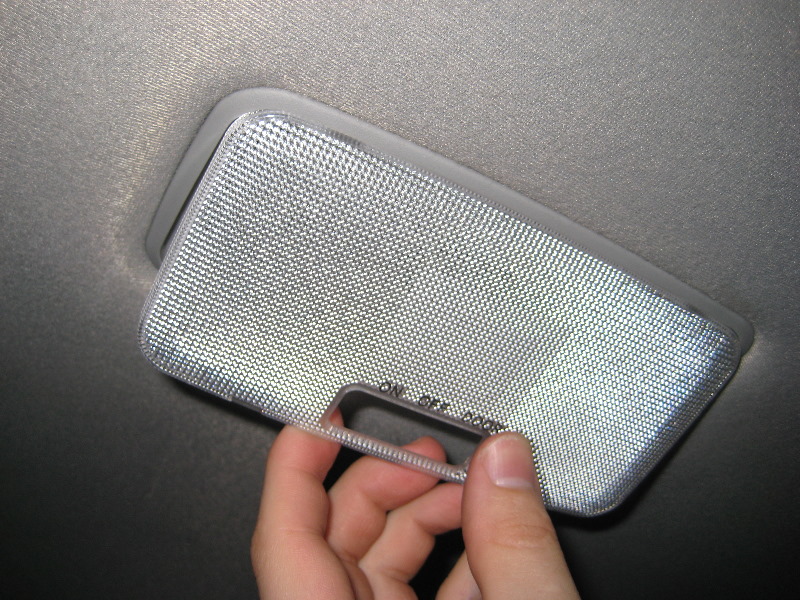
Step 1 – Remove the plastic cover
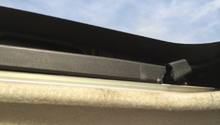
Using a gentle back and forth motion, pry off the plastic lid cover with a flat head screwdriver.
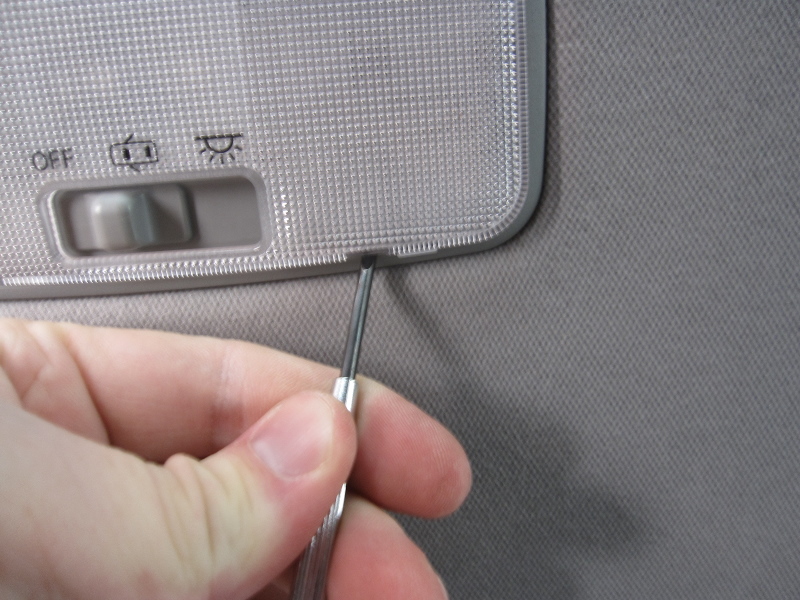
Figure 1. Remove the cover without exerting force. 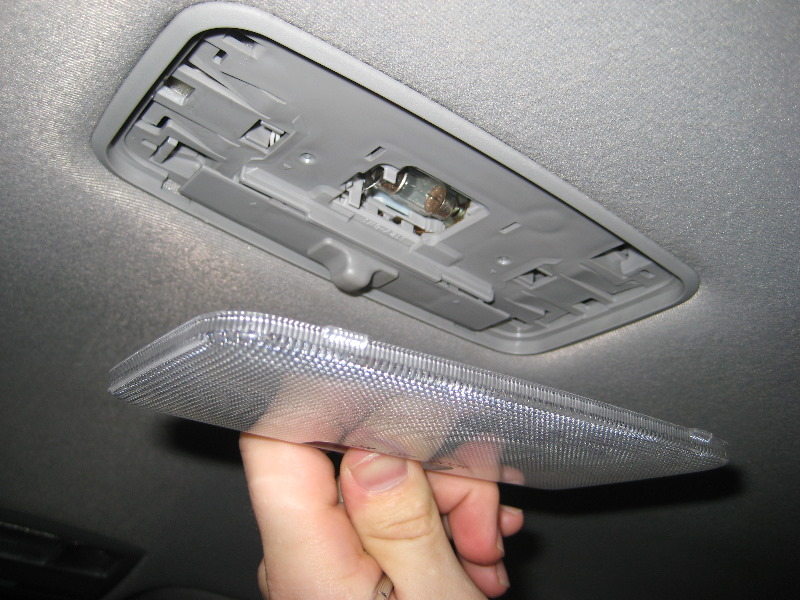
Figure 2. Once the cover is removed, you will see the bulbs.
Step 2 – Remove the old light in a Toyota Camry
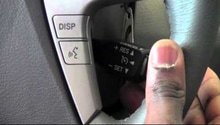
Remove the old light from the socket by hand. Removal of the old light should not require much force. Simply release the light and discard it.
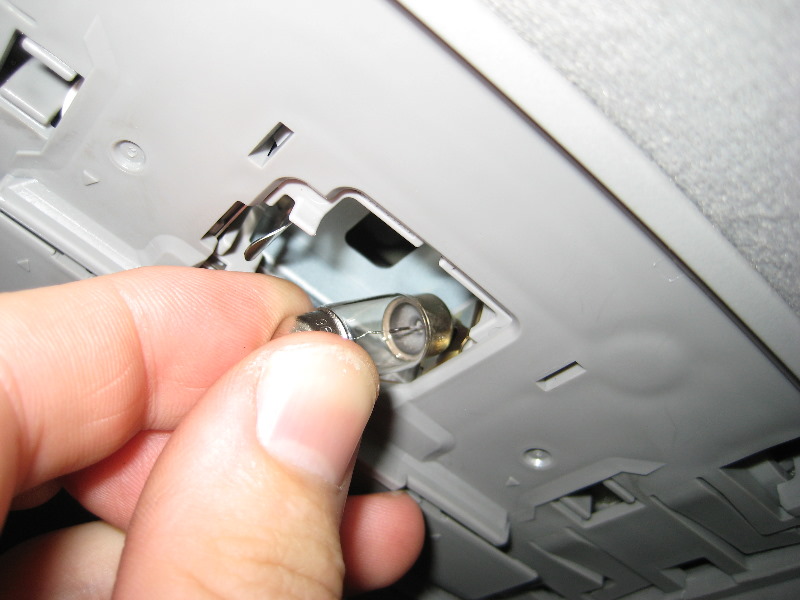
Step 3 – Install the new LED light
With the light socket now empty, you are ready to install your new LED light. Fit the metal brackets securely into the sockets (a reversal of Step 2), and then guide the light forward using your hand. Once again, there is no need to exert much force. Simply push the light forward and stop when you feel it is firmly in place.
Step 4 – Re-install the plastic cover
Push the plastic cover closed. It's recommended that you continue on to your remaining lights, so your entire Camry is well lit. Remove each cover as you did in the previous steps, and then detach and replace the old light(s). Close each cover once you are done.
Step 5 – Check your new lights
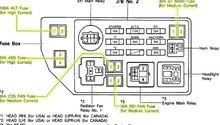
Check that your new dome light(s) work properly. If they are not functioning properly, it's recommended that you check your fuse box before heading down to a local Toyota dealer for professional assistance. If you do have a blown fuse, pull out the damaged fuse and replace it with a new fuse. The amperage rating must be correct or the new fuse will not work.

How to Replace / Fix a Dome Light
Related Discussions and Video
- Problems Dome Light - Camryforums.com
- DIY Dome Light Bulb - Camryforums.com
- Dome Light Bulb - Camryforums.com
- How to Change Courtesy Door Lights - YouTube.com