Toyota Camry 1997-2001: How to Replace Power Window Regulator
When your power windows stop working, repair it yourself. While not as easy as other car projects, this replacement job is simple enough that even a novice DIY'er can do it.
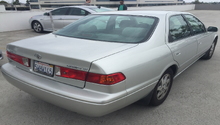
This article applies to the 4th Generation Toyota Camry (1997-2001).
Power windows are both a blessing and a curse. Pressing a button to raise and lower a window is much simpler than cranking a window open or shut, but with this convenience comes risk. Sometimes the motor and regulator will stop working, which means you either get used to having a window that won't open or shut (or that is stuck somewhere between the open or shut position), or you replace the window motor and regulator. Keep in mind that accessing and replacing the window motor and regulator is really two projects in one; you must first remove the door panel in order to access the window motor and regulator, and then you must remove the window motor and regulator itself.

Materials Needed
- Flat head screwdriver
- Phillips screwdriver
- Trim removal tool
- Putty knife
- 10mm wrench or ratchet with socket
- Masking tape
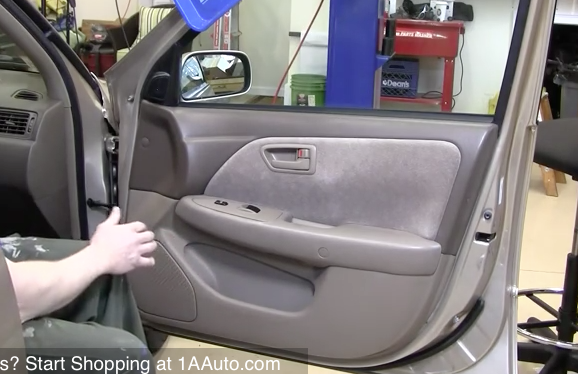
Step 1 – Remove the door panel
- Open the door and roll down the window.
- Use a trim removal tool to pry out the power window switch panel, and then unplug the switch's wire harness connectors.
- Use a small flat head screwdriver to pry out the retaining clips on the door: one behind the door handle, one near the side mirror, and one below the armrest well.
- Then use a Phillips screwdriver to remove the three screws located behind the clips you've just removed.
- Remove an additional three Phillips screws: two at the bottom of the door panel and one underneath the armrest, directly below the window switch panel.
- Insert the trim removal tool behind the inner side of the panel (the side where the speaker is), and gently pry the panel out and away from the car. It should simply pop out and off.
- Insert the trim removal tool between the bottom side of the door panel and the door frame, then gently pry it off.
- Grab the door panel and pull it away from the door. It will not completely come off at this point.
- Lift the door panel up and then outward to separate it from the door frame.

Step 2 – Remove the door handle
- Use a 10mm wrench to remove the bolt in between the door handle rods.
- Tilt the door handle forward, and then wiggle the upper as well as lower rod free from it.
- After the rods have been separated from the door handle, it can easily be removed.
(Related Article: How to Replace Inside Door Handle - CamryForums.com)
Step 3 – Remove lower plate from the door frame
- Use the Phillips screwdriver to remove the three screws securing the lower plate to the door frame. This lower plate is black and oval shaped.
- After removing the screws, you can easily pull the plate away from the door.

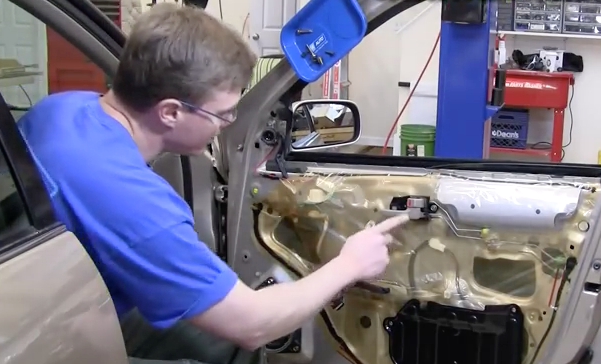
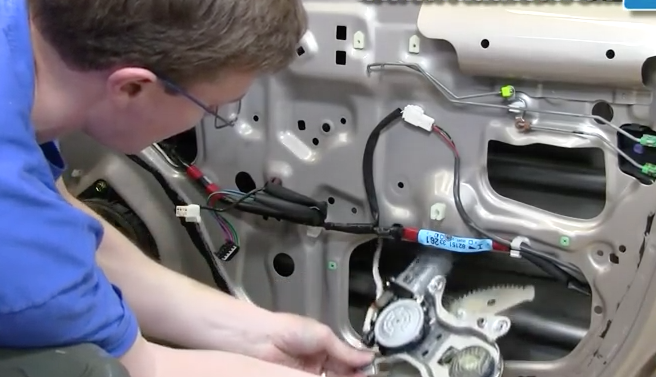
Step 4 – Separate water shield from the door frame
- Separate the water shield from door using a putty knife. Run it between water shield and door until you can easily separate the two. Be careful because it’s easy to rip the shield.
- Peel back the plastic shield so that you can access the window regulator.

Figure 4. Use a putty knife to separate the shield from the door frame. 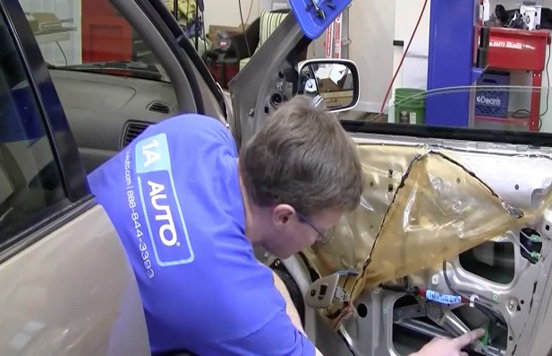
Figure 5. Peel the water shield back to access the window motor and regulator.
Step 5 – Remove bolts holding the motor and regulator
- Use and 10mm wrench to loosen and remove the bolt on the regulator
- Also, remove the 10mm bolt in the access hole located to the left of the regulator.
- After you remove both bolts, raise window up and out of the regulator, then tape the window to the top of the door frame so it remains in place.

- Reach through the small opening in the top, left side of door frame, and unhook the wire harness connector.

- Use the 10mm wrench to remove the six bolts holding the window motor and regulator in place.

Step 6 – Remove the old window motor and regulator
- Feed the harness back into door, holding it in place with your left hand.
- There is a clip located on the door, about halfway between the harness and the regulator. Un-clip the harness in order to remove the window motor and regulator.
- With your right hand, grip the window motor as well as regulator, rotate it counterclockwise about 90 degrees, and then pull it out of the door.
Step 7 – Install the new window motor and regulator
Re-install the new window motor and regulator by reversing the steps you took to remove it:
- Insert the wire harness, and then window motor as well as regulator into its hole, feeding the harness up the inside of the door until it emerges from the small hole located near the top of the door.
- Re-install the 10mm bolts holding the window motor and regulator in place. You may want to start with the bolt near the top of the window motor and regulator cavity and work your way around in a clockwise manner until you’ve re-installed each of the 10mm bolts.
- Hook wire harness into place.
- Un-tape the window from the top of the door and gently slide it back into place. It should slip right into the regulator.
- Re-install the two 10mm bolts that further hold the regulator in place. There is one on the regulator itself and also one on the access hole.
- Reattach water shield to door. Be careful not to rip the water shield as you do this.
- Re-install the lower plate to the door frame using the three Phillips screws.
- Re-install the door handle. First attach the two rods, and then set door handle into place.
- Re-install the 10mm door handle mounting bolt.
- Lastly, re-install door panel, securing it with its clips and screws.
Step 8 – Test the power window
Turn on your car and test if the power window works. If it doesn’t, there are two likely reasons why: either the window isn’t fitting inside the regulator, or you’ve forgotten to clip the wire harness back into place. You’ll need to repeat previous steps in order to access the wire harness and regulator, and also make sure you’ve installed the new regulator as well as motor correctly.
Featured Video: How to Replace Window Regulator
Related Discussions
- 1998 Power Window Install Advice Needed - CamryForums.com
- 2000 Rear Window Won't Go Up - CamryForums.com