Toyota Camry 2007-2011: How to Remove Front Bumper
Whether your front bumper is faded, broken, or you just want to remove it for personal reasons, you've come to the right place. Here's how to remove the bumper on your Toyota Camry.
This article applies to the Toyota Camry (2007-2011).
Bumpers are not merely decorative; they're your ride's number one defense from damage. Whether it was caused in an accident or simply during daily use, the removal of the stock unit is fairly easy. Vice versa in the case of reinstalling it, or installing a new unit. If you're removing the bumper to access something else like your headlights or fog lights and plan to reinstall it, then you may want to consider doing this yourself. If you want to remove bumper in order to replace it, such as after an accident, a professional will charge you several hundred dollars just to remove the bumper, but that may be the path of least resistance if you're unable to find a replacement. So before deciding to do it yourself, be sure you have a replacement in hand.

Materials Needed
- Phillips screwdriver
- Flat head screwdriver
- 10mm socket ratchet and extension (only necessary if you're removing the bumper in order to access something else, like the headlights or fog lights)
Step 1 – Prepare to remove bumper
Open hood and lock in place with the hood support rod.
Step 2 – Remove screws holding front fascia to bumper
Use the Phillips head screwdriver to remove the pair of screws holding the front fascia to the bumper. There is one screw on the right side of the front fascia, located at the bottom, and then one on the left side of the front fascia, again, located on the bottom. To access these screws, you’ll need to be on your back and under your car.

Step 3 – Remove screws located between front fascia and interior of bumper
Pull the front fascia away from the bumper to access a screw located about halfway up the bumper on the right side. Use a Phillips head screwdriver to remove this screw. There is a second screw located in the same place but on the left side of the vehicle. Use the Phillips head screwdriver to remove it as well.

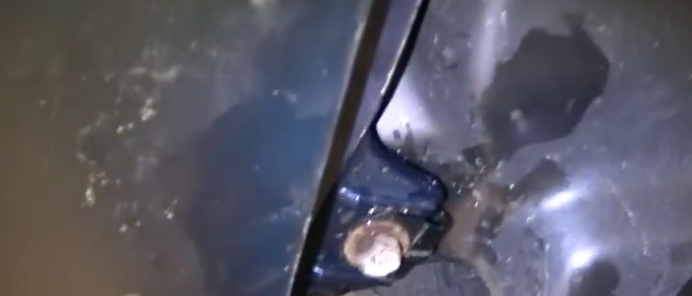
Step 4 – Remove bolts beneath the front of bumper
Use the 10mm socket ratchet and extension to access and remove the pair of bolts beneath the front of your bumper. You’ll likely need to be on your back under the front of the car in order to access and remove these bolts.
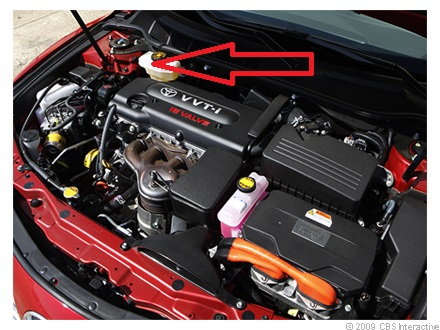
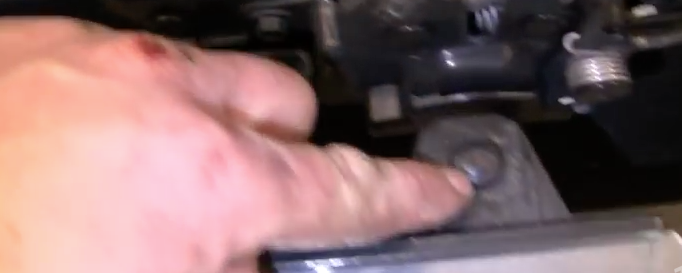
Step 5 – Remove screws holding the top of bumper
Locate and remove the three screws that hold the top of the bumper to the inside of your engine cavity. If you’re looking at the front of your car, you will find these screws near the very front of your car. You don't need a screwdriver to remove these as they will come out with a twist (which you can do with your fingers).
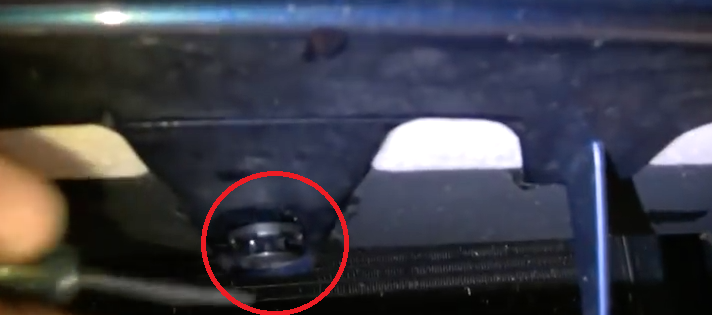
Step 6 – Remove connectors beneath the front of bumper
Use the flat-head screwdriver to remove the two connectors beneath the front of the bumper. Again, you’ll likely need to be on your back and beneath the front of your car in order to access and remove these connectors. Pry up each connector with the flat head screwdriver, and then remove them by hand.
Step 7 – Remove bumper
Pull the bumper off and away from car. Start on one side, pulling down and pulling out. There is one clip near the right-most and left-most edges of the bumper. You’ll need to unclip both clips in order to fully remove the bumper.
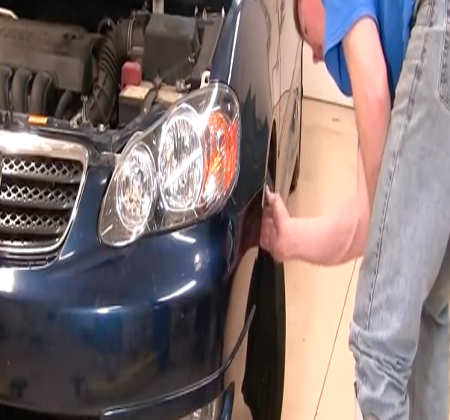
Figure 7. Start on one side of your car and gently pull bumper down and then away from your car. 
Figure 8. What your car will look like with the front bumper removed.
Step 8 – Re-install bumper
Re-installation is reverse of removal:
- Position bumper against the front of your car, push into place. Then re-clip the pair of clips holding it in place.
- Re-install the pair of connectors beneath the front of your bumper.
- Re-install the three screws that hold the top of the bumper to the inside of your engine cavity.
- Use the 10mm socket ratchet and extension to re-install the pair of bolts beneath your bumper.
- Re-install the pair of screws located between the front fascia and the inside of the bumper.
- Smooth the front fascia back into place and re-install with the pair of Phillips head screws holding it in place.
- Close hood.
How to Remove Front Bumper
Related Discussion and Video
- How to Install/Replace Front Bumper on a 2003-2008 Toyota Corolla - YouTube.com
- Replacing Front Bumper - CamryForums.com