Toyota Camry 2007-2011: How to Replace Spark Plugs and Coils
Replacing the spark plugs in your Toyota Camry doesn't need a professional's touch. No matter your experience with performing maintenance on your car, this is a fairly easy project that should take you less than an hour to complete.
This article applies to the Toyota Camry (2007-2011).
Toyota recommends replacing your spark plugs every 50,000 to 60,000 miles, or so, to keep your engine working well. They're located in the combustion chambers (cylinders), and when you turn on your engine, they create a spark that ignites your fuel to get—and keep—you going. The older your spark plugs, the worse your fuel economy. A mechanic will likely suggest replacing your spark plugs as part of standard maintenance service, but you can easily do it yourself no matter your experience working on your car. When shopping for new spark plugs, look for spark plugs that are well-insulated. This will likely be on the packaging, and if not, ask a specialist at the auto parts store to confirm that the spark plugs will spark at the tip of each electrode rather than further down the plug. On the V6, the rear spark plugs are nearly impossible to reach and replace without a socket extension, so keep that in mind before starting your replacement project.

Materials Needed
- Replacement spark plugs
- Replacement ignition coils (optional)
- Compressed air (from a can works best)
- Thread Chaser (optional)
- Spark plug socket
- Socket extensions (optional)
- 10mm or 12mm socket wrench
- Torque wrench
- Spark plug wire boot (optional, and only necessary if your current spark plug wire boot is damaged)
- Anti-seize lubricant
Step 1 – Prepare to remove spark plugs
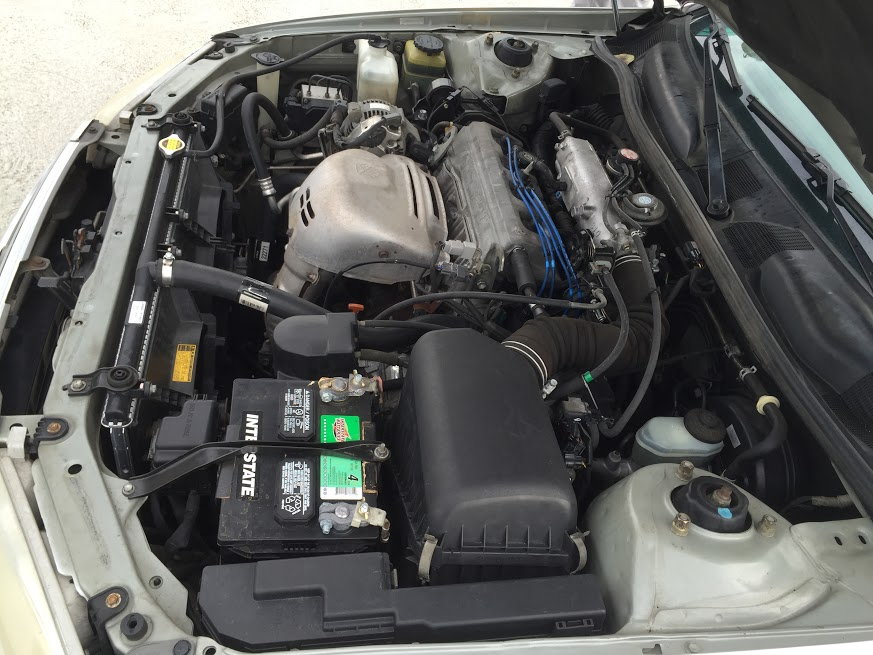
Open the hood, turn off interior lights, close lighted mirrors, and make sure headlights are off. Then, remove the key from ignition and locate the battery, which is in the engine compartment towards the front-right. Remove the engine cover by using the 10mm socket wrench to remove the bolts holding the cover in place.
Step 2 – Disconnect battery
Lift up on the negative (black) battery terminal clamp cover and loosen the clamp with 10mm or 12mm socket wrench (depending on the size of your clamps). Turn the clamp from side to side while lifting up to disconnect the negative battery terminal cable. If this doesn't work, use a battery cable puller to help loosen the clamp and then pull up on it to remove it. You should disconnect the negative battery terminal cable whenever you're working with metal tools in your engine compartment. Not everyone recommends doing this, but better safe than sorry.
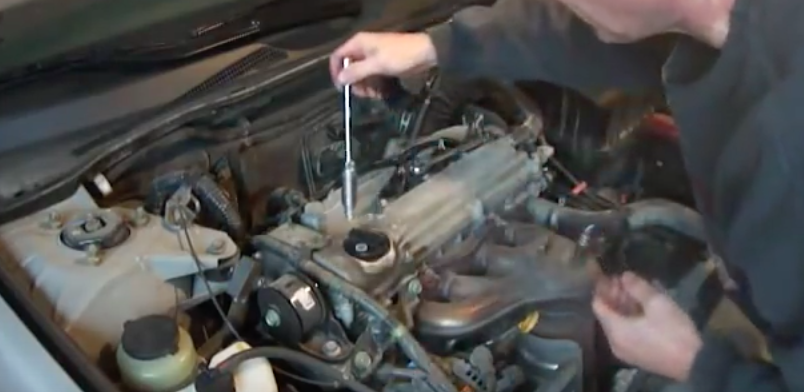
Step 3 – Prepare to remove spark plug wire boot
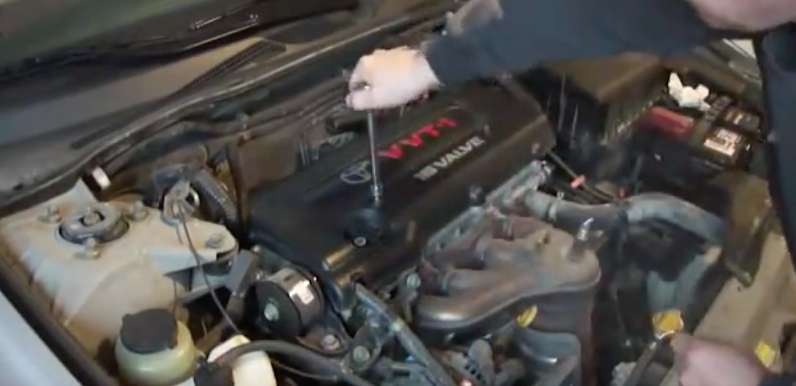
Use a torque wrench to loosen the bolt above the spark plug. You should see four bolts (on the four cylinder) or six bolts (on a V6), and these bolts indicate where the spark plugs are. Squeeze on the harness connected to the spark plug, and then pull the harness up and off. The harness is usually black. Let it hang there because you don't need to further remove it. This assembly is the ignition coil. The plug resides deeper in the chamber, beneath the coil. If you're going to replace the coils, un-clip the harness and replace with new ones; otherwise, it's time to move on.
Step 4 – Remove spark plug wire boot
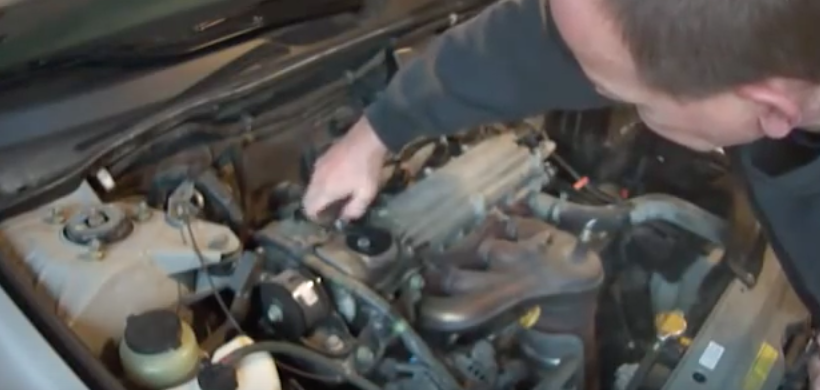
Locate the spark plug wire boot, grip it with your fingers, turn it to the left until it comes loose and you can pull it off of the spark plug. If the boot is visibly damaged, replace it.
Step 5 – Clean out spark plug well (optional)
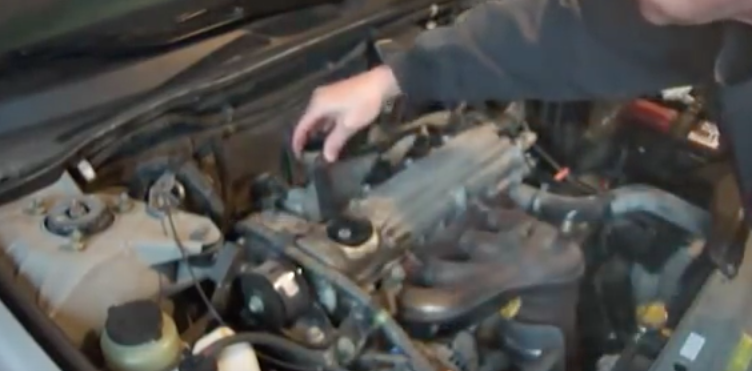
Spray your compressed air (likely from a can) into the spark plug well. This will help clean it out and remove contaminants like dust and dirt. This is an optional step, but can help prevent excessive wear and tear.
Step 6 – Remove spark plug
Use a spark plug socket—which has a rubber fitting on the inside—to grab the spark plug, turn it to the left, and then remove it. You may need to twist the spark plug to the left (or counterclockwise) several times to loosen it enough to remove it.
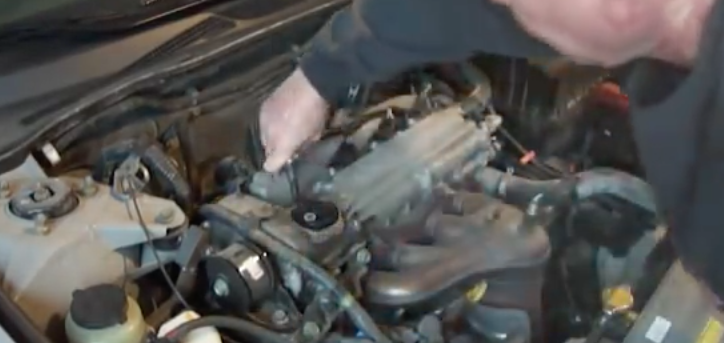
Figure 5. Use spark plug socket to grab spark plug. 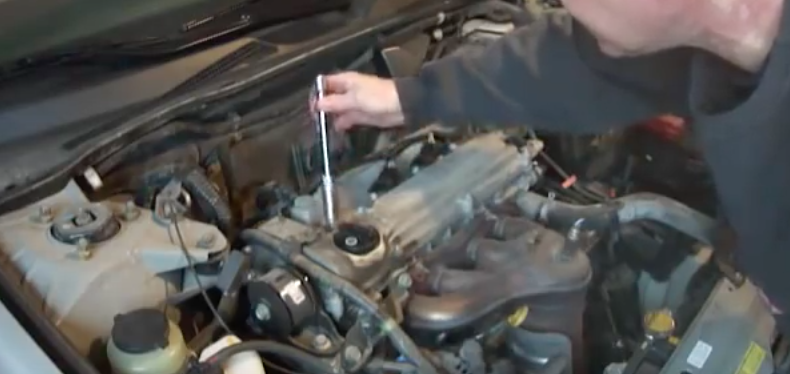
Figure 6. Pull up with spark plug socket once you've grabbed the spark plug, and the spark plug will come out.
Step 7 – Install new spark plug
- Put anti-seize lubricant on the threads of new spark plug (the tip of the plug).
- Install the new spark plug and use a standard socket wrench, or thread the new spark plug by hand. If you cannot thread the new spark plug, clean the threads in the cylinder head with Thread Chaser.
- Use spark plug socket to tighten (turning to the right or clockwise) the new spark plug. Do not over tighten; it should be snug but not too tight (18 ft./lb.).
- Replace spark plug boot. It should click into place. Once you hear the click, make sure it won't move by gently pulling on it. If you can't pull the spark plug boot off, then you've installed it correctly. If you can remove it, then try again to click it into place.
- Replace the 10mm (or 12mm) bolt. Tighten by hand and then with the 10mm (or 12mm) socket wrench.
- Reconnect harness by popping it back into place.
Step 8 – Replace other spark plugs
Repeat Step 7 in its entirety to replace the other spark plugs. If you have a I-4, there are four spark plugs to replace. If you have a V6, attach an extension to your spark plug socket so you can reach the rear spark plugs (six spark plugs in total). When done, replace engine cover and reconnected the negative terminal cable. Use the 10mm or 12mm socket wrench to tighten the clamp. Push the clamp cover into place, and finally close the hood.
Featured video: How to Replace Spark Plugs
Related Discussions
- Toyota Camry Spark Plugs - CamryForums.com
- 2000 V6 Camry Spark Plugs - CamryfForums.com
- '97 Camry Spark Plug Wires - CamryForums.com
- '01 Camry Plug Wires - CamryForums.com
- '98 V6 Misfires - CamryForums.com