Toyota Camry 2002-2011: How to Replace Water Pump
Water pumps should be serviced as preventative maintenance. If the pump fails, your engine's coolant supply will fail to cycle through the engine, likely causing overheating and damage.
This article applies to the Toyota Camry 5th and 6th generation (2002-2011).
Replacing a water pump is not something that you generally need to worry about until you hit 100,000 miles, but 5th and 6th generation Toyota Camrys have a tendency to require water pump replacement around 40-60,000 miles. Signs of failure generally include a rattling noise, excessive play, and visible leaks. If your water pump is beginning to show signs of failure, replacing it now can save you a lot of money and a big headache down the road. Keep reading as this article will guide you through the process.

Materials Needed
- 1/2" breaker bar, extension, and ratchet
- 1/2" sockets: 12mm, 14mm, 14mm deep, 19mm
- 3/8" ratchet, extension
- 3/8" sockets: 8mm, 10mm, 12mm, 14mm
- 1/4" ratchet, extension, universal joint
- 1/4" 10mm socket
- 10mm and 12mm wrench
- Torque wrench
- Flat head screwdriver
- Long nose pliers
- Large pliers
- Pry bar
- Floor jack and jack stands (or ramps)
- Wheel chocks
- Gasket scraper
- Brush
- Funnel and container for disposal
- 2 gallons antifreeze
- Brake cleaner
- RTV/Silicone
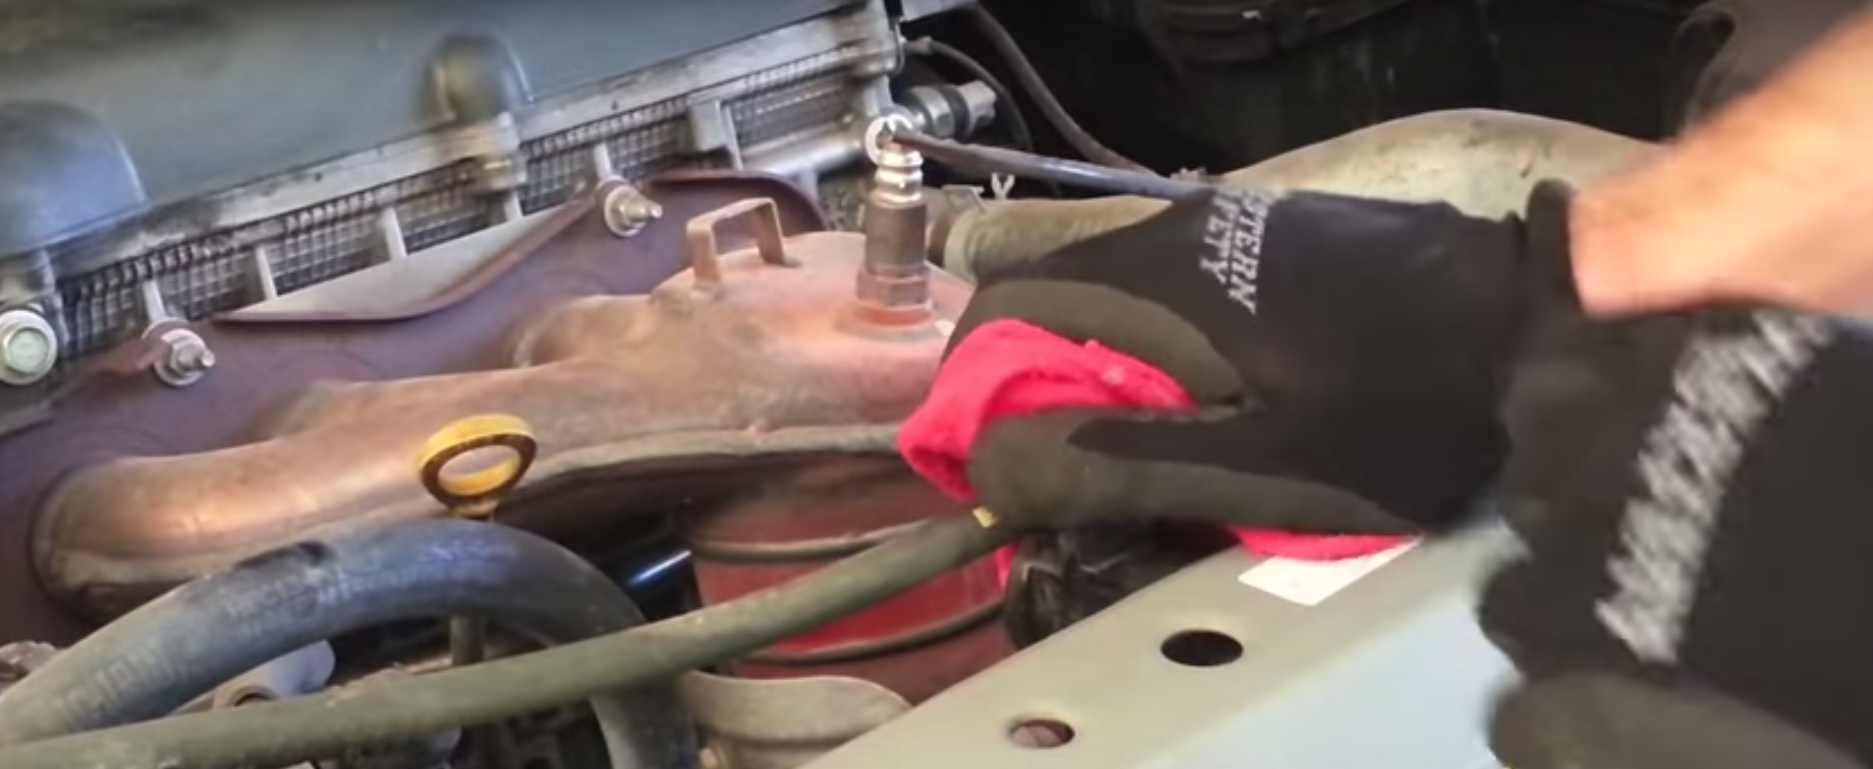
Step 1 – Prepare the car
Place wheel chocks behind the rear wheels. Jack up the front of the car and set it on jack stands. Use a 10mm wrench to disconnect the negative (black) battery terminal. Remove the radiator cap, but be sure and wait until the engine is cool to do so. Place a drain pan underneath the radiator's drain cock and open it, letting all the fluid drain out.
(Related Article: How to Jack Up Your Car - CamryForums.com)
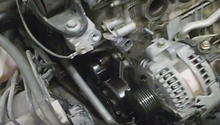
Step 2 – Remove accessory belt and alternator
Using a 1/2" breaker bar and 19mm socket, push the belt tensioner clockwise to remove the belt. Use an 8mm socket to loosen the alternator wire loom bracket. Remove the alternator cable with a 10mm socket. Use a pair of long nose pliers to remove the wire loom clip. Disconnect the wire connections and place them out of the way. Remove the wire bracket using a 10mm socket, the upper alternator belt with a 14mm socket, and the lower alternator belt with a 12mm socket. Pull the alternator out and set it aside.

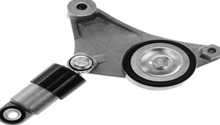
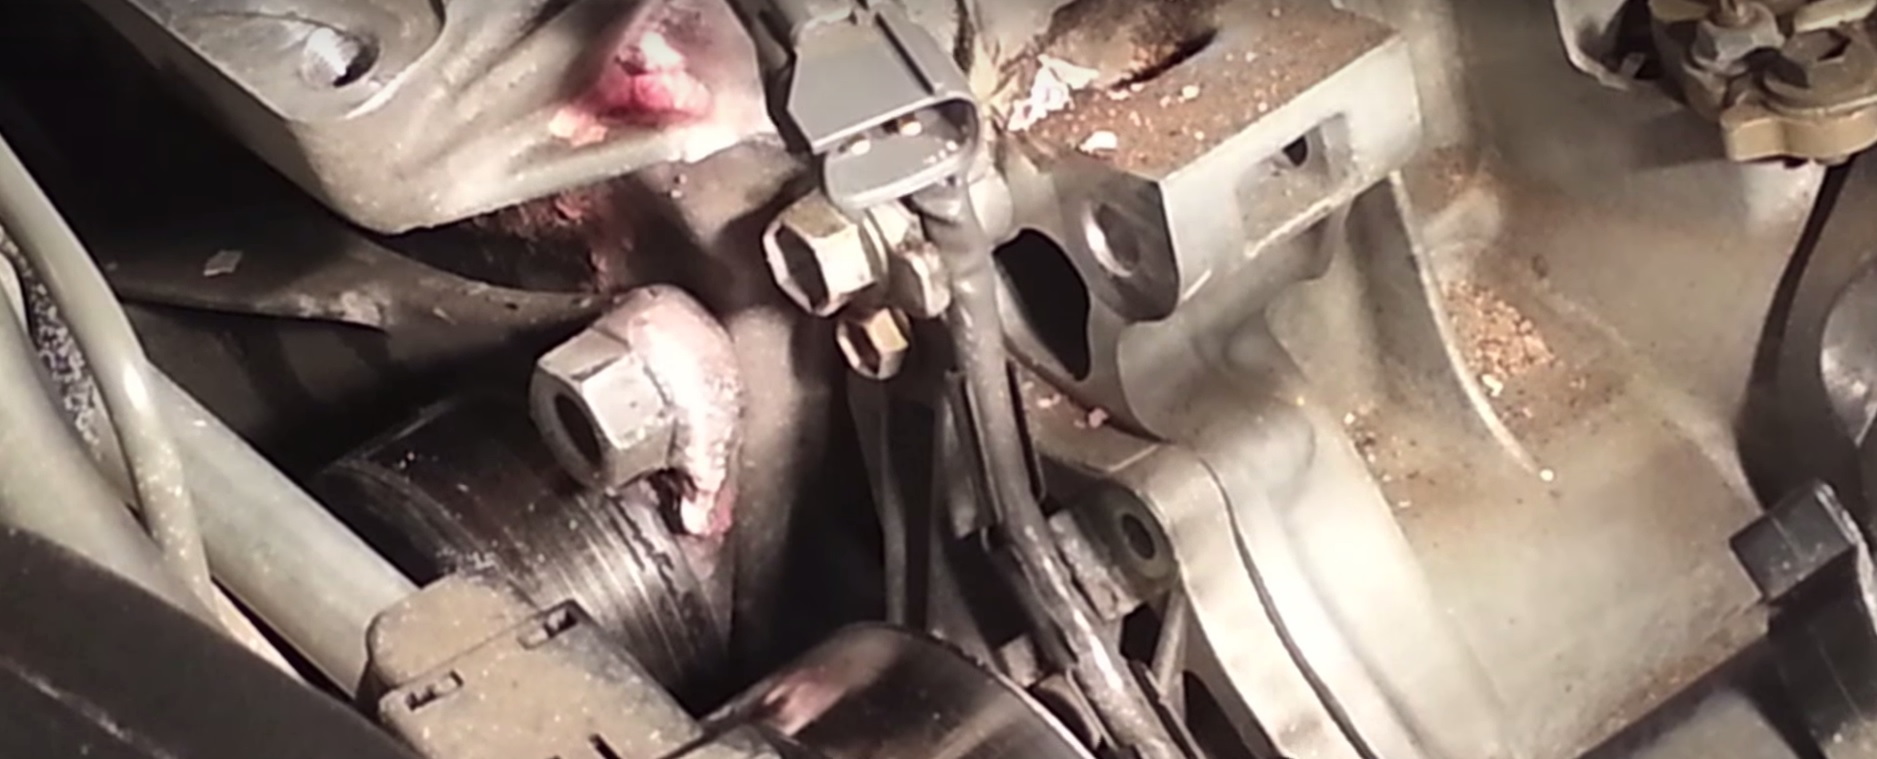
Step 3 – Remove the water pump
Remove the three 14mm bolts holding the engine stabilizer link in place and remove the link. Remove the three 14mm bolts holding the stabilizer link mounting base in place and remove the base. Remove the stabilizer side bracket by removing the two 14mm bolts that hold it in place. Remove the two 10mm bolts holding the water pump in place. Remove the water pump pulley by wedging a pry bar behind the pulley and removing the four 12mm bolts. Remove the four 10mm bolts and two nuts that hold the water pump fastener in place. Spray down the area with brake cleaner. Place a drain pan underneath and remove the water pump with a pry bar. Disconnect the wiring harness behind the water pump and pull it out.
Step 4 – Install new water pump and re-install
Use a scraper to remove the old RTV/Silicone, being careful not to scratch the engine. Apply RTV/Silicone around the perimeter of the new water pump. Install the new water pump and replace the four 10mm bolts and two nuts, torquing them to 80 in-lbs. Reconnect the wiring harness to the water pump. Re-install the water pump pulley and the four 12mm bolts holding it in place, torquing them to 19 in-lbs. Re-install the alternator, 14mm upper bolt and 12mm lower bolt.
Re-install the belt onto the pulleys. Use a 1/2" breaker bar and 19mm socket to push and hold the belt tensioner to finish belt installation. Install the wire bracket (10mm), alternator cable (10mm), and remaining cables as well as clips. Re-install stabilizer link mounting base (three 14mm bolts), side bracket (two 14mm bolts), and stabalizer link (three 14mm bolts). Close the radiator drain cock, refill the radiator, and reconnect the negative battery terminal. Start the engine and let it come to operating temperature to let the air bleed out of the system. Turn off the engine and remove the funnel. Then replace the radiator cap.

Featured Video: Toyota Camry Water Pump Replacement
Related Discussions
- Water Pump Gasket - CamryForums.com
- Water Pump Gone Bad - CamryForums.com
- Water Pump Removal - CamryForums.com