Toyota Camry 2007-2011: How to Repair and Replace Parking Brakes
A malfunctioning parking brake is beyond an inconvenience, it is a liability. Here's how to repair and replace your parking brakes to avoid any surprises.
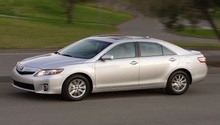
This article applies to the 6th generation Toyota Camry (2007-2011).
Your parking brake locks your rear brakes so your Toyota Camry doesn't roll when parked on a hill. Unfortunately, many drivers do not try to use their parking brake regularly, which can make the brakes freeze and go out of adjustment. It is wise to check your parking brake just to make sure it works and it doesn't fail when you most need it. This can be extremely dangerous since the transmission has to hold the car in place, which can cause extra stress on your car's transmission. All car manufacturers recommend using your parking brake instead of relying solely on the transmission being in Park. Here's how to finish this DIY in two hours or less.

Materials Needed
- 12mm and 14mm socket
- 19mm socket and torque wrench
- 10mm wrench
- Pliers
- Flat head screwdriver
Step 1 – Remove rear wheel
Remove the lug nuts with a 19mm socket to get the wheel off. Remove the caliper by removing the 12mm bolt on the caliper and pivoting the caliper up.
(Related Article: How to Jack Up Your Car - CamryForums.com)
Pro Tip
Take pictures of all components, so you know how to re-install everything later.
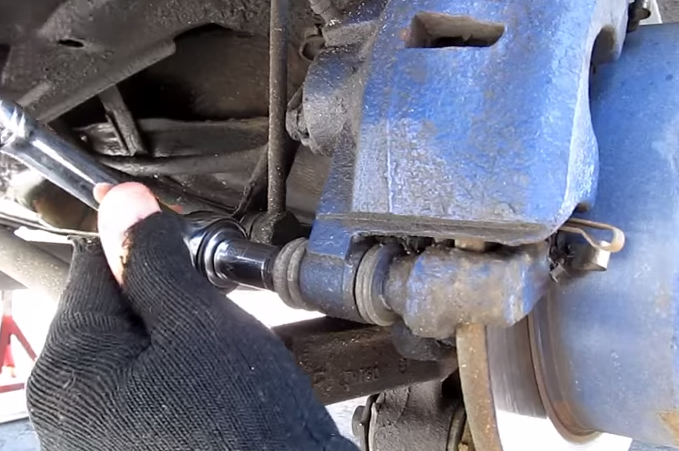
Step 2 – Remove caliper bracket, brake pads, and rotor
Two 14mm bolts need to be removed to release the caliper bracket. The brake pads can be taken out at this point. Make sure the surface of the brake pads stays clean so it maintains its stopping power. The rotor can now be removed from the hub as well.
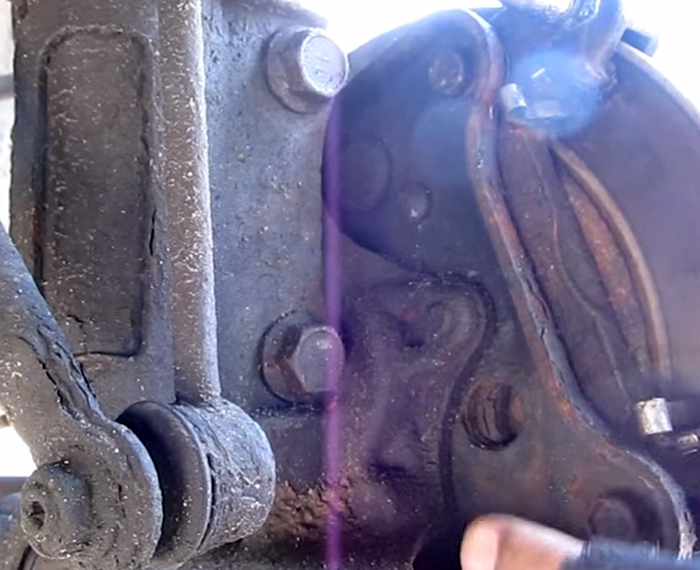
Figure 2. Remove caliper bracket. 
Figure 3. Brake pad removal. 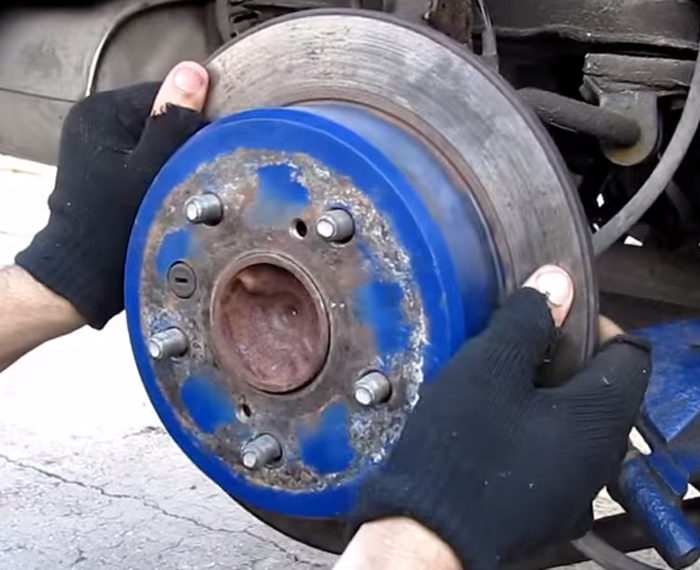
Figure 4. Rotor removal.
Pro Tip
Since you are already removing them, replace the brake pads if they are worn.
(Related Article: How to Replace Brake Pads, Calipers, and Rotors - CamryForums.com)
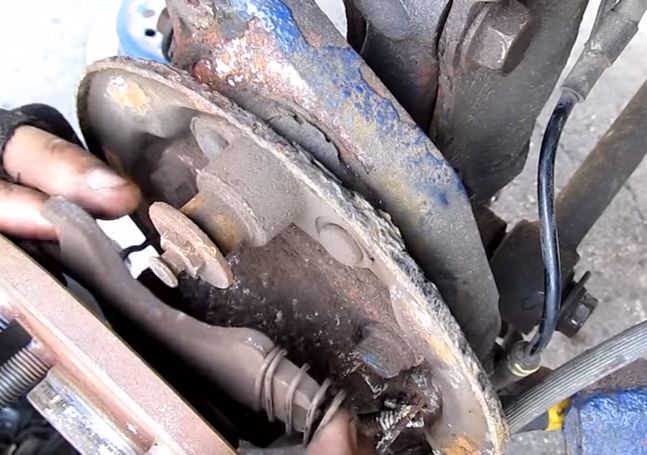
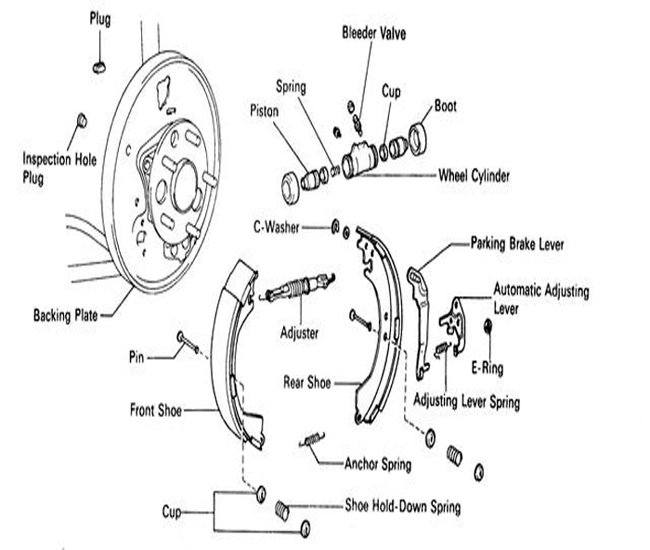
Step 3 – Remove parking brake shoes
Remove the parking brake shoes by removing the parking brake return spring. Then, the brake shoe spring can be removed by prying out the spring retainer. The parking brake shoes can be pulled apart and taken off the hub. For a more detailed look at working with the parking brake, check out the featured video below.
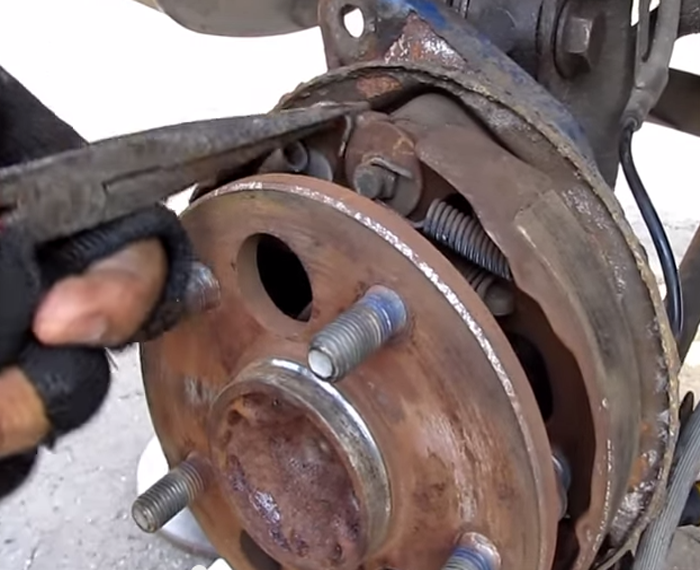
Figure 5. Return spring removal. 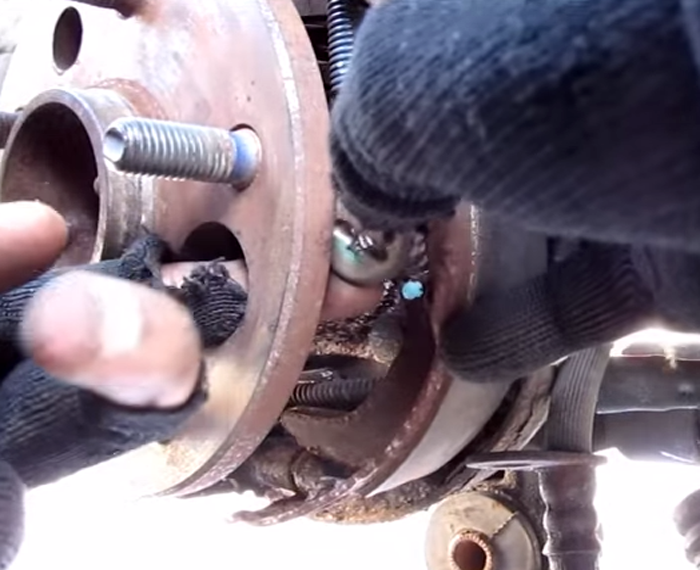
Figure 6. Remove shoe spring. 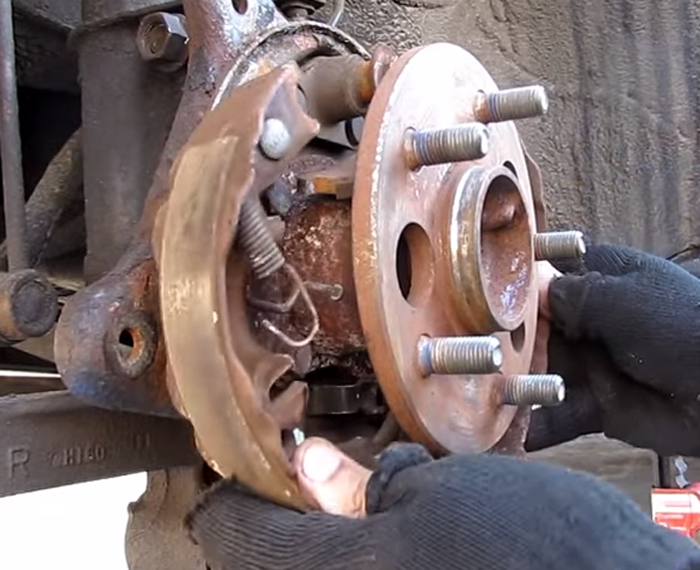
Figure 7. Shoe removal.
Pro Tip
Use the pictures above if you have any confusion about where a part goes.
Step 4 – Remove parking shoe adjustment screw
Remove the parking shoe adjustment screw by removing the parking shoe adjustment bracket and pulling the screw up.
Step 5 – Adjust adjustment screw and re-install brakes
Set the right adjustment on the adjustment screw. If needed, install new brake shoes and accessories in the parking brake system. Re-install everything in the reverse order of the guide below to get back on the road with working parking brakes!
How to Repair and Replace Parking Brake
Related Discussion and Site
- Tighten Parking Brake - CamryForums.com
- Replacing Brake Components on a 2007-2011 Camry Hybrid - TheCarConnection.com