Toyota Camry 1997-2011: How to Replace Battery
Replacing the battery on your Toyota Camry is a fairly simple procedure. With a little knowledge and caution, you too can replace the battery in a matter of minutes.
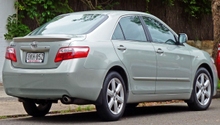
This article applies to the Toyota Camry (1997-2011).
In most cases when you attempt to start your car and you fail, the culprit is a dead battery. If jumping it only gets you enough juice for one ride, or if a test shows that your battery is just flat-out dead, then it's time to replace it entirely. Paying a professional to do it is unnecessary, especially if you can get to an auto parts store or certified Toyota dealer and purchase a new battery. If you can, then you likely have the tools you need on-hand, though you may need to invest in some battery cables and terminal cleaner. Just be careful not to spill any battery fluid as you remove the old battery and install the new one. If you get fluid on your skin, run warm water over it for up to 15 minutes and call the doctor. If you get fluid on your clothing, remove it, and scrub with a mixture of baking soda and warm water. If you spill fluid in your engine compartment, wash the affected area with a mixture of baking soda and warm water.
Materials Needed
- Replacement battery
- 10mm and 12mm wrenches
- Large flat head screwdriver (optional)
- Battery cable puller (optional)
- Battery cable and terminal cleaner
- Grease (optional)
- Baking soda (optional)
- Disposable gloves
- Protective eyewear (optional, though recommended)
- Newspaper
Step 1 – Preparation
Turn off all electrical components in your car, such as the radio, headlights, dome lights, etc. Turn the ignition off and open the hood. To help ensure your safety, wear disposable gloves and protective eyewear. Have your replacement battery handy, and spread newspaper on the ground nearby.
Step 2 – Disconnect negative terminal
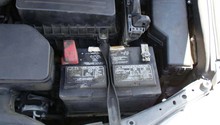
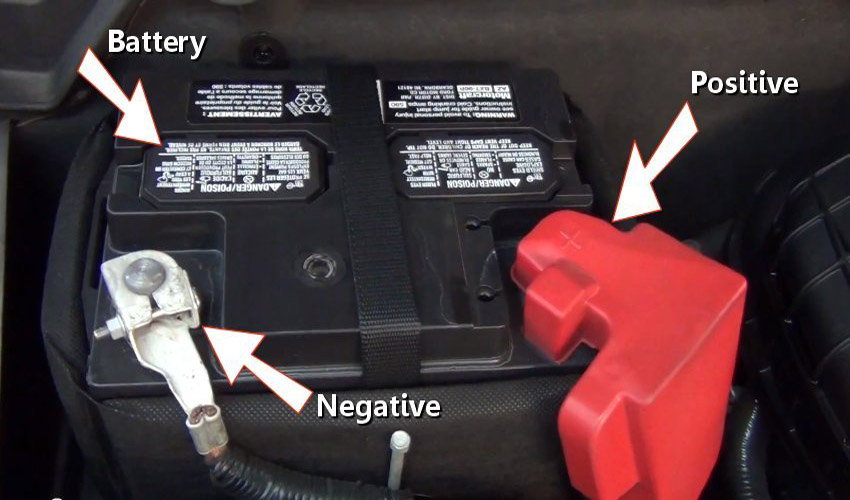
Locate your battery, which is likely near the front of the engine compartment. It has two cables connected to it; one is usually red and one is black. Disconnect the negative (black) battery terminal cable, which has a minus sign near the terminal. If you can't distinguish which cable is which, look in your owner's manual. To disconnect the negative battery terminal:
- Lift up on the terminal clamp protective cover.
- Use 10mm wrench to loosen terminal clamp.
- Twist clamp by hand while pulling up on it until you've disconnected it from the battery.
Step 3 – Disconnect positive terminal
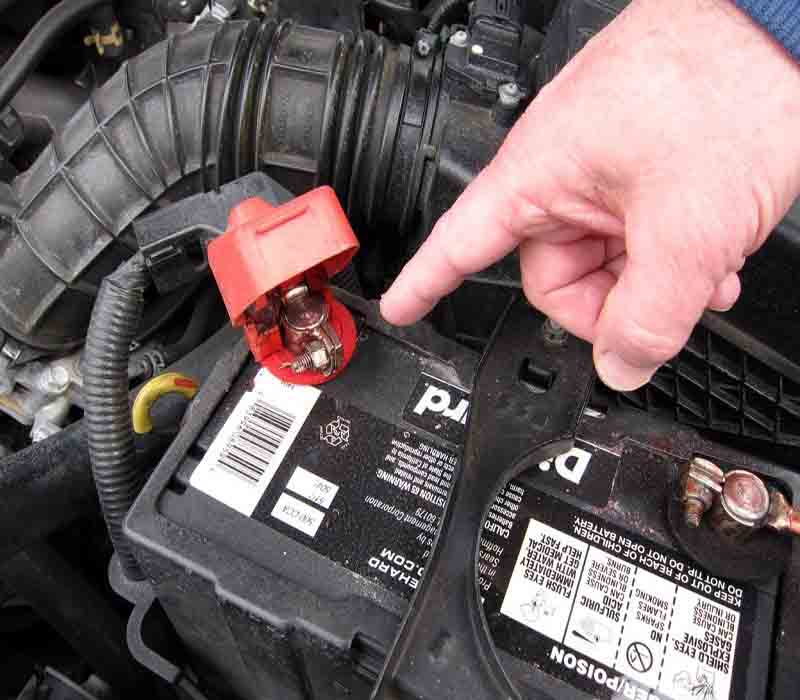
Disconnect the positive (red) battery terminal cable, which has a plus sign near the terminal. To disconnect the positive battery terminal:
- Lift up on the terminal clamp protective cover.
- Use 10mm wrench to loosen terminal clamp.
- Twist clamp by hand while pulling up on it until you've disconnected it from the battery.
Step 4 – Remove bracket holding battery
Use a 10mm or a 12mm wrench (depending on the size of the clamp bolts on your battery) to loosen the clamp bolts holding the battery in place. If they won't loosen, use a flat head screwdriver to try to dislodge them, and then loosen with your 10mm or 12mm wrench. Once you've removed the clamp bolts, you can pull the clamp assembly out and set it aside, or simply turn it out of the way. Be careful not to touch the positive terminal with your tools as you work, as this may cause sparks to fly.

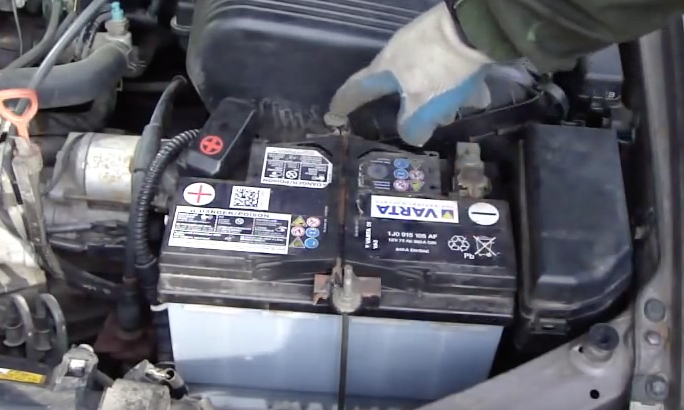
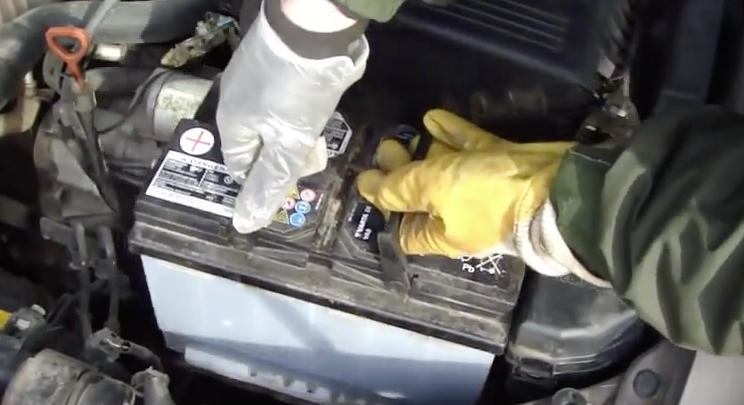
Step 5 – Remove old battery
Lift up the battery and pull it out. Set it aside on the newspaper you spread out nearby in Step 1.
Step 6 – Inspect battery cables, bracket, and compartment
If you spot any corrosion, use a mixture of warm water and baking soda to thoroughly clean the battery cables, the bracket that holds it in place, and the compartment.

Step 7 – Install new battery
Installation is the reverse of removal:
- Install the new battery into the battery compartment.
- Make sure the negative and positive battery terminal cables are positioned correctly.
- Position the bracket that holds the battery in place and replace the clamp bolts, tightening only enough to keep the battery from moving.
- Connect the positive battery terminal cable, and apply grease to the terminal and clamp. This will help protect against corrosion.
- Connect the negative (black) battery terminal cable, and apply grease to the terminal and clamp. This will help protect against corrosion.
- Close the hood.
- Turn on the engine and make sure the car turns on. If it doesn't, check your negative and positive battery terminal cables and make sure they're connected tightly.

Featured Video: How to Replace Battery in a Toyota Camry
Related Discussion and Sites
- How to Replace Battery - CamryForums.com
- Battery Replacement: 2007-2011 Toyota Camry - CarCareKiosk.com
- Battery Replacement: 2002-2006 Toyota Camry - CarCareKiosk.com