Toyota Camry: How to Replace Knock Sensor
Replacing the knock sensors is a straight forward job and will not take up your whole day.
This article applies to the Toyota Camry (1997-2011).
Is your Camry running a bit rough? Has your check engine light come on? Your knock sensor may have gone bad. This is not a terribly difficult DIY job; you can handle it in just a few minutes. A professional is going to run you plenty to change it, including charging you more for the part that you can easily get yourself. If you have the extra time to spend and don't mind getting a little dirty, you can really go on the cheap by getting to a local pick and pull salvage yard and finding a good knock sensor on a scrapped Camry. If that is not your game, you can find new ones online for less than $50. Installing is pretty easy, so save your money and take this job on in your own garage.

Materials Needed
- Hydraulic floor jack
- Jack stands
- 27 mm deep well socket, 12 and 14 mm sockets
- 3/8 or 1/2 ratchet with extension
- Torque wrench
- DENSO knock sensor (optional)
Step 1 – Place on jack stands
Jack up the front end of your Camry and set it on the jack stands at the proper locations on level ground. You may want to place a shop rag or similar on the jack and jack stand plates to protect the anti-rust undercoating on your frame. Always use jack stands when working underneath any vehicle. Using a floor jack alone can be dangerous. Make sure that you chock the rear wheels from the front and behind.

(Related Article: How to Jack Up Your Camry - CamryForums.com)
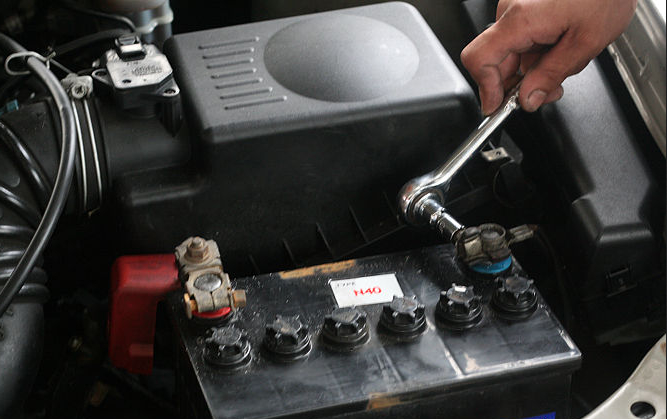
Step 2 – Disconnect battery
Although this Step isn't mandatory, it is always a good idea to disconnect the negative (black) battery terminal before working on your vehicle, especially when working with electrical parts or sensors.
Step 3 – Disconnect wiring harness
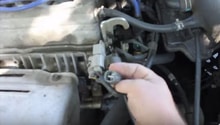
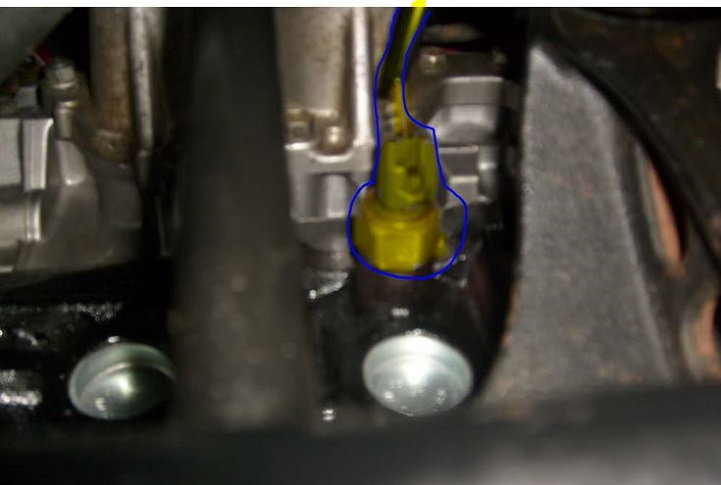
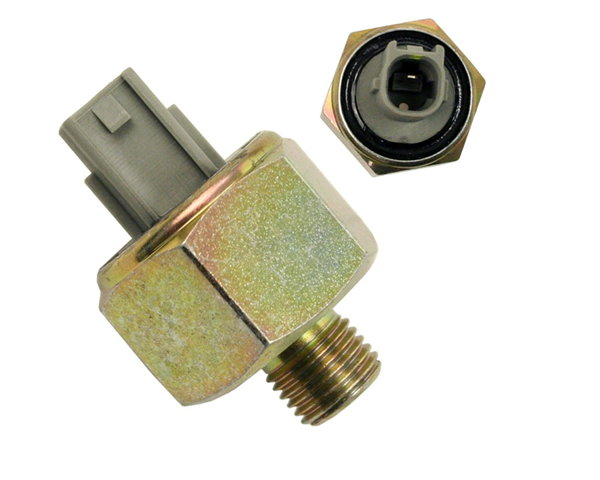
Crawl under the car and you'll find the knock sensor on the rear side of the engine to the right of the exhaust pipe just below the intake manifold. There is a brace that might need to be removed. It takes a 12 and a 14mm socket to remove both bolts. It comes off rather easily; set it aside. Reach up in there above the sensor plug and disconnect the wiring harness. It might be tough to pinch the connection clip, so a pair of needle nose pliers may be necessary. Pull off the connector.
Step 4 – Remove sensor
The actual sensor is oriented at an upwards angle. It is a bit odd getting the 27 mm socket on it from below the vehicle, so you will have to play with it a bit. It is probably going to be easier putting the socket on the extension first, getting it seated all the way, and then connecting the ratchet to the extension. This is the most difficult part of the job. This sensor is torqued on really tight and the engine heating and cooling doesn't help in your quest to remove it. You may want to use a breaker bar if you have enough room, or a lead pipe over the handle of your ratchet will help.
Please make sure that your car is securely on the jack stands, and then give it your best shot to remove this sensor. You will have to wrench on it really hard. If yours comes off really easily, well, that might have been your problem. You can torque it back down tight and see if your car still throws the error code. You probably won't be so lucky anyway!

Step 5 – Install new sensor
Insert the new sensor into the block; you should hand tighten it first. Stripping the threads is no fun and, since this is oriented in an odd fashion from under the vehicle, hand starting it is a very good idea. It should screw in pretty easily and you should not need to use Loctite on the threads as you will be torquing this to 32 ft./lbs.
Note
Toyota branded DENSO knock sensors are the most reliable to use for your Camry.
Step 6 – Reconnect wiring harness
Once you have the new knock sensor torqued in properly, reconnect the wiring harness. (If you had to remove the intake manifold brace, replace it now). Drop the car and re-connect the battery. The check engine light code should clear and the warning light should turn off. Take the car for a spin. It should run 100 percent better than before.
Make sure the light does not come back on. If it does, you likely have more than one error code than just the sensor. The wiring harness could be shorted out somewhere. This will require more extensive work from above the engine to trace the wires back from the sensor and replace them as well.

Featured Video: How to Install/ Replace Knock Sensor
Related Discussions
- '98 Camry Knock Sensor - CamryForums.com
- Knock Sensor Replacement - CamryForums.com