
DIY Headlight Painting


Thread Starter
|
Junior Member
Joined: Jul 2012
Posts: 3
I have done this mod on lots of other cars and it came out great on my wifes camry. Here is a quick write up on how to PAINT YOUR HEADLIGHTS.
First off remove your bumper.
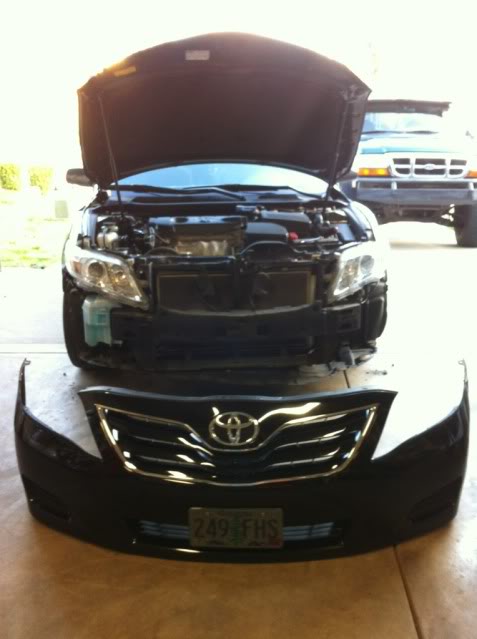
Unhook all of the electrical connections to the lights and remove the lights
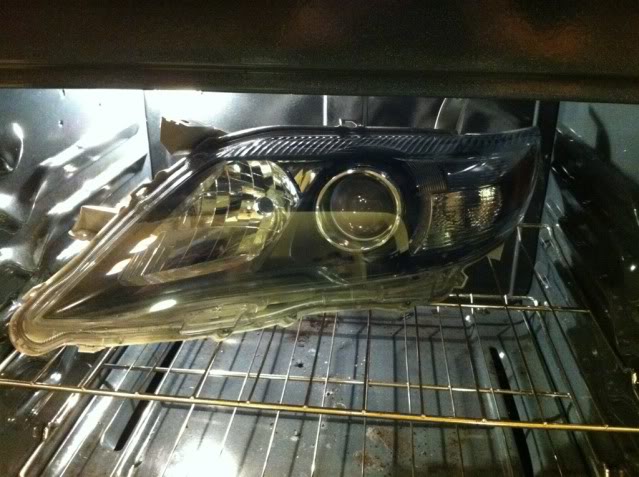
Heat the oven to 215 degrees F.
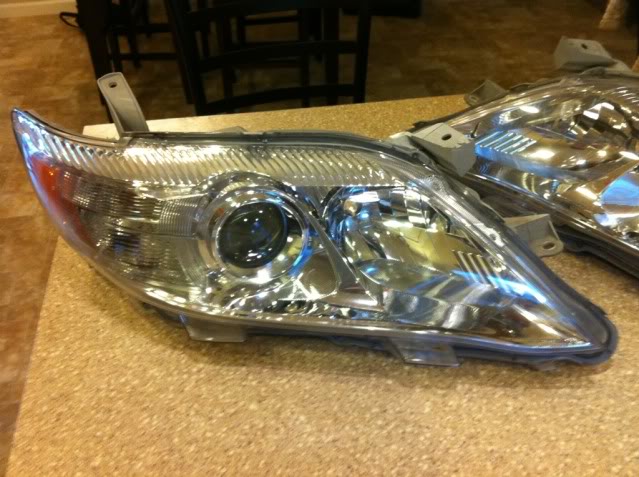
There will be a few screws on the back of the lights that hold the lens in place. Remove these screws.
Now place the lights in the oven for 15 min. Making sure the lights do not hit the side of the oven.
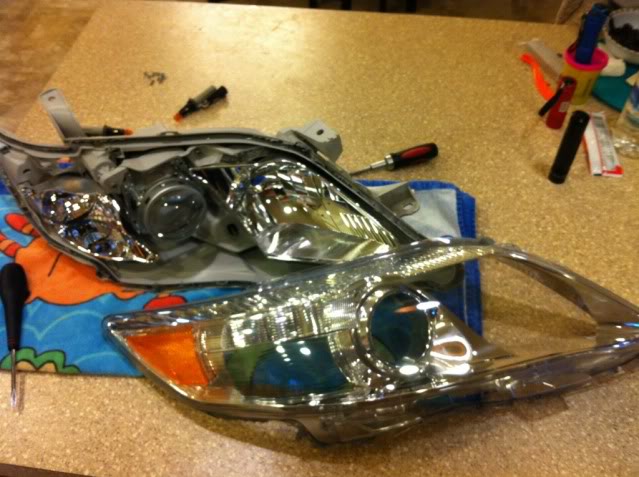
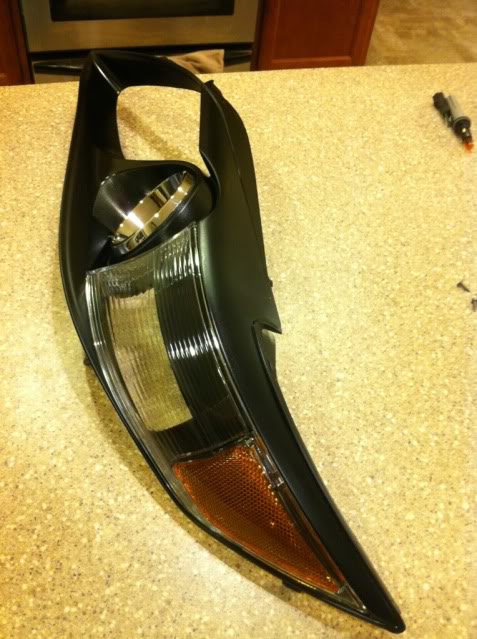
Now with gloves slowly pull the lens away from the housing. I start with a small flat head screwdriver ever so slightly to get it open just enough to pull it apart with my hands. Do this VERY VERY slow. If the lens does not separate easily put the light back into the oven for a few more min.
Now once removed take the chrome part out. There will be a few more screws here too.
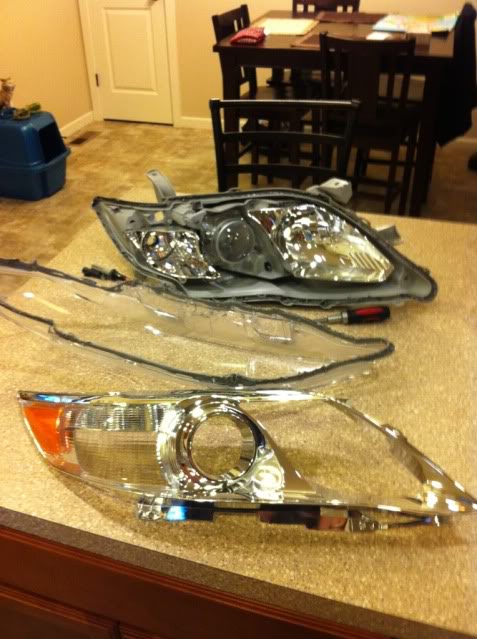
Now paint your desired color. I took blue tape and taped off a chrome ring around the projector light area. I use Krylon Fusion spray paint
Making sure the paint is dry re assemble the light back together and re heat the light in the oven at 215 degrees for 15 min.
After heated and still hot press the edges of the light back together with the lens to reseal the light.
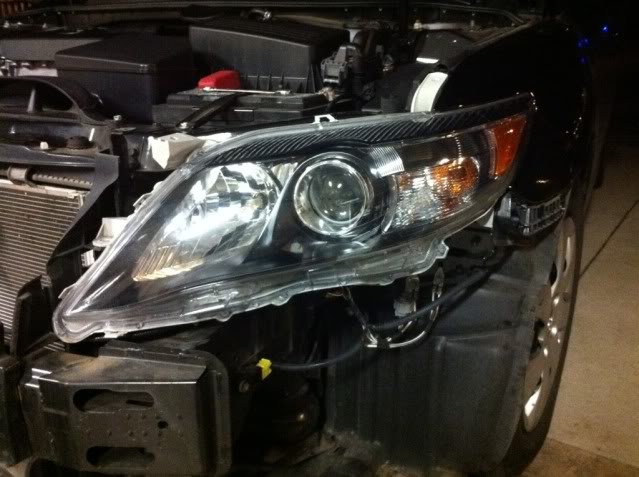
Re install the lights and bumper. Connect the electronics and enjoy your work
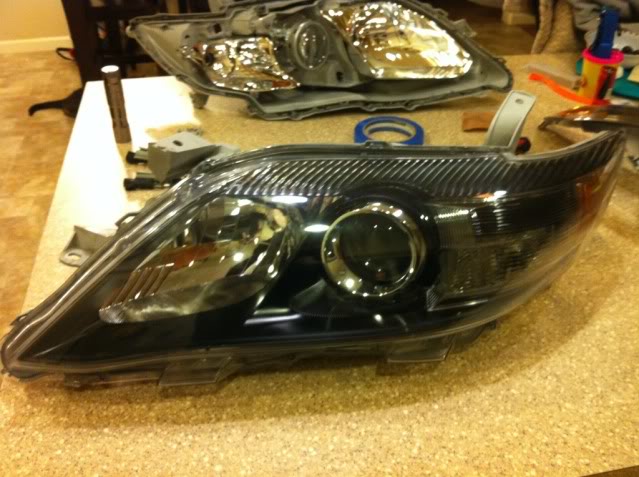
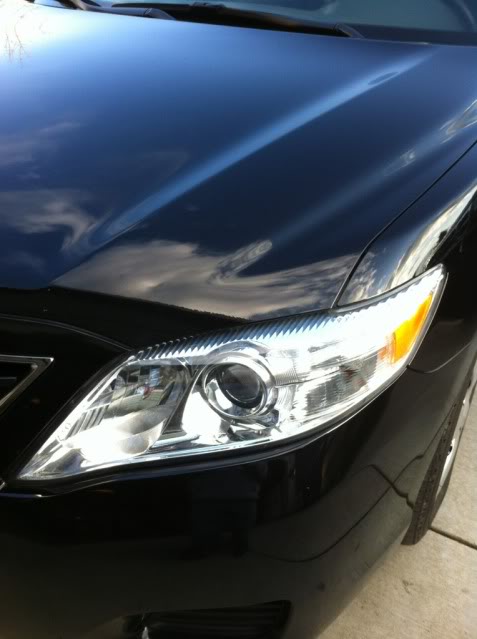
BEFORE
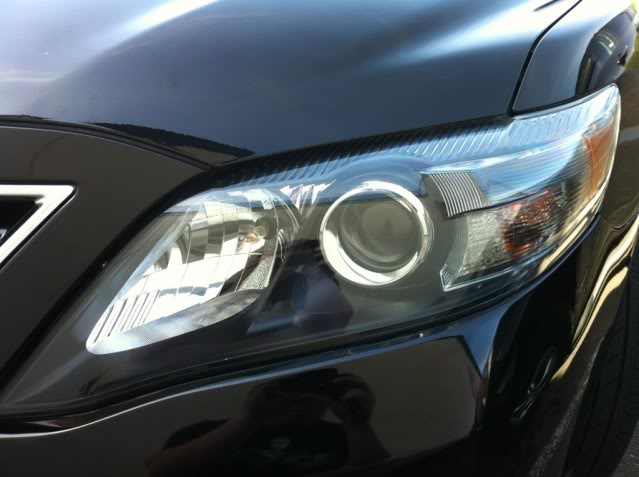
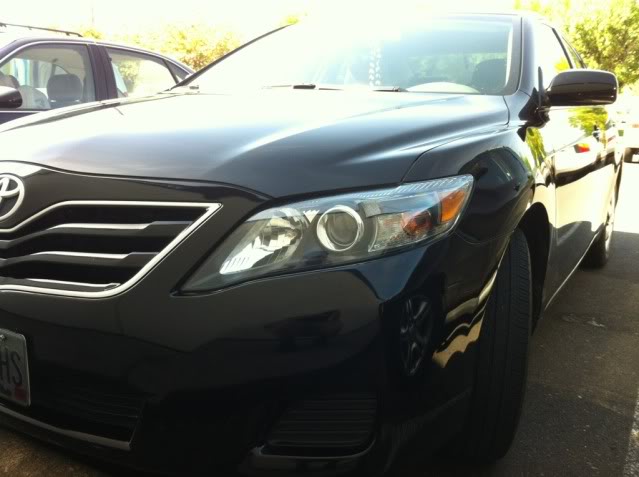
AFTER
NOTE: Please dont forget to take your lights out of the oven. I do not assume responsibility for you melting them.
First off remove your bumper.
Unhook all of the electrical connections to the lights and remove the lights
Heat the oven to 215 degrees F.
There will be a few screws on the back of the lights that hold the lens in place. Remove these screws.
Now place the lights in the oven for 15 min. Making sure the lights do not hit the side of the oven.
Now with gloves slowly pull the lens away from the housing. I start with a small flat head screwdriver ever so slightly to get it open just enough to pull it apart with my hands. Do this VERY VERY slow. If the lens does not separate easily put the light back into the oven for a few more min.
Now once removed take the chrome part out. There will be a few more screws here too.
Now paint your desired color. I took blue tape and taped off a chrome ring around the projector light area. I use Krylon Fusion spray paint
Making sure the paint is dry re assemble the light back together and re heat the light in the oven at 215 degrees for 15 min.
After heated and still hot press the edges of the light back together with the lens to reseal the light.
Re install the lights and bumper. Connect the electronics and enjoy your work
BEFORE
AFTER
NOTE: Please dont forget to take your lights out of the oven. I do not assume responsibility for you melting them.

Thread
Thread Starter
Forum
Replies
Last Post
piscesknite
Appearance
7
Jun 11, 2007 11:39 AM