Toyota Camry: How to Install Spoiler
Spoilers are a stylish accessory you can mount to the rears of most cars. But along with enhancing your car's appearance, spoilers are designed to help vehicles more efficiently grip the road. This is why you'll see spoilers on many race cars and trucks. Learn how to add a rear spoiler to your Camry here.
This article applies to the Toyota Camry (1997-2011).
Spoilers are to a car what a piece of jewelry is to a woman – an elegant and personal way of making a statement. Good thing you don't need to pay someone to do it for you. No matter your skill level, as long as you give yourself plenty of time and are patient enough to handle some fairly precise work, then you can install a spoiler in less time than watching your standard movie.

Materials Needed
- Cleaning agent
- Towel
- Rear spoiler
- Rear spoiler mounting kit
- Masking tape
- Sharpie
- Drill and drill bit
- Flathead screwdriver
Step 1 – Clean decklid
Clean decklid with a non-corrosive cleaning agent to make sure any wax or dust particles are removed.

Step 2 – Remove panel under decklid (optional)
Use flathead screwdriver to remove panel under decklid (if you have one). Several flathead screws hold the panel in place. Remove each screw and set them aside somewhere safe. You’ll need them when you reinstall the panel later.

Step 3 – Insert T-strips into each hole of the spoiler
Insert black T-strips into each hole of the spoiler (there should be two) and tape each T-strip down with masking tape. This will help make sure that the strips do not move during the installation process.
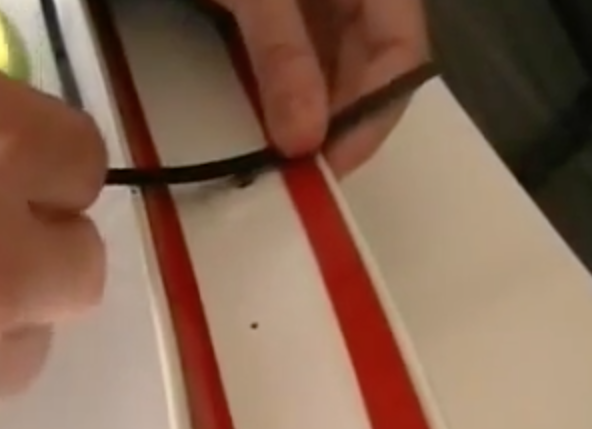
Figure 3. Insert T-strips into each hole of spoiler. These T-strips are part of the rear spoiler mounting kit. 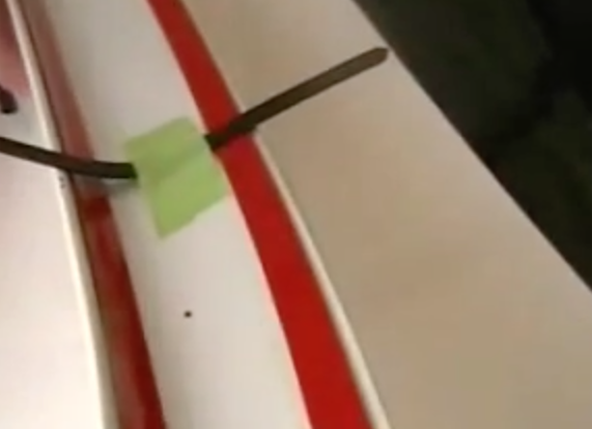
Figure 4. Tape down each T-strip.
Step 4 – Position spoiler for placement
Center spoiler on deck lid, tape down each end of the T-strips to the decklid, and then carefully pull spoiler off of decklid. The T-strips you taped down should remain taped to the decklid.
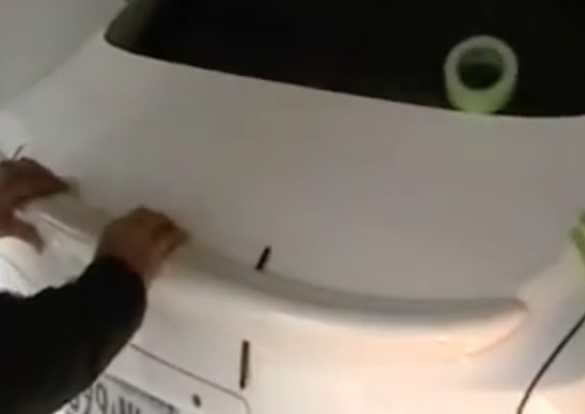
Figure 5. Center spoiler on decklid for placement. 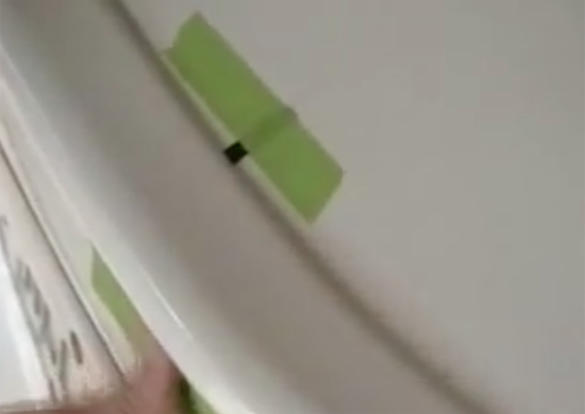
Figure 6. Tape down T-strips. 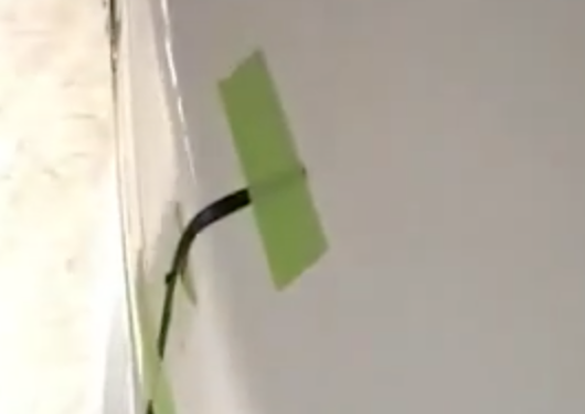
Figure 7. Pull spoiler away, but leave T-strips taped in place.
Step 5 – Drill holes for spoiler
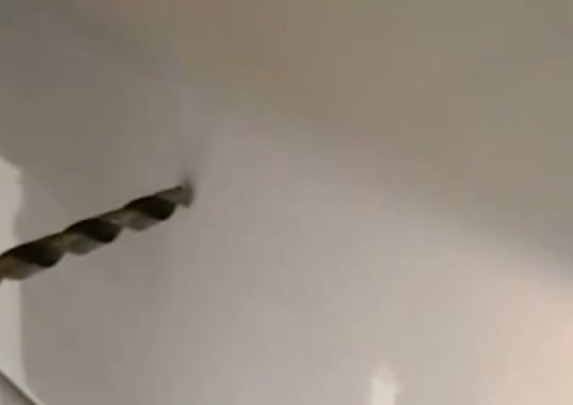
Use T-strips as guide for marking where you need to drill holes. Mark the holes with a Sharpie, and then drill the holes using your drill and drill bit.
Step 6 – Position spoiler for installation
Open trunk. Position spoiler on decklid and line up holes on spoiler with holes you just drilled in decklid. Insert screw into each hole and hand-tighten, but do not fully tighten yet. Tighten enough to keep the spoiler in place when you let go of it.
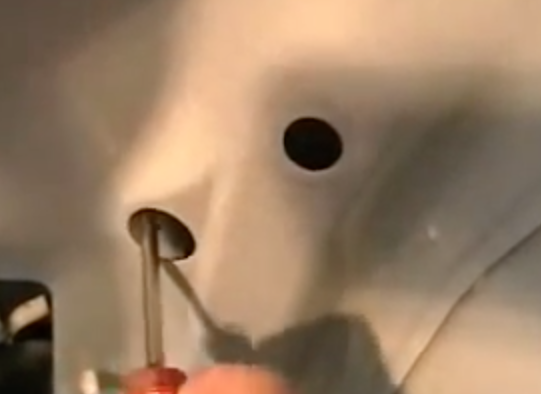
Step 7 – Install spoiler
Remove tape on spoiler (which should have been there when you bought it), and then press spoiler firmly in place. While holding spoiler in place with one hand, finish tightening the pair of screws, which you do from the inside of the trunk. The trunk should be open throughout this entire process.
Step 8 – Replace panel under decklid(if you removed it in Step 2)
Position panel under decklid, and then use flathead screwdriver to reinstall the screws holding panel under decklid in place. Tighten each screw until the panel doesn’t move.

Related Discussions and Videos
- Camry SE Front Spoiler - CamryForums.com
- 2002 Toyota Camry Spoiler Install - CamryForums.com
- 2012 Camry Rear Spoiler Install Kit - CamryForums.com
- 2007 Toyota Camry Spoiler Installation - YouTube.com
- Camry Spoiler Installation - YouTube.com