Toyota Camry: How to Paint Your Engine Cover
Add a jolt of color to your engine by painting the heat shield in your Toyota Camry with engine enamel.
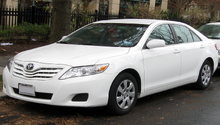
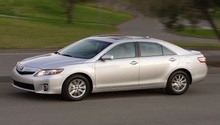
This article applies to the Toyota Camry (1997-2011).
The purpose of a heat shield is to protect or "shield" your engine from harmful, excessive heat. Constructed from a layer of plastic resin, the heat shield is not the most attractive part under the hood of your car. However, you can spruce it up with a layer of paint. The job takes about a day to complete, including the necessary drying time. Read on to learn how to achieve a burst of color underneath the hood of your car!

Materials Needed
- Brake cleaner
- Microfiber cloth
- Sponge or bristled brush (optional)
- VHT enamel primer
- VHT enamel color
Step 1 – Remove upper heat shield
This can be done by quickly removing the screws located along the upper and lower portion of the heat shield. They are easy to spot, as they hold the heat shield in place and are not obstructed by other components or covers. Check to the right and left of the heat shield, moving from top to bottom (or bottom to top), unscrewing each screw as you go.

Step 2 – Clean heat shield
Using a high-quality, non-abrasive brake cleaner, clean the heat shield entirely. Wipe away any excess cleaner using a clean microfiber cloth.
Pro Tip
Be sure to give the brake shield a good scrubbing. For tough grime, use a bristled brush or sponge. Allow the product to set for several minutes before wiping it away.
Step 3 – Prep surface
Apply a liberal amount of VHT Engine Enamel (primer) to the surface of the heat shield using a steady, overlapping motion. Apply two additional coatings when you are done. Allow each coat to settle for several minutes before applying the next.
Step 4 – Add paint
Using the same steady, overlapping motion, apply four coats of VHT enamel in the color of your choice. Allow the paint to dry overnight.

Step 5 – Complete project
Re-install the heat shield the next day or once the surface has had sufficient time to completely dry.

Related Discussion
- Engine Internal Heat Shield - Camryforums.com