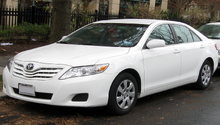
Toyota Camry: How to Paint Your Rims Using Plasti-Dip
Plasti-Dip is your no spill, no mess solution to painting your Toyota Camry's rims. Best of all, it's completely removable!
This article applies to the Toyota Camry (1997-2011).
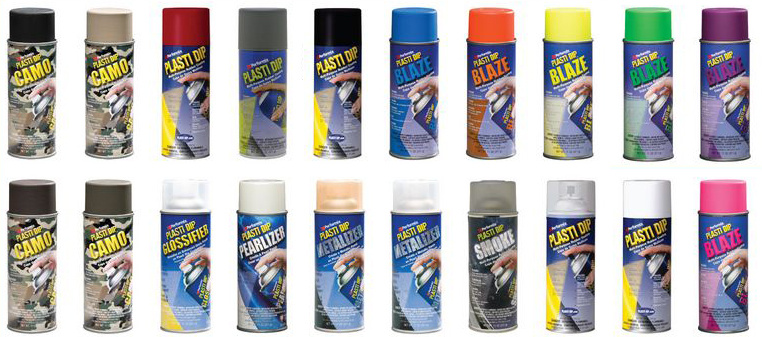
Plasti-Dip allows you to apply an attractive protective coating to your rims (and other parts) without the need for expensive tools or a lot of dry time. Sold at local auto parts stores, big box retailers, and online, Plasti-Dip retails for approximately $7 per can. It is safe and easy to be removed at any time, should you ever change your mind or wish to take your rims in a whole new direction color-wise. You'll need to prep your rims before beginning the painting process, but these simple steps can be completed in about 15 minutes using everyday household items.

Materials Needed
- Plasti-Dip
- Cleaner
- Microfiber cloth
- Newspaper
Step 1 – Prep for paint
- Clean every square inch of your rims using a high quality all-wheel cleaner and microfiber cloth. It's also acceptable to use a household multipurpose cleaner.
- Target dirt, grime and other road contaminants on your rims with the spray.
- Completely remove all traces of contamination before moving on to Step 2.
Note
You do not need to remove the wheels for this task.
Step 2 – Protect your brakes
Protect your brakes from any particles during the painting process. You have three main options here: Cover every square inch of your brakes with a torn trash bag, cover your brakes with pieces of newspaper and then tape each piece into place using masking tape, or cover your brakes with strips of cardboard from an old cardboard box (cloth will also suffice) and tape those down. Whichever option you choose, cover your brakes entirely so they remain 100% undisturbed during the painting process.

Step 3 – Add a base layer of paint
- Grab a can of Plasti-Dip and begin applying a base layer of paint to your rims, adopting an even side to side motion.
- Maintain a 4-inch distance between your rims and the can of Plasti-Dip.
- It's recommended that you spray some paint on the tire to make peeling the product off later on easier; however, this is not necessary.
Step 4 – Add 2nd, 3rd and 4th coats of paint
- Once again, holding the can of Plasti-Dip approx. four inches from your rims, spray up to several additional coats of paint.
- Adding extra coats will provide what detailers refer to as "full coverage."
- Spray heavy around the rims and liberally as you go.
- If your budget allows, it's recommended that you apply a 5th coat of paint to ensure your rims achieve a showroom finish.

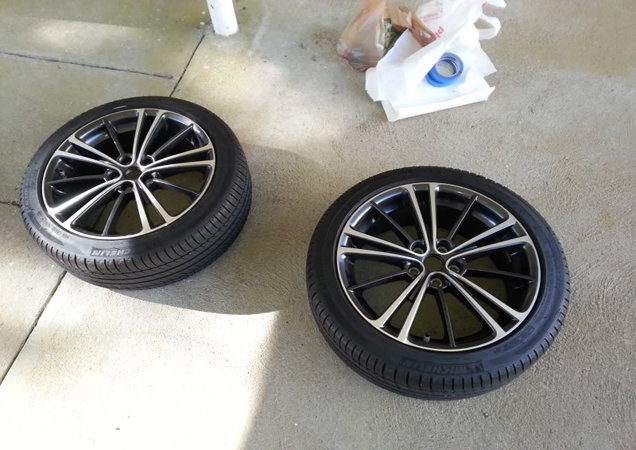
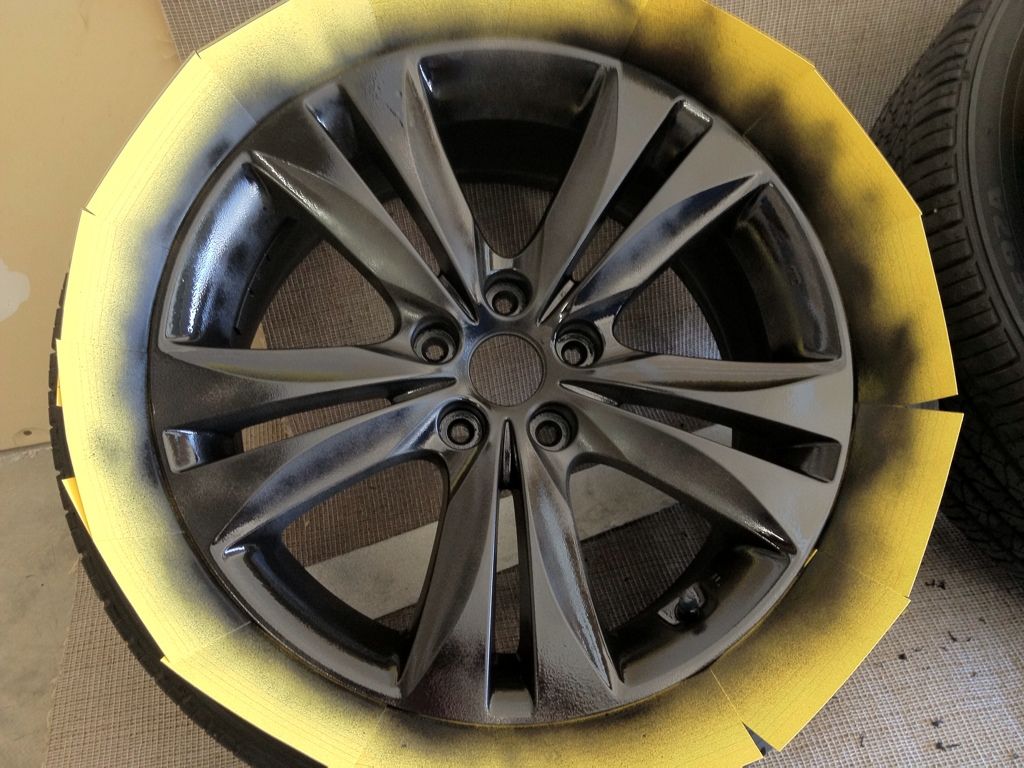
Step 5 – Add a gloss finish for added shine
Add two to three coats of a high quality gloss finish to your rims. Glossifier is clear in color and, due to its chemical makeup, will make peeling off the Plasti-Dip color you applied today easier later on. Paint your remaining rims.
- Allow all four rims to dry completely.
- Remove the masking tape from your brakes and pat yourself on the back for a job well done.
- Continue to wash your Camry as you normally would (even doing a power wash).
- Re-coat your rims as you see fit in the future.

Figure 6. Check out the gloss finish on these rims. You won't need to remove your tires and wheels, though!
Featured Video: How to Plasti-Dip Rims
Related Sites
- Plasti-Dip Your Car's Rims Matte Black - Instructables.com
- DIY Rim Painting - Instructables.com