Toyota Camry: How to Wash, Wax and Detail Your Car
The Toyota Camry requires regular maintenance and detailing. Here's how to keep your vehicle looking in tip-top shape.
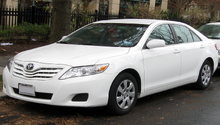
This article applies to the Toyota Camry (1997-2011).
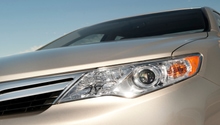
There's no getting around it. To keep your Camry looking its best, you will need to regularly detail your vehicle using premium quality detailing products. While you could pay a professional detailer to do the work for you, you might want to consider doing the job yourself. All you'll need to get started is a few high quality products and several hours one lazy weekend. Even though your vehicle is not the newest model on the block, you can rest assured its paint will appear shiny and attractive after you finish this moderately difficult project.

Materials Needed
- Car shampoo or wash and wax product
- Car wax
- Microfiber cloth
- Bristled brush
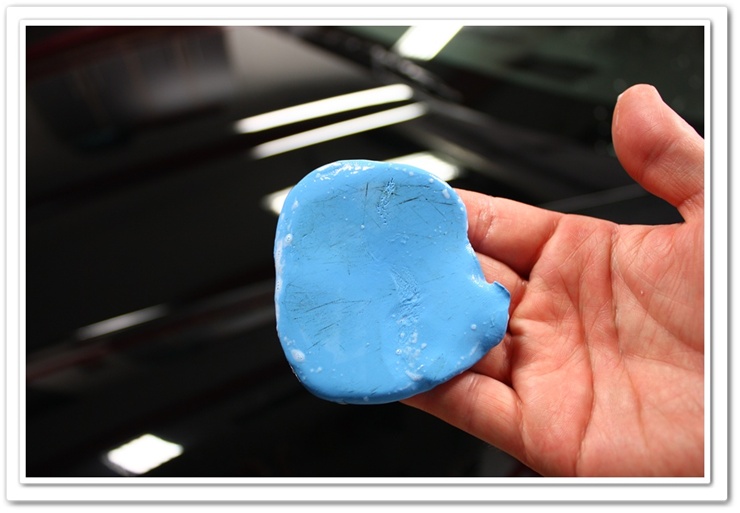
- Clay bar
- Vacuum
Step 1 – Clean the paint
Clean your paint using a premium quality car shampoo or wash and wax product. P215 Bodywork Conditioning Shampoo, DP Auto Bath Shampoo and Pinnacle Bodywork Shampoo are all favorites with Camry owners. Start from the top of your vehicle and work your way down to the bottom. Using a microfiber cloth, gently lift away all visible dirt, grime and surface-level contaminants.
- Scrub the paint in a circular motion without applying too much force.
- Rinse and repeat as needed.
- Wash and wax products provide shine and protection for your paint.
- Dry your vehicle, starting with windows and mirrors, by hand to eliminate water spots.
- It's recommended that you use a waffle-weave or microfiber cloth when drying your Camry.
Next, move on to your tires, wheel, and rims, cleaning these parts using a tire cleaner and feature-bristled brush.
- Dry your wheels with a microfiber cloth.
- Apply a wheel seal and shine product.

Pro Tip
Clean your tires only after you've cleaned your Camry's body parts. We recommend using Wolfgang's Tire and Wheel Cleaner. As well, to eliminate the transfer of dirt from your wash bucket back onto your paint, use one bucket for cleaning and another for rinsing your cleaning material.
Step 2 – Clay bar the paint
Using Mother's California Gold Clay Bar System, move from section to section of your Camry removing embedded deposits and contaminants from your paint. You'll need to apply a liberal spray of lubricant directly to your paint before sweeping the clay bar over your first section of paint. Continue to apply the lubricant as you progress. If the clay bar does not glide over the paint, you are not using enough lubricant and will need to apply more.
Pro Tip
It's recommended that you tape off each section of paint to eliminate runoff and to avoid moving contaminants from one section of your vehicle to another, which is common when moving from top to bottom.
Step 3 – Apply a wax
Using the applicator, apply a premium quality wax for added shine and protection. We recommend using Mother's 20016 FX SynWax.
- Move section by section applying a quarter-size amount as you go using overlapping, circular motions.
- If you own an electric buffer, it's recommended that you apply another layer of wax to your paint, and then go over your entire Camry once more using your buffer.
- This will eliminate any stubborn imperfections and deliver a showroom finish.
- Allow the wax to sit for 10 minutes or as directed and then remove using a microfiber cloth.
- Change cloths as buildup occurs.

Pro Tip
It' recommended that you apply a spray wax after every other wash. Apply Wolfgang's Instant Detail Spritz for added rejuvenation of your paint.
Step 4 – Clean the inside of your Camry
Move through your vehicle removing pieces of trash and other unwanted items. Next, wipe down your windows and dashboard as well as other interior panels. For a thorough cleaning, it's recommended that you clean your glove compartment, cup holders and steering wheel. Finish the job by vacuuming the carpets and shaking dirt off your front and rear mats.
Step 5 – Clean your engine bay
Clean your engine bay once per month using an engine cleaner. Before getting started, remove your battery and clean one section at a time.

How to Wash, Wax, and Detail Your Car
Related Discussion
- Best Trick Clean Car - Camryforums.com