Toyota Camry 1997-2001: How to Replace Console Lights
The lights inside the HVAC unit can be easily upgraded. This article will show you how it's done.
This article applies to the Toyota Camry (1997-2001).
Some Camry owners find the default green color of the main console controls to be unappealing. If you find yourself having the same opinion, then you will be happy to know that it's possible to replace these lights with any color of LED light you would like. This article will provide you with instruction on upgrading your main console lights. Just keep reading to learn more.

Materials Needed
- Type 74 Miniature Wedge Base LED
- 2x 4mm NEOx LED bulb and 1x 3mm NEOx LED bulb
- Small flat head screwdriver
- Phillips screwdriver
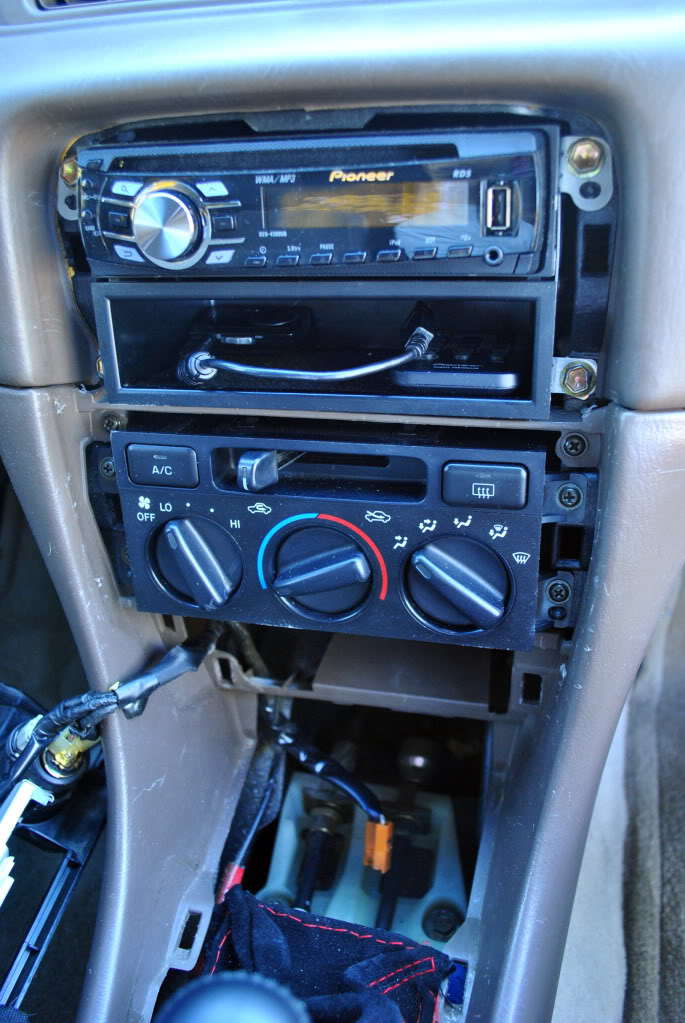
Step 1 – Remove the HVAC unit
- In order to access the lights you will need to remove the HVAC unit. Start by removing the panel below the shifter. Pull it up and slide it around the shifter then set it aside.
- Pry out the bezel around the HVAC and radio. Then remove the four screws around the HVAC unit.
- You should now be able to slide it out from the housing. Don't forget to disconnect the cables before you pull it out.
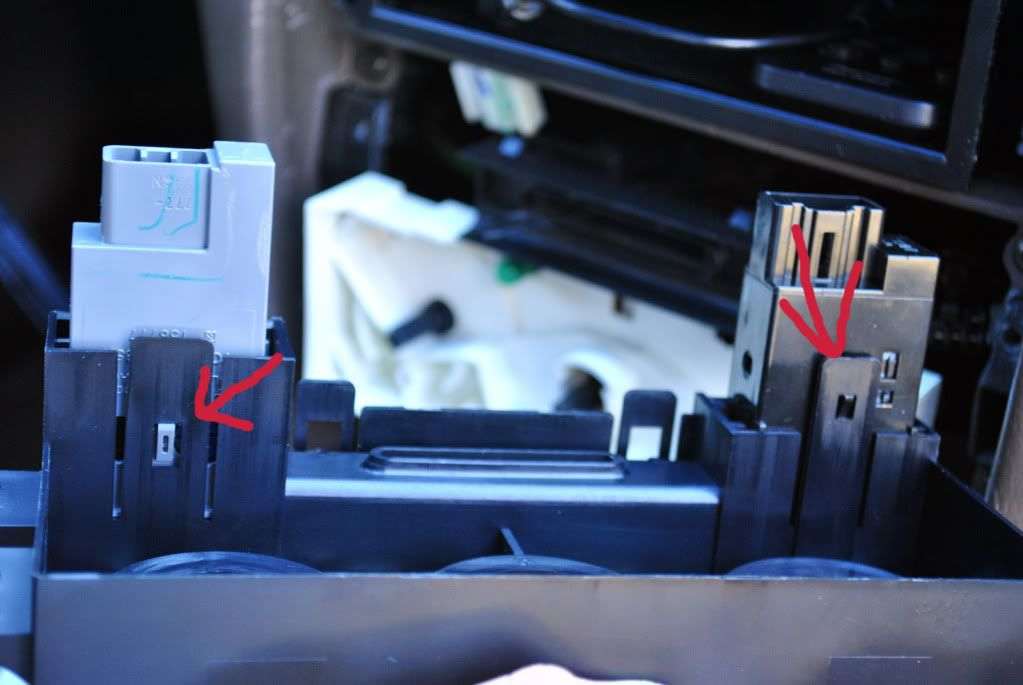
Step 2 – Install main console light
- Carefully pull off the three knobs on the front of the HVAC control panel. Also pull off the end of the vent lever at the top of the HVAC control panel.
- Locate the two tabs on the top part of the HVAC unit.
- Pull on the tabs and slide off the control panel part of the HVAC to reveal the two bulbs on the back panel.
- Pull out the stock bulbs and replace them with a Type 74 miniature wedge base LED bulb. One should be sufficiently bright enough to light the entire thing, but you can replace both lights with LEDs if you want.

Step 3 – Install the A/C and defroster lights
- On the back the HVAC control panel you should see that the A/C and defroster sockets are both clipped on similar to the control panel itself. Pull on the clips and the sockets should come out.
- The bulbs can be twisted off using a Phillips screwdriver. You'll notice that the defroster has two bulbs and one is smaller than the other.
- Replace the smaller bulb with a 3mm NEOx LED and the larger bulb with a 4mm NEOx LED.
- The A/C uses only a single bulb that can be replaced with a 4mm NEOx LED.
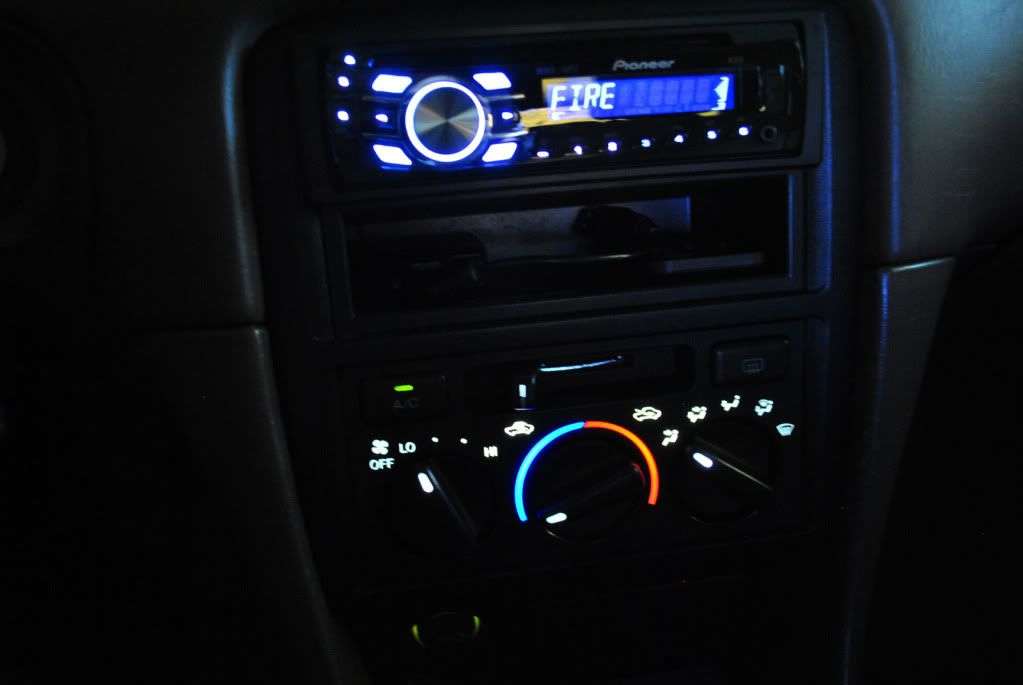
Step 4 – Reinstall the HVAC
Once the bulbs have been securely installed, it's time to put everything back together.
- Reattach the AC and defroster sockets to the main HVAC control panel so that they click back into place.
- Return the HVAC control panel to the back panel so that it too clicks into place.
- Reconnect the cables.
- Then reattach the vent lever knob and the three rotating knobs on the control panel.
- With all the cables connected you should now be able to test the lights before putting the paneling back together.
- When finished tighten down the four screws around the HVAC unit. Reinstall the bezel around the HVAC and radio.
- Then return the console panel from around the shifter.
Related Discussion
- 1997-1999 Camry Gen 4 HVAC Bulb Replacement DIY - Camryforums.com