Toyota Camry 1997-2001: Electrical Diagnostics Guide
When your Camry's electrical components stop working, it can seem pretty serious. The tips in this article should help fix most electrical issues in your Camry.
This article applies to the 4th Generation Toyota Camry (1997-2001).
Whether you're having problems with the lights on the dash or your Camry simply won't start, there are all kinds of issues that can happen to your car's electrical parts. You don't have to be an expert to figure out what's causing your car troubles. The steps below will show you what you can do to figure out the source of your electrical problems. All you need is a multimeter and a keen eye.
Step 1 – Check the fuses
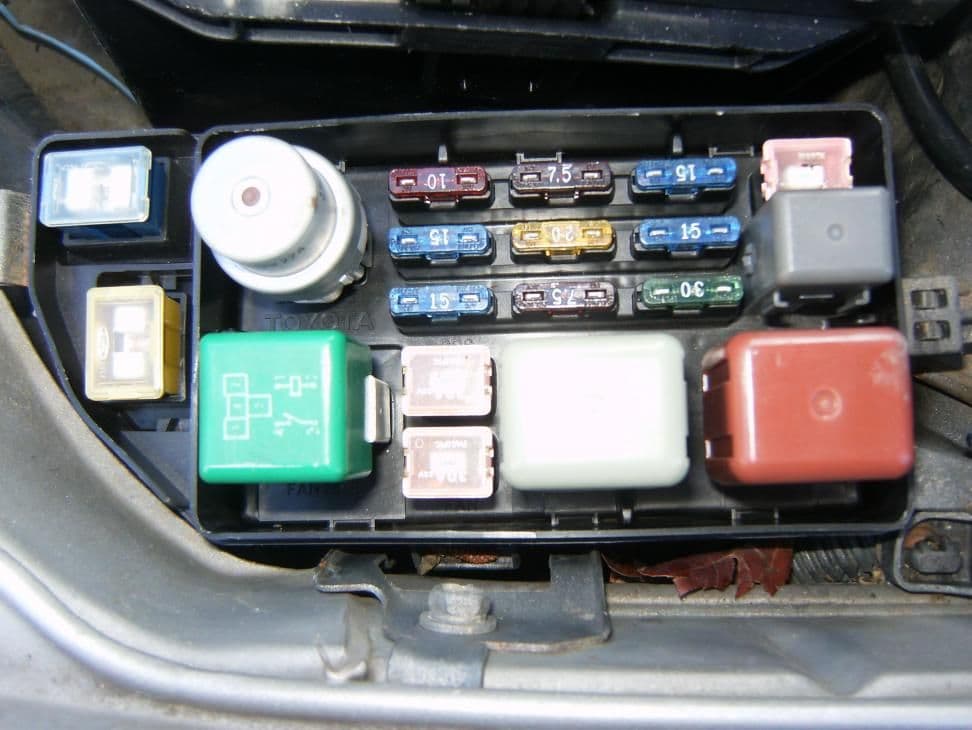
One of your fuses could be blown. If it smells like something is burning, then one of your fuses has likely melted. These are cheap and easy to replace. You'll find the main fuse box inside the engine compartment, while the other fuse boxes are inside the car. One is just behind the ash tray on the driver's side. Another is behind the driver's side kick panel, and last one is behind the passenger's side compartment. Check the fuses for any kind of damage or break in the connections. If you find any damage, replace the fuse immediately.
Pro Tip
Sometimes aftermarket fuses can cause problems, especially the big 100 amp fuses. If you recently replaced one, try switching it out for an OEM fuse.
Step 2 – Check the wires and connections
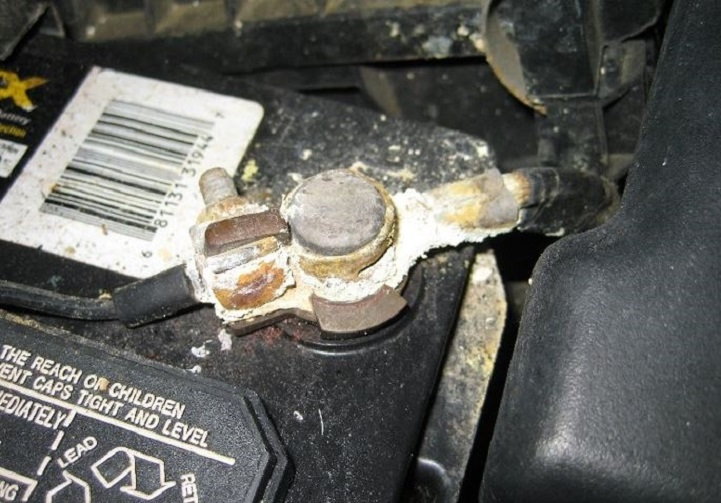
Damage in the wires and connections can create resistance that will cause fuses to burn out. Start with the battery terminals and make sure they are clean. Then check the ground connections, and make sure they are properly seated to the chassis. Watch out for any kind of rust or corrosion on the connections. Most often, damage will occur where the connector is attached to the wire. Inspect the wire for any discoloration that can be caused by heat. If you find any, cut the wire and splice a new wire to the connector.
Step 3 – Check the alternator
If something were to short circuit at the alternator, it could affect other parts of the car. Check the connections going to the alternator for any damage. It could also be that the alternator is sending too much power through the car. Check the battery after the car has been running for a bit. If the voltage at the battery is much higher than 15 volts, then there is a problem with your alternator.

Step 4 – Check the starter solenoid
If your problem is mainly that the car won't start, it could be that power isn't getting to the starter motor. The solenoid is located on the back of the gearbox, behind the gear that sticks out slightly. There should be a large red cable that connects it to the battery and a short thick cable that connects it to the starter motor. Pull the smaller cable from the solenoid, then connect a different cable to the small cable terminal and the battery cable terminal. It should activate the solenoid. If nothing happens, then the solenoid needs to be replaced.

Pro Tip
Sometimes it's not the solenoid itself, but the connectors attached to the solenoid. Try replacing these connectors if it seems the solenoid is still in good condition.
Related Discussions
- '99 Camry Electrical Problem - CamryForums.com
- Electrical Problem 2000 4cyl - 100A Fuse Melting - CamryForums.com
- Camry Electrical Problems - CamryForums.com
- Starter Issues - CamryForums.com