Toyota Camry 1997-2001: How to Wire Daytime Running Lights
Daytime running lights could help prevent an accident. Follow this guide to learn how to wire your stock headlights to function as daytime running lights.
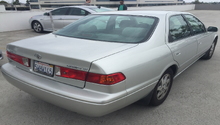
This article applies to the Toyota Camry (1997-2001).
Strange as it may seem, daytime running lights are not there to help you see the road better. They help other drivers see you better. Daytime running lights can help other drivers distinguish your car and can even help prevent accidents. Not all Camry's come with this feature, but it's still possible to wire your factory headlights to function as daytime running lights. While this is beneficial as a safety function, it will also decrease the life of your headlights. We'll be using the high beam headlights as our daytime running lights since they do not get as much use as low beams.
Materials Needed
- 10 - 12 gauge wiring and 18 gauge wiring
- 20 Amp 5 pin relay
- 2 1k ohm resistors
- Inline fuse
- Power switch
- Crimp connectors
- Wire taps
- Ring terminals
- Pin terminals
- Wire strippers
- Wire crimper
- Drill
- Voltmeter
- Electrical tape
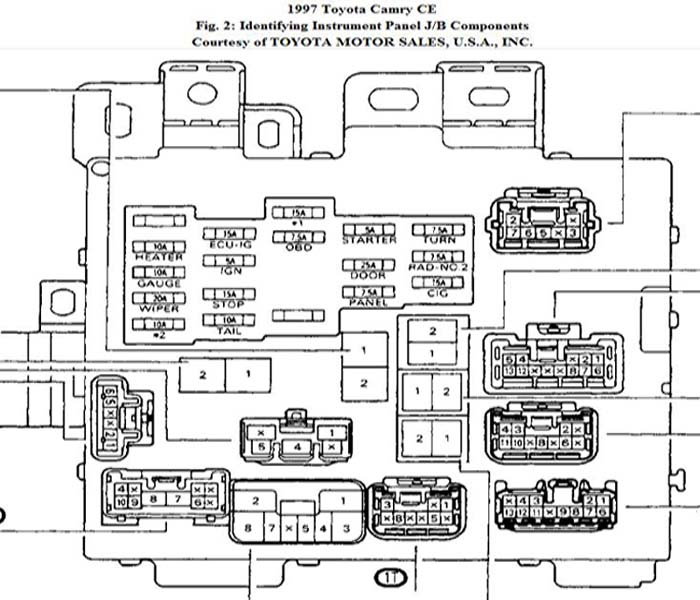
Step 1 – Locate open relay terminal
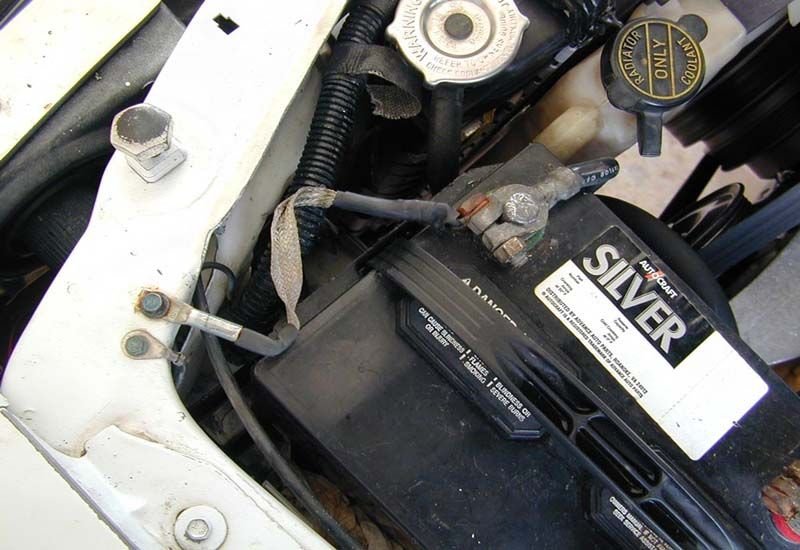
Remove the negative (black) terminal on the battery to prevent any electrical mishaps. Open up your fuse box and find an open terminal for you to install your new switched relay. It should have five pins. The pins labeled 87 and 87a connect to the headlights, pin #30 goes to the battery, pin #85 goes to ground, and pin #86 will go to your switch. This is where you'll be wiring from and how you'll get everything to work.
Step 2 – Wire ground and battery
Attach a ring terminal to the end of your ground wire and find a point on the chassis to bolt it down. Attach a resistor somewhere along the ground wire using your crimp connectors. Then connect the rest of the ground wire to your relay. Now you need to connect the relay to the battery. Cut the wire in two and attach your second resistor. Attach an inline fuse to the end of the wire and connect it to a wiretap. Tap your battery wire into a high power source that will only operate after the car is started, such as the fuel pump wires, then connect the other end to the relay.
Step 3 – Wire headlights
Connect wires to the two headlight outputs on the relay and route them to both of your headlights. Use your wire taps to connect them to the high beam headlight wires.

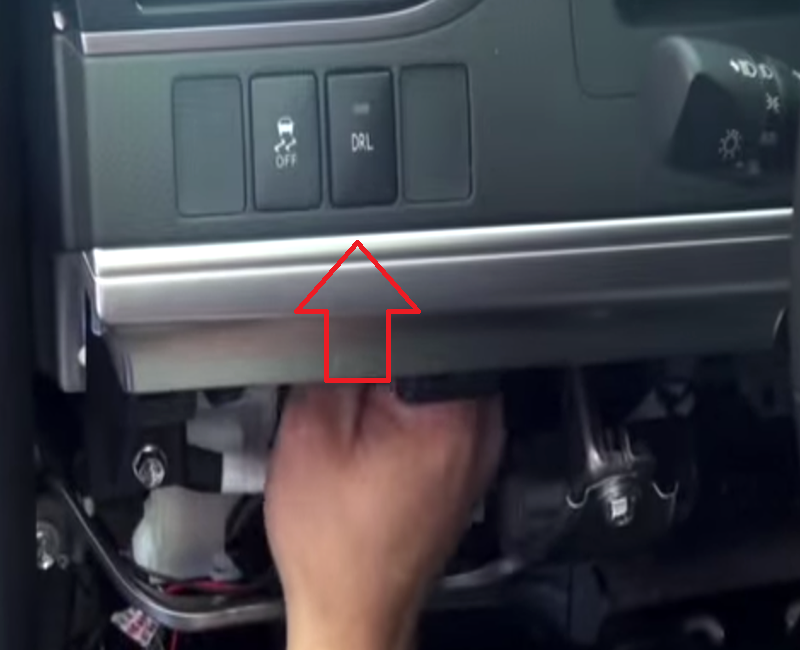
Step 4 – Install power switch
You'll need to find a place inside the car to install your power switch. Once you have a location selected, route wire from the switch output on the relay to where your switch will be located. Remove the paneling and cut out a section for your switch. Mount your switch then connect the wires to the switch. Return the paneling and clean up any remaining debris.
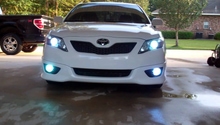
Reconnect the battery, start the car and test your new power switch. The high beam headlights should be on, but very dim; just enough to make your car visible to oncoming traffic.
Related Discussions
- 01 Camry Daytime Running Lights - CamryForums.com
- '07 Camry LE DRL Module Install - CamryForums.com