Toyota Camry 1997-2001: How to Replace Fuel Tank Overfill Check Valve
The P0440 and P0442 codes can be caused by a large variety of issues; however, the most common is a defective check valve. Find out how to replace this simple part by following this DIY!
This article applies to the Toyota Camry (1997-2001).
The fuel tank overfill valve is often referred to as a ORVR or rollover valve. It allows purging of the fuel system during normal operation, but in case of an accident or a rollover, this valve prevents any further purging to reduce the chance of a fuel leak. This prevents fires during accidents and potentially saves lives. The P0440 and P0442 codes are notorious for being caused by a faulty overfill check valve. Some things that you may try to replace before attempting this job would be your fuel cap and fuel cap gasket. Under some circumstances, those two parts can also cause the P0440 and P0442 codes. However, without the right tools and expertise, this job can be daunting for an amateur, so read through this DIY to make sure you can finish the job right. After completing this job, your Camry will be code-free and back on the road safely!

Materials Needed
- 10mm socket
- 14mm socket
- 10mm wrench
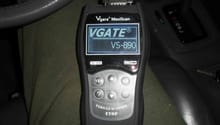
- OBD-II code reader
- Ratchet and extensions
- 19mm socket and torque wrench
- Small pry bar and pick
- Electrical tape
- Rust penetrating spray
Step 1 – Jack up the car and put it on stands
Jack up your Camry and get it on four stands so the car car is lifted evenly. Make sure the stands are loaded on the frame, so it is safe for you to go under the car. Remove the wheels by breaking the lug nuts loose with a 19mm socket and taking the wheels off.

Pro Tip
Keep a jack under a jacking point as a safety in case the jack stands fail.
(Related Article: How to Jack Up Your Car - CamryForums.com)
Step 2 – Disconnect the negative battery terminal
Loosen the 10mm bolt on the negative (black) battery terminal and set it aside. Make sure it doesn't make contact with metal or it will short.

Pro Tip
Wrap electrical tape on the battery connector to make sure no metal comes in contact with it.
Step 3 – Remove rear seats for fuel pump access
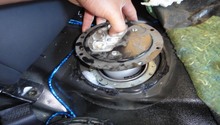
Remove the rear seat cushion by simply pulling up on the edges and pushing the seat belt holders through the rear seat cushion. Refer to Figure 3 for a better view of this process. Next, you will remove the fuel pump cover and connector. Refer to Figure 4 as well as Figure 5 for fuel pump cover and connector removal.

Figure 3. Removing rear seat. 
Figure 4. Removing fuel pump cover. 
Figure 5. Removing fuel pump connector.
(Related Article: How to Replace Fuel Pump - CamryForums.com)
Step 4 – Loosen rear exhaust for fuel tank removal
Use your 10mm socket and loosen the rear exhaust flange, so that the rear exhaust pipe swings down and doesn't interfere with the removal of the gas tank.
Pro Tip
Use rust penetrating spray to make the removal of the bolts easier.
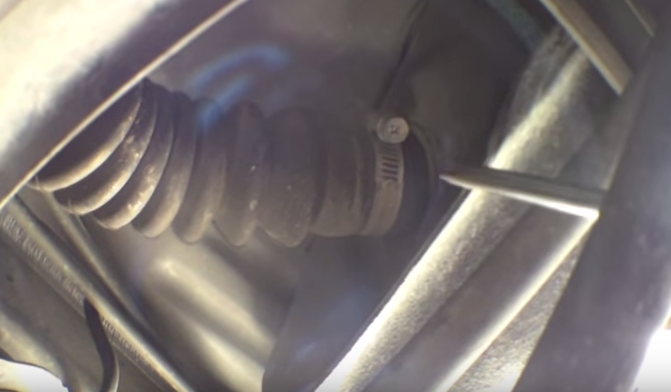
Step 5 – Disconnect fuel tank vent tube
Disconnect the fuel tank vent tube by using a Phillips screwdriver and undoing the hose clamp that holds the tube onto the tank. The tube can then be slipped off and set aside.
Step 6 – Drop fuel tank from chassis
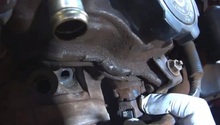
Use a jack with a wood block under the fuel tank so the strap can be removed. Drop the fuel tank by removing the 14mm bolts that hold the fuel tank straps on. There are two fuel lines that need to be removed before the tank can come down, which are shown in Figure 9. The fuel tank can now be dropped. Make sure nothing is getting caught in the way as you lower the jack.
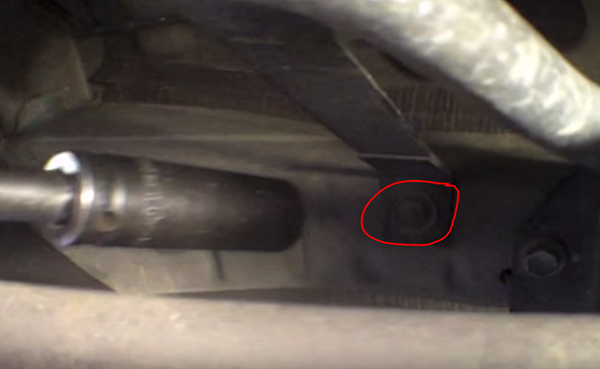
Figure 8. Removing fuel tank strap bolts. 
Figure 9. Remove fuel lines.
Step 7 – Replace overflow check valve
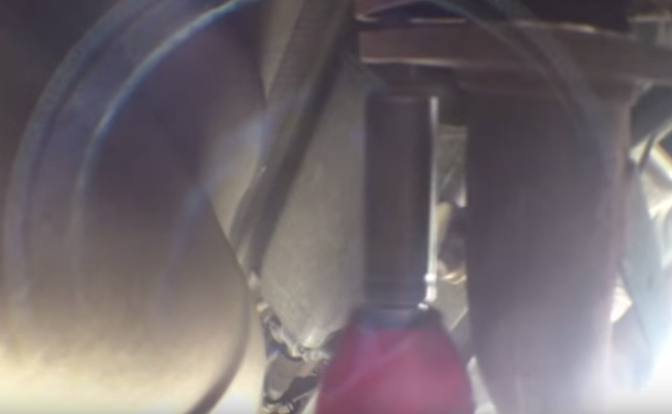
The overflow check valve will now be easily visible. Use a small hammer to pop off the metal cover on the overflow check valve. Use a small pry bar to pry up the check valve from the rubber grommet and lift it out. Then, use a small pick to pop off the connector on the tube going to the overflow check valve.

Figure 10. Removing metal shield. 
Figure 11. Removing the overflow check valve. 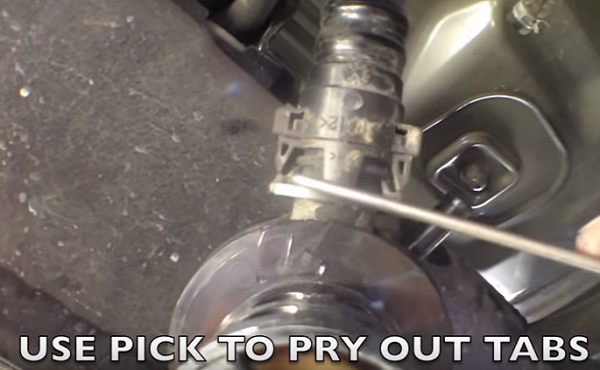
Figure 12. Prying tabs off connector.
Step 8 – Install new overflow check valve and clear codes
Install the new overflow check valve in the reverse order of its removal.
- With the check valve installed, reapply the metal shield.
- Reattach the fuel lines to the tank.
- Lift the fuel tank up and refasten the straps.
- Reinstall the vent tube.
- Reinstall the exhaust.
- Reassemble the fuel pump connections.
- Put your interior back together.
- Reconnect the battery, and lower your car off the jack stands.
That's it, you are done! Now, use your OBD-II reader and check for any codes. If it is all clear, you are good to go!
Featured Video: How to Replace Check Valve
Related Discussions
- Fuel Overflow Valve - CamryForums.com
- P0440-441-446 vsvs ok - CamryForums.com
- Camry Fuel Fill Problem - CamryForums.com