Toyota Camry: Why Won't My Car Start?
An engine must have three things to start: compression, ignition, and fuel. There are many factors that can contribute to a problem in each of these systems. Here's a diagnostic that'll save you money.
This article applies to the Toyota Camry (1997-2011).
When you turn your key to the ignition start position, energy from the battery is sent to the starter motor. This energy allows the starter to make the engine rotate at about 250 RPM (revolutions per minute). As the engine rotates, the cam and crank sensors are monitoring the speed of rotation. At the proper time, the engine computer will signal the spark plugs to fire. Simultaneously, the fuel injectors will open and all properties will be present for combustion to occur. Any problem associated with these systems can cause your engine to not start. Some examples and topics that will be covered in this article are no spark, low fuel pump pressure, and incorrect cam/crank sensor readings. Read on to understand the problem keeping you from driving off.

Materials Needed
- Digital multimeter
- Noid light
- Mechanic's stethoscope
- Spark tester
- Fuel pressure tester
- Vacuum gauge
- Fused jumper wires
- Amp clamp
- Battery charger
- Basic tool set (ratchet, sockets, pliers, and screwdrivers)
- OBD-II scanner tool
While testing, do not crank the engine longer than ten seconds at a time. Allow the starter to cool for two minutes before re-testing. The tests are listed from easiest to the hardest to perform.
The first step in any diagnostic process should be checking for trouble codes. Almost all scan tools are capable of performing this and most parts stores will tell you your current codes for free.
Step 1 – Check the condition of the battery
You could have a bad battery.
Measure the voltage level of the battery using a digital multimeter. With the vehicle off, battery voltage should be between 12.2 to 12.6 volts.
It's best to perform the starting test with a battery charger connected. Repeated engine cranking could drain the battery.
Now perform a starting voltage test. Set up your multimeter to the battery again. If your multimeter has a min/max function, this test will be more accurate. While cranking the engine for five seconds, battery voltage should not drop below 9.6 volts.
If your results steer you towards a bad battery, the battery can be tested at most parts stores free of charge. You will need a good battery to get accurate results for the next series of tests.
Once the new battery is installed, you should have a fast, steady cranking sound as the engine rotates. If your engine still cranks slowly or slows down then speeds up, you may have a problem with your starter motor. The wiring between the battery and starter may contain a high amount of resistance.

Step 2 – Check the operation of the starter motor
The starter could be faulty.
Place an inductive amp clamp around the positive battery cable. On the clamp you will see an arrow that needs to point in the direction of current flow. Make sure this is pointing away from the battery. While starting the engine with a good battery and a battery charger installed, measure the max current draw from the starter motor. The current draw should be between 100-200 amps. A low reading may indicate low engine compression A high reading may indicate a binding starter motor or an engine that is binding mechanically.

If the starter looks good, then continue to Step 3.
Step 3 – Test the fuel, ignition, and compression
The issue could be one of these components.
Some tests can be done at the same time. To begin testing the fuel injector's electrical system, attach the correct sized noid light to the connector plug.
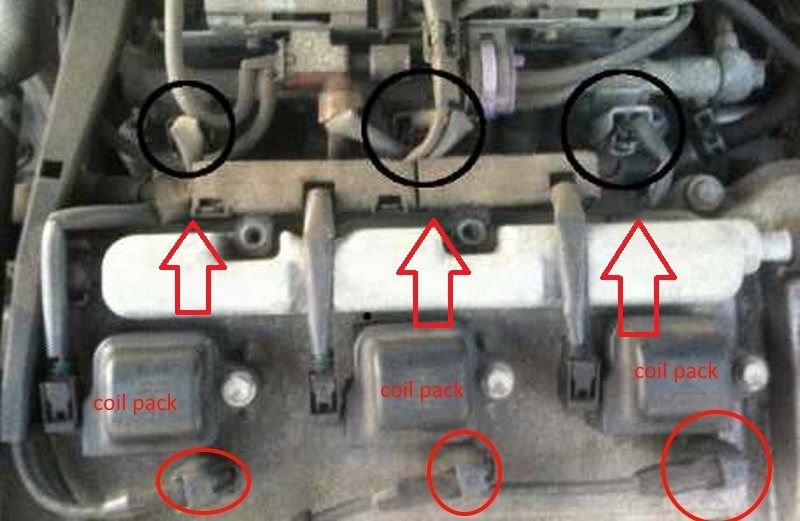
If the spark plugs/wires have been changed recently, make sure they correctly match the firing order. The 2.2 liter four cylinders' firing order is 1-2-3-4 from the passenger side of the engine to the driver's side. The 3.0 liter sic cylinders' firing order is 1-3-5 (rear bank) then 2-4-6 (front bank). This is read from the passenger side to the driver's side.
Now remove the first spark plug wire/coil pack and test for spark using an H.E.I. spark tester. Install the tester into the spark plug wire/coil pack and ground the tester to the engine.
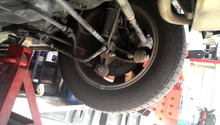
Install a vacuum gauge to a port on the intake manifold. You can also connect with a T-fitting. This is used to check for engine compression.
As the engine is being cranked, the noid light should flash and the spark tester should create a steady, visible spark. The vacuum gauge should show at least 3" of vacuum present while the engine is cranking. If the correct amount of vacuum is present, the engine has enough compression to start. A compression tester can also be used to verify the results.
If the results of a compression test show poor results, the piston rings, piston itself, and/or cylinder head valves may be damaged. An improperly timed engine can cause low compression as well. Checking for improper timing will be covered in a later step.
A leak down test can be performed to see which component is causing the low compression.
If all the components function properly, then go to Step 4.
Step 4 – Check for an intake and exhaust restriction
The breathing system could be blocked.
If the vacuum compression test had correct results, chances are your engine's compression is adequate enough for it to start. It's best to check the air filter and perform another vacuum gauge test to check if there is a restriction in the exhaust system.
Open the air box and check the condition of the air filter. If it is dark in color, replace it. You can also try cleaning it with compressed air. Remove the rest of your intake piping all the way up to the throttle body to check for debris.
Now with your vacuum gauge installed, crank the engine. You should see the normal three or more inches of vacuum reading again. During your ten seconds of crank time, watch for the reading to drop between two and one inches of vacuum. If it does, an exhaust restriction may be present. You may also smell exhaust coming from the engine bay if the restriction is large enough.

If the intake/exhaust looks good and is clear of debris, then go to Step 5.
Step 5 – Continue checking fuel system
There could be other fuel issues.
An easy way to check for a lack of fuel entering the engine is to spray some propane into the intake. Propane can also be used to check for a leak around the intake manifold gasket. Spray propane where the manifold meets the engine. If the engine starts or tries to start, a vacuum leak is present and too much air is entering into the engine un-metered. This creates a lean condition.
If your engine began to run while injecting propane into the intake, you know the problem is related to a lack of fuel. The next tests to perform are fuel pump pressure and listening for the injector pintle to open/close. While starting the engine, hold a stethoscope against the injector. A click or vibration indicates the injector pintle is moving and fuel can flow into the combustion chamber if it's available.
Your fuel pump may not be energizing. Open your fuel door, place a funnel into the fuel filler hose, and listen for the fuel pump "humming" when the ignition is turned on. If your fuel pump is not energizing, move to Step 6 for electrical diagnosis.
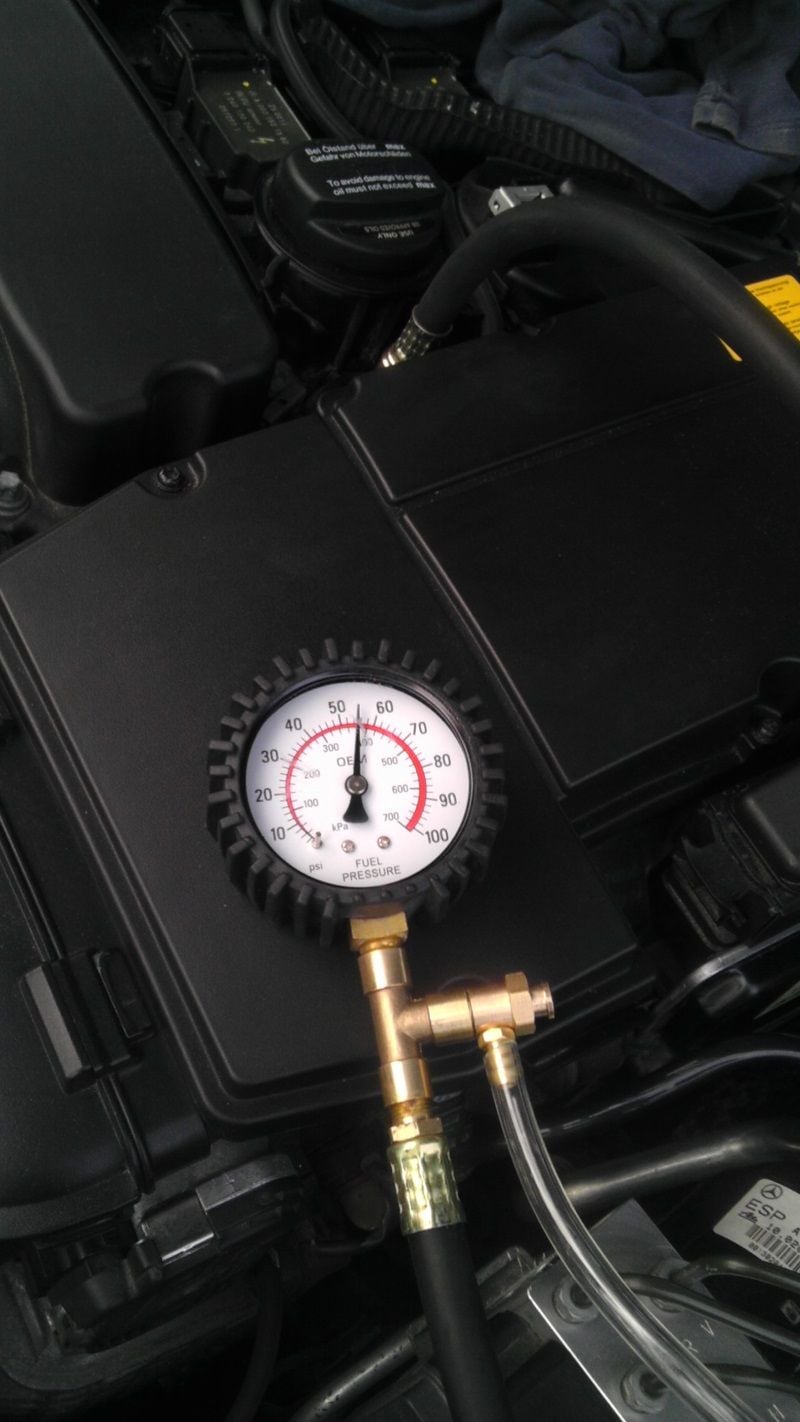
If the fuel pump is energizing, it's time to perform a fuel pressure test. Begin by connecting a fuel pressure gauge. You have two options to connect the gauge: connect the gauge inline with the fuel filter, or have a pressure tester with the correct S.S.T. for Toyota. Once the pressure tester is connected, you should see a reading of 44-50 PSI with the key in the engine "off" position.
If you have determined the fuel pressure is within specs but the engine still will not start, you will want to replace the fuel filter. There's a possibility you found a gas station with bad fuel at your last fill up. Add some new fuel to the existing gas, or drain the tank then re-fill.
If the fuel system looks good, go to Step 6.
Step 6 – Test the fuel pump for battery voltage
The fuel pump could be faulty.
The fuel pump's electrical connector is below the lower rear seat cushion. With the cushion removed, you will see the plastic ring where the fuel pump is mounted inside. One of the connector's wires will be power and another will be ground. With the ignition turned on and engine cranking, battery voltage should be present at these wires. Attach one of your digital multimeter leads to the power wire and the other to ground.
You can also apply power and ground to the fuel pump directly from the battery with jumper wires. Be sure that the jumper wires are fused with fuses rated the same level as the fuel pump fuse in your fuse box. If the fuel pump now energizes, there is a wiring problem in the circuit (short/high resistance).

If the fuel pump has good voltage, then read on to Step 7.
Step 7 – Test the cam/crank sensors
The cam/crank sensors could be the culprit.
When a problem occurs with the cam/crank sensors, the engine computer is unable to detect the position of cylinder number one. This causes the ignition to energize at the wrong time or not energize at all. A cam/crank sensor problem is usually accompanied by a check engine light.
To test the sensors, locate the electrical connector, then back probe the power wire (black and white for the cam sensor, black and red for the crank sensor). As the engine is rotating, voltage should raise from near 0 volts to roughly 5 volts. This change occurs fast and a multimeter with a min/max feature should be used for accurate results.
If these sensors are working properly, then carry on to Step 8.
Step 8 – Check the mechanical timing of the engine
The timing could be off.
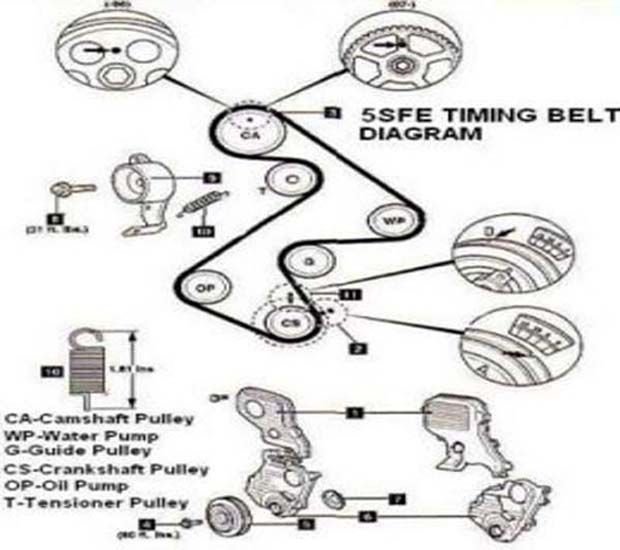
This is especially important if the timing belt was replaced recently. Usually, a stretched timing belt will only cause a misfire, not a no start condition. To be sure, remove the upper and lower timing belt covers along with the harmonic balancer. With piston number one at top dead center, confirm the hole on the camshaft gear is aligned with the notch on the engine. Do the same for the gear on the crankshaft snout.
Featured Video: No Start Diagnosis
Related Discussions
- Toyota Camry Does Not Start - Camryforums.com
- DIY Yourself Camry Won't Start - Camryforums.com