Toyota Camry 1997-2001: How to Remove Fender
Replacing a fender on your 4th generation Camry is not only easy, but substantially increases its perceived value and appeal. Follow this easy DIY to learn more and get your Camry back on the road looking great.
This article applies to the Toyota Camry (1997-2001).
Your front fender is not only a cosmetic part on your Camry, it also helps absorb some of the impact in a front-end collision. Having a damaged front fender can be detrimental to your car's value and safety. When purchasing a new fender, an OEM replacement from a used Camry or aftermarket fenders are both available. To ensure the best fit, finish, and quality, try to find a used OEM fender that comes from the same color Camry to avoid painting hassles. Painting not only adds extra cost, but aftermarket paint usually does not match perfectly to an OEM finish. Following these steps in an organized manner will make the removal process extremely easy and rewarding!

Materials Needed
- 10mm socket and ratchet
- Phillips screwdriver
- 10mm wrench
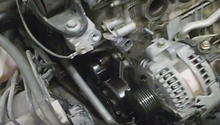
Step 1 – Remove bolts under the hood
Remove the three 10mm bolts under the hood to start the process of the removing your fender.

Pro Tip
Keep all of your bolts and screws in baggies so you don't lose any of them.
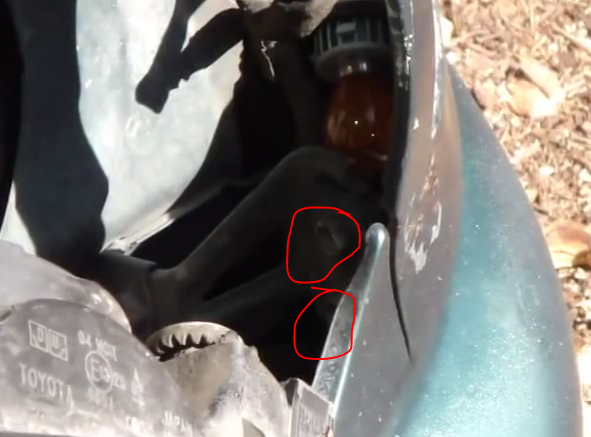
Step 2 – Remove bolts under headlight
Remove the two 10mm bolts as shown in Figure 2.
Pro Tip
If these bolts are too hard to access for you, remove the headlight by removing a 10mm on top of the headlight that connects it to the frame.
Step 3 – Remove bolts on door frame
Remove the two 10mm bolts on the inside of the door frame. These are accessible by opening the door.

Step 4 – Remove the inner fender liner
Two 10mm bolts on the inner fender liner need to be removed to provide access to more 10mm bolts behind the fender liner.
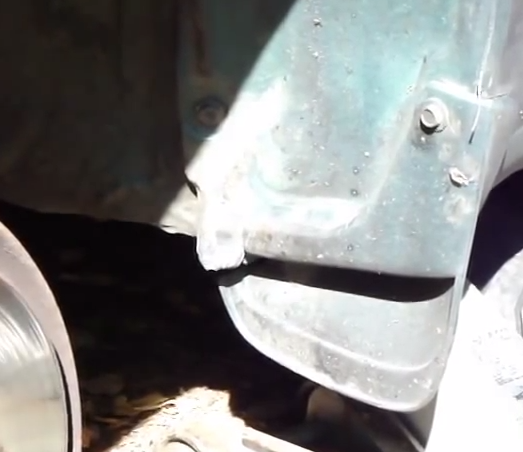
Figure 4. Remove fender liner bolts. 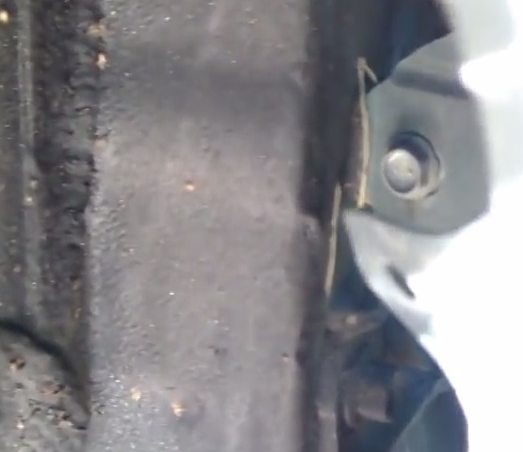
Figure 5. Bolts inside fender liner.
Step 5 – Remove bolts under the car
Remove a 10mm bolt under the car near the jacking point as shown in Figure 6. Towards the front of the wheel well, another 10mm bolt under the car needs to be removed as shown in Figure 7.
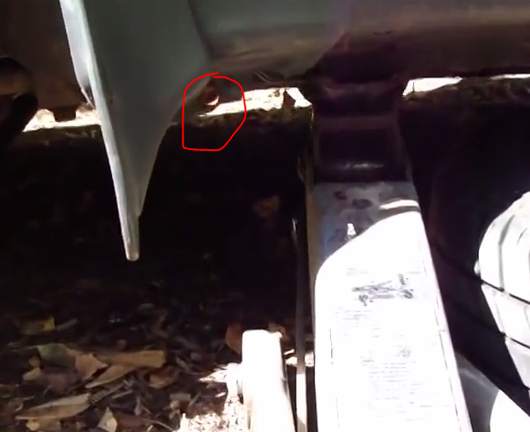
Figure 6. Bolt under the car. 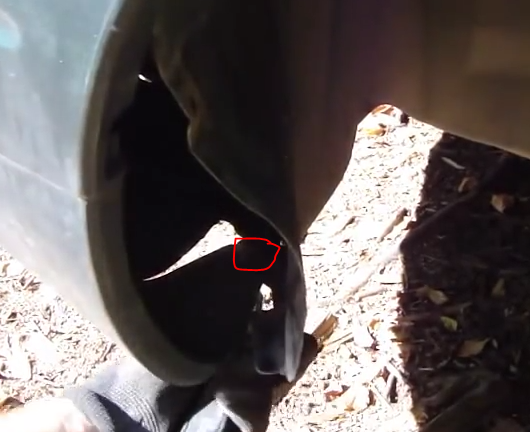
Figure 7. Bolt under front of wheel well.
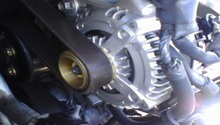
Step 6 – Remove bolts on front inside fender liner
Remove three 10mm bolts as shown in Figure 8, 9 and 10. Make sure to label and take pictures along the way since some of these bolts are not the same. This should completely free the fender from the car frame, so be ready to catch it!
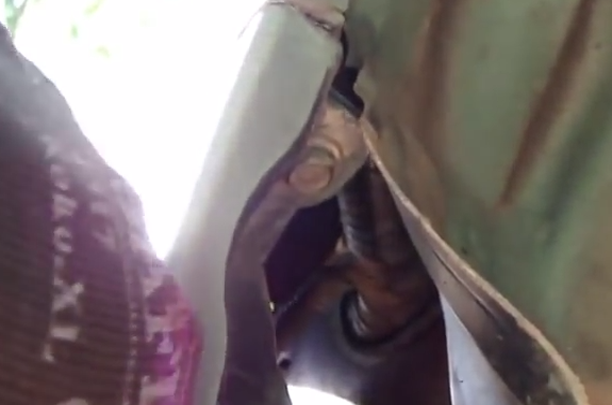
Figure 8. Bolt behind fender liner. 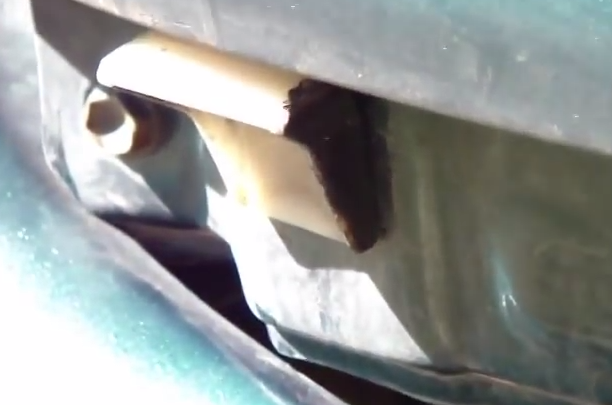
Figure 9. Bolt on inside of fender liner. 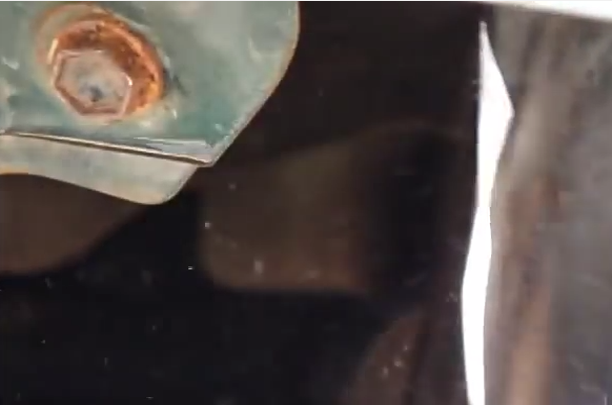
Figure 10. Bolt on inside of fender liner.
Step 7 – Remove fender and install new fender
Carefully maneuver your front fender off of the car, making sure you did not forget any bolts. Install your new or repaired fender in the reversal of the above steps and you should be good to go! Enjoy your awesome Camry yet again!

Pro Tip
Make sure fitment of new fender is perfect before bolting everything on.
Related Discussion and Video
- How to Replace Front Fender or Wing Toyota - Youtube.com
- Removing Rt Fender - Camryforums.com